- 0086-571-85302990
- sales@greenskybio.com
How to Make Powder from Elderberry Extract.
2024-11-30
1. Introduction
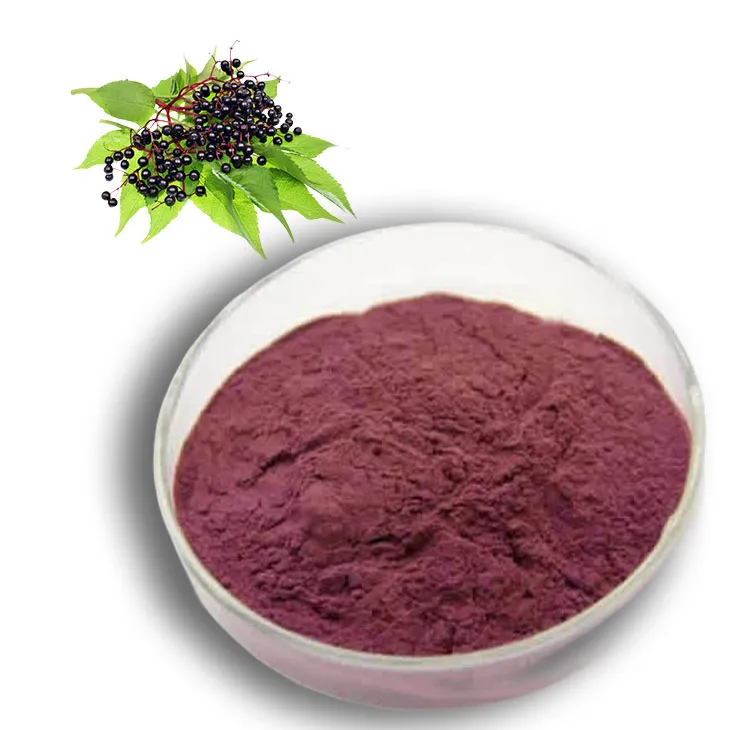
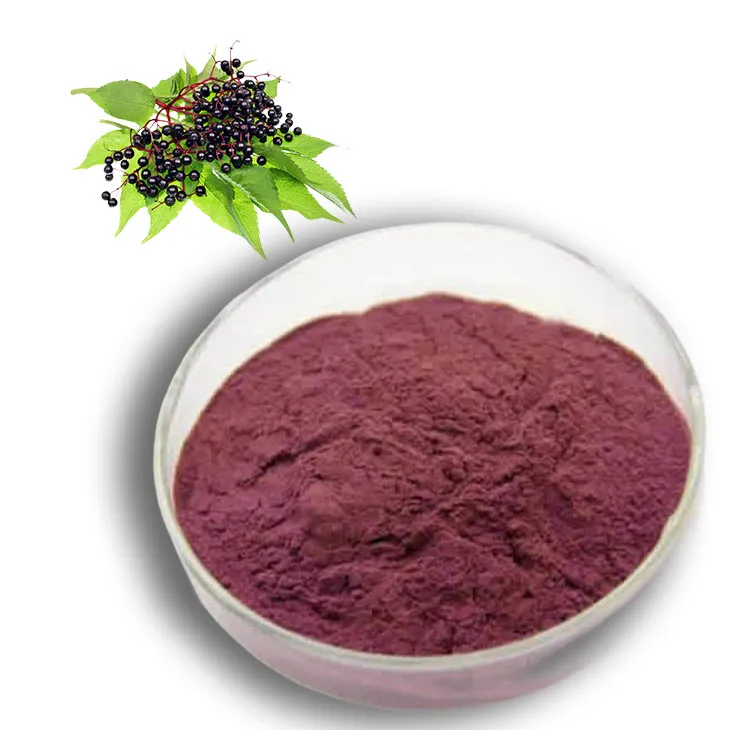
Elderberries are a rich source of vitamins, antioxidants, and other beneficial compounds. Transforming elderberry extract into powder can be a great way to preserve its goodness for various uses, such as in supplements, culinary applications, or for natural remedies. In this article, we will explore the entire process, from selecting the right elderberries to the final powder production.
2. Selecting the Right Elderberries
2.1. Species Identification
There are several species of elderberries, but the most commonly used for extraction are Sambucus nigra
in Europe and Sambucus canadensis in North America. It is crucial to correctly identify the species as
some elderberries can be toxic if misidentified. For example, the red - berried elder (Sambucus racemosa)
has berries that should not be consumed.
2.2. Quality and Ripeness
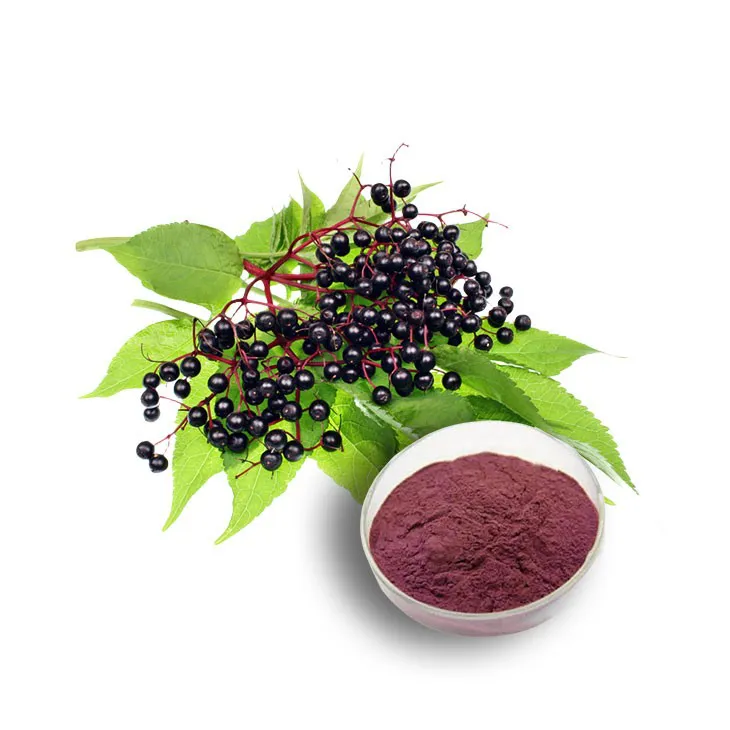
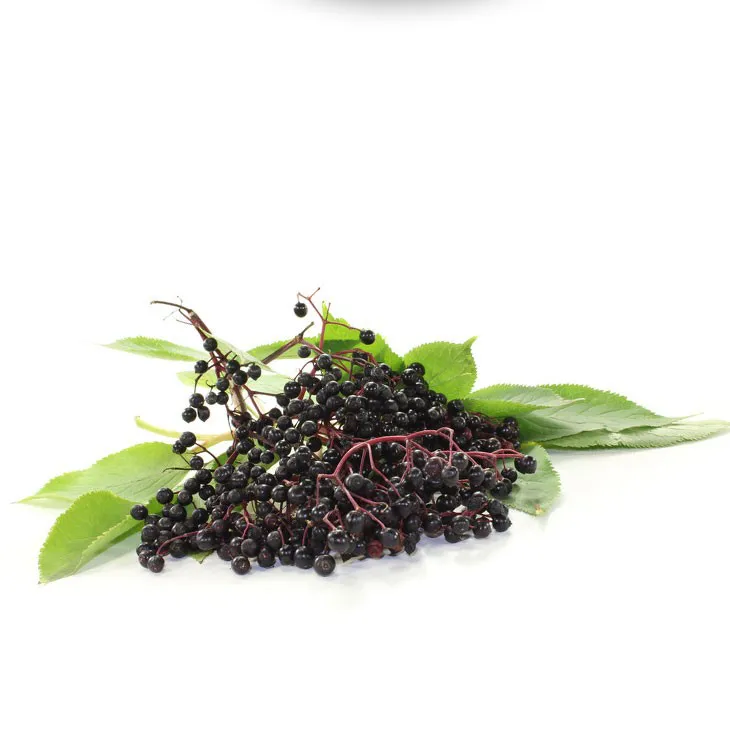
Look for elderberries that are fully ripe. Ripe elderberries are usually dark purple or black, depending on the
species. They should be plump and free from signs of mold or disease. Berries that are picked too early may not
have developed their full flavor and nutritional content.
2.3. Source
If possible, source your elderberries from a clean and unpolluted environment. Avoid berries from areas near
busy roads or industrial sites where they may have been exposed to pollutants. Organic elderberries are a great
choice as they are grown without the use of synthetic pesticides and fertilizers.
3. The Extraction Process
3.1. Preparation of Elderberries
First, gently wash the elderberries to remove any dirt or debris. Remove the stems, as they can be tough and
bitter. You can do this by using a fork or by hand - picking the berries from the stems.
3.2. Cooking the Elderberries
Place the cleaned elderberries in a large pot. Add a small amount of water, just enough to cover the bottom of
the pot. Cook the berries over low heat, stirring occasionally. The heat will help break down the berries and
release their juices. This process usually takes about 15 - 20 minutes until the berries are soft and pulpy.
3.3. Straining the Mixture
Once the elderberries are cooked, use a fine - mesh strainer or cheesecloth to strain the mixture. Pour the
cooked berries into the strainer over a bowl. Press down on the berries gently with a spoon to extract as much
liquid as possible. The remaining solids can be discarded.
3.4. Optional: Adding a Solvent
In some cases, for a more concentrated extract, you may choose to add a solvent such as alcohol. Ethanol is a
commonly used solvent for herbal extracts. Add the alcohol to the strained elderberry liquid in a ratio of
about 1:1. This helps to extract additional compounds from the berries that may not be soluble in water
alone. Let the mixture sit for a few days in a cool, dark place, shaking it occasionally.
4. Drying the Elderberry Extract
4.1. Evaporation
If you did not use alcohol in the extraction process, you can start drying the Elderberry Extract by
evaporation. Pour the strained liquid into a wide - mouthed, shallow dish. Place the dish in a warm, dry place
with good air circulation. The liquid will slowly evaporate, leaving behind a more concentrated extract. This
process can take several days, depending on the humidity and temperature of the environment.
4.2. Using a Dehydrator
If you have a dehydrator, it can be a more efficient way to dry the extract. Pour the Elderberry Extract into
the dehydrator trays. Set the dehydrator to a low temperature, around 110 - 120°F (43 - 49°C). The extract will
dry more quickly in the dehydrator compared to air - drying, usually within a day or two.
4.3. Oven - Drying
Another option is to use an oven for drying. Preheat the oven to its lowest setting, usually around 150 - 200°F
(65 - 93°C). Pour the elderberry extract into an oven - safe dish and place it in the oven. Leave the oven door
slightly ajar to allow moisture to escape. Check the extract frequently as it can dry quickly in the oven and
you don't want it to burn.
5. Grinding the Dried Extract into Powder
5.1. Tools for Grinding
You can use a mortar and pestle for a small - scale grinding. This is a traditional method and gives you more
control over the texture of the powder. For larger quantities, a coffee grinder or a high - speed blender can be
used. However, make sure to clean the grinder or blender thoroughly before and after use to avoid any cross -
contamination.
5.2. Grinding Process
Place the dried elderberry extract into the chosen grinding tool. If using a mortar and pestle, start by
crushing the extract into smaller pieces and then gradually grind it into a fine powder. If using a grinder or
blender, pulse the machine several times until you achieve a fine powder consistency.
5.3. Sifting the Powder
After grinding, sift the powder through a fine - mesh sieve. This will remove any larger particles or lumps
that may be present in the powder. The remaining coarse particles can be ground again until you have a
uniformly fine powder.
6. Storing the Elderberry Powder
6.1. Packaging
Store the elderberry powder in an airtight container. You can use glass jars with tight - fitting lids or
vacuum - sealed bags. Make sure the container is clean and dry before adding the powder.
6.2. Storage Conditions
Keep the elderberry powder in a cool, dry place away from direct sunlight. A pantry or a cupboard is a good
storage location. The powder can be stored for several months to a year if stored properly, depending on the
initial quality of the extract and the storage conditions.
7. Conclusion
Making powder from elderberry extract is a rewarding process that allows you to preserve the benefits of elderberries in a convenient form. By following the steps outlined in this article, from selecting the right berries to proper storage, you can create a high - quality elderberry powder that can be used in a variety of ways. Whether for personal use in making herbal remedies or for adding a unique flavor and nutritional boost to your cooking, elderberry powder is a versatile and valuable addition to your pantry.
FAQ:
Q1: What are the characteristics of the right elderberries for making extract powder?
When choosing elderberries for making extract powder, it is important to select ripe berries. Ripe elderberries are usually deep purple or black in color. They should be free from mold, pests, and diseases. Additionally, wild elderberries need to be carefully identified to ensure they are not poisonous varieties, as some types of elderberries can be toxic.
Q2: How do you start the extraction process?
The extraction process typically begins by washing the elderberries thoroughly to remove any dirt or debris. Then, the berries can be mashed or crushed to break them open. This can be done using a mortar and pestle or a food processor. After that, a solvent such as alcohol or water can be added. For an alcohol - based extraction, a high - proof alcohol like vodka is often used. The mixture is then left to sit for a period of time, usually several days to a few weeks, to allow the active compounds in the berries to dissolve into the solvent.
Q3: What is the best way to dry the elderberry extract for powder making?
One common method is to use a food dehydrator. Set the dehydrator to a low temperature, around 110 - 120°F (43 - 49°C), to slowly dry the extract without overheating it. If you don't have a dehydrator, you can also use an oven set to its lowest temperature setting with the door slightly ajar to allow moisture to escape. Another option is air - drying in a well - ventilated area, but this may take longer. Spread the extract thinly on a clean, dry surface like a baking sheet or parchment paper for proper drying.
Q4: How fine should the powder be when grinding?
The fineness of the powder depends on your intended use. For most applications, a fine powder similar to that of baking flour is ideal. This ensures easy mixing and better solubility. However, if you plan to use the powder in capsules, a very fine, almost silky powder may be preferred to ensure it can be easily encapsulated without clogging the machinery.
Q5: Can I use the powder immediately after grinding?
It is advisable to let the powder sit for a short while after grinding. This allows any remaining moisture to be evenly distributed throughout the powder. Additionally, it gives you a chance to check for any large clumps that may need further grinding. Once you are satisfied with the texture and consistency, it can be used immediately or stored for future use.
Related literature
- Elderberry: A Comprehensive Review of Its Chemistry, Pharmacology, and Clinical Applications"
- "The Processing and Utilization of Elderberry Extracts in Nutraceutical and Pharmaceutical Applications"
- "From Elderberry to Powder: Advanced Techniques in Botanical Extraction and Conversion"
- ▶ Hesperidin
- ▶ Citrus Bioflavonoids
- ▶ Plant Extract
- ▶ lycopene
- ▶ Diosmin
- ▶ Grape seed extract
- ▶ Sea buckthorn Juice Powder
- ▶ Fruit Juice Powder
- ▶ Hops Extract
- ▶ Artichoke Extract
- ▶ Mushroom extract
- ▶ Astaxanthin
- ▶ Green Tea Extract
- ▶ Curcumin
- ▶ Horse Chestnut Extract
- ▶ Other Product
- ▶ Boswellia Serrata Extract
- ▶ Resveratrol
- ▶ Marigold Extract
- ▶ Grape Leaf Extract
- ▶ New Product
- ▶ Aminolevulinic acid
- ▶ Cranberry Extract
- ▶ Red Yeast Rice
- ▶ Red Wine Extract
-
Ginger Extract
2024-11-30
-
Dandelion Root Extract
2024-11-30
-
Garcinia Cambogia Extract
2024-11-30
-
Marigold Extract
2024-11-30
-
Black Pepper Extract
2024-11-30
-
Coconut Water Powder
2024-11-30
-
Panax Ginseng Leaf Extract
2024-11-30
-
Alisma Extract
2024-11-30
-
Clove Powder
2024-11-30
-
Kupilu Extract
2024-11-30

