- 0086-571-85302990
- sales@greenskybio.com


Germinating Greatness: Tips for Strawberry Seed Extraction and Growth
2024-08-11
Introduction
Strawberries are not only delicious but also a wonderful addition to any garden. Growing strawberries from seeds can be a rewarding experience. However, it requires some knowledge about seed extraction and proper growth techniques. In this article, we will uncover the secrets of strawberry seed extraction and growth, providing valuable information for both novice and experienced gardeners.
Strawberry Seed Extraction
Selecting the Right Strawberries
When it comes to extracting strawberry seeds, the first step is to choose the right strawberries. Look for ripe strawberries that are fully colored and have a sweet smell. Avoid strawberries that are underripe or overripe as they may not have viable seeds. You can either use strawberries from your own garden or purchase them from a local market. Make sure the strawberries are free from any signs of disease or damage.
Removing the Seeds
There are several methods for removing strawberry seeds. One common method is as follows:
- Cut the strawberry in half horizontally. This will expose the seeds on the surface of the fruit.
- Take a small knife or a toothpick and gently scrape the seeds off the surface of the strawberry. Be careful not to damage the seeds while doing this.
- Another method is to blend the strawberry in a blender with a small amount of water. Then, pour the mixture through a fine - sieve or cheesecloth. The seeds will be retained in the sieve while the pulp and juice will pass through.
Cleaning the Seeds
After removing the seeds, it is important to clean them properly. Here's how:
- Place the seeds in a small bowl of water. Stir the seeds gently to remove any remaining pulp or debris.
- The viable seeds will sink to the bottom while any remaining bits of pulp or non - viable seeds may float on top. Carefully pour off the water along with the floating material.
- Repeat this process a few times until the water is clear and the seeds are clean.
Preparing for Germination
Seed Stratification
Strawberry seeds often require a period of cold stratification to break dormancy and improve germination rates. Stratification mimics the natural winter conditions that the seeds would experience in the wild.
- Place the clean strawberry seeds in a damp paper towel or a small plastic bag with a moistened peat moss or vermiculite.
- Seal the bag or wrap the paper towel and place it in the refrigerator. Keep it at a temperature between 1 - 5°C (34 - 41°F) for about 2 - 3 weeks.
- Check the seeds periodically to make sure the medium remains moist. If it starts to dry out, add a few drops of water.
Soil Preparation
Strawberries prefer well - drained soil with a pH between 5.5 and 6.5. Prepare the soil for germination as follows:
- Start by loosening the soil in the area where you plan to plant the seeds. This can be done using a garden fork or a tiller.
- Add organic matter such as compost, well - rotted manure, or peat moss to improve the soil structure and fertility. A general rule of thumb is to add about 2 - 3 inches of organic matter and mix it well with the soil.
- Level the soil surface and make it smooth.
Germination
Sowing the Seeds
Once the seeds have completed the stratification process, it is time to sow them:
- Moisten the soil surface where you will be sowing the seeds. You can use a watering can with a fine - rose attachment to avoid disturbing the soil too much.
- Sprinkle the strawberry seeds evenly over the soil surface. Since the seeds are very small, it is difficult to space them individually. However, try to avoid over - crowding as much as possible.
- Lightly press the seeds into the soil. Do not bury them too deep; a depth of about 1/16 to 1/8 inch is sufficient.
Providing the Right Conditions
For successful germination, the following conditions are crucial:
- Temperature: Keep the soil temperature between 15 - 21°C (59 - 70°F). You can use a seedling heat mat to maintain a consistent temperature if necessary.
- Light: Strawberry seeds require light for germination. Place the seeded tray or pot in a location where it will receive bright, indirect light. Avoid direct sunlight as it can cause the soil to dry out too quickly.
- Moisture: Keep the soil evenly moist but not waterlogged. You can cover the seeded area with a clear plastic dome or plastic wrap to retain moisture. However, make sure to remove it for a short period each day to allow for air circulation.
Seedling Care
Thinning the Seedlings
Once the seedlings start to emerge, you may need to thin them out. Thinning helps to ensure that each remaining seedling has enough space and resources to grow properly.
- Wait until the seedlings have developed their first true leaves. These are the second set of leaves that appear after the initial cotyledon leaves.
- Using a pair of small scissors or tweezers, carefully remove the weaker or over - crowded seedlings. Leave about 2 - 3 inches of space between each remaining seedling.
Watering and Fertilizing
Proper watering and fertilizing are essential for the healthy growth of strawberry seedlings.
- Watering: Water the seedlings regularly, keeping the soil evenly moist. As the seedlings grow, you can gradually reduce the frequency of watering but still ensure that the soil does not dry out completely. Water in the morning to allow any excess moisture on the leaves to dry during the day, reducing the risk of fungal diseases.
- Fertilizing: Start fertilizing the seedlings when they are about 2 - 3 weeks old. Use a balanced, water - soluble fertilizer with a ratio such as 10 - 10 - 10 or 20 - 20 - 20. Dilute the fertilizer according to the manufacturer's instructions and apply it to the soil around the seedlings. Repeat the fertilization every 2 - 3 weeks during the growing season.
Protecting from Pests and Diseases
Strawberry seedlings are vulnerable to various pests and diseases. Here are some ways to protect them:
- Pests: Common pests that attack strawberry seedlings include aphids, slugs, and snails. You can use natural pest control methods such as introducing beneficial insects like ladybugs, or using physical barriers like copper tape to keep slugs and snails away. For aphids, a mild soap - water solution can be sprayed on the seedlings, being careful not to soak them too much.
- Diseases: Fungal diseases such as damping - off can be a problem for young seedlings. To prevent damping - off, ensure good air circulation around the seedlings, avoid over - watering, and use a well - drained soil. If you notice any signs of disease, such as wilting or discolored leaves, remove the affected seedlings immediately to prevent the spread of the disease.
Transplanting
When to Transplant
When the strawberry seedlings have grown to a suitable size and have developed a strong root system, it is time to transplant them to their permanent location.
- Seedlings are usually ready for transplanting when they are about 6 - 8 weeks old and have 3 - 4 true leaves.
- Choose a cloudy day or transplant in the late afternoon or early evening to reduce the stress on the seedlings due to heat and sunlight.
Transplanting Process
Follow these steps for transplanting:
- Prepare the transplanting area by loosening the soil and adding any necessary amendments as described earlier for soil preparation.
- Gently dig up the seedlings from their current container or seedbed, being careful not to damage the roots. If the roots are very long or tangled, you can trim them slightly to encourage new root growth.
- Plant the seedlings at the same depth as they were in their previous location. Space the seedlings about 12 - 18 inches apart in rows, with the rows about 2 - 3 feet apart.
- Water the transplanted seedlings thoroughly immediately after transplanting to help settle the soil around the roots.
Conclusion
Growing strawberries from seeds can be a fulfilling and enjoyable experience. By following the steps for seed extraction, germination, seedling care, and transplanting, you can increase your chances of having a successful strawberry crop. Whether you are a novice gardener just starting out or an experienced gardener looking to try something new, these tips will help you on your journey to germinating greatness with strawberries.
FAQ:
Q1: How do I extract strawberry seeds?
To extract strawberry seeds, first select a ripe strawberry. Cut off the top of the strawberry where the seeds are most concentrated. Then, using a knife or a small tool, gently scrape the seeds off the flesh. You can also choose to mash the strawberry slightly and then separate the seeds from the pulp by rinsing them with water through a fine - mesh sieve.
Q2: What is the best time to plant strawberry seeds?
The best time to plant strawberry seeds is usually in early spring or late fall. In early spring, the soil is starting to warm up, which is conducive to seed germination. Late fall planting allows the seeds to experience a period of cold stratification during winter, which can also promote better germination in the following spring.
Q3: What kind of soil is suitable for growing strawberries?
Strawberries prefer well - drained, fertile soil. A soil with a pH level between 5.5 and 6.5 is ideal. Sandy loam soil is often a good choice as it provides good drainage while also retaining some moisture and nutrients. Adding organic matter such as compost or well - rotted manure can improve the soil structure and fertility for strawberry growth.
Q4: How much sunlight do strawberry plants need?
Strawberry plants need at least 6 - 8 hours of direct sunlight per day. Adequate sunlight is crucial for photosynthesis, which helps the plants produce energy and grow healthy. However, in extremely hot climates, some afternoon shade may be beneficial to prevent the plants from getting too much heat stress.
Q5: How often should I water strawberry plants?
Strawberry plants need regular watering. In general, they should be watered when the top inch of soil feels dry. During the growing season, this may mean watering every 2 - 3 days, depending on the weather conditions. However, over - watering should be avoided as it can lead to root rot.
Related literature
- Strawberry Cultivation: A Comprehensive Guide"
- "The Art of Growing Strawberries from Seeds"
- "Optimal Conditions for Strawberry Seed Germination and Growth"


- ▶ Hesperidin
- ▶ Citrus Bioflavonoids
- ▶ Plant Extract
- ▶ lycopene
- ▶ Diosmin
- ▶ Grape seed extract
- ▶ Sea buckthorn Juice Powder
- ▶ Fruit Juice Powder
- ▶ Hops Extract
- ▶ Artichoke Extract
- ▶ Mushroom extract
- ▶ Astaxanthin
- ▶ Green Tea Extract
- ▶ Curcumin
- ▶ Horse Chestnut Extract
- ▶ Other Product
- ▶ Boswellia Serrata Extract
- ▶ Resveratrol
- ▶ Marigold Extract
- ▶ Grape Leaf Extract
- ▶ New Product
- ▶ Aminolevulinic acid
- ▶ Cranberry Extract
- ▶ Red Yeast Rice
- ▶ Red Wine Extract
-
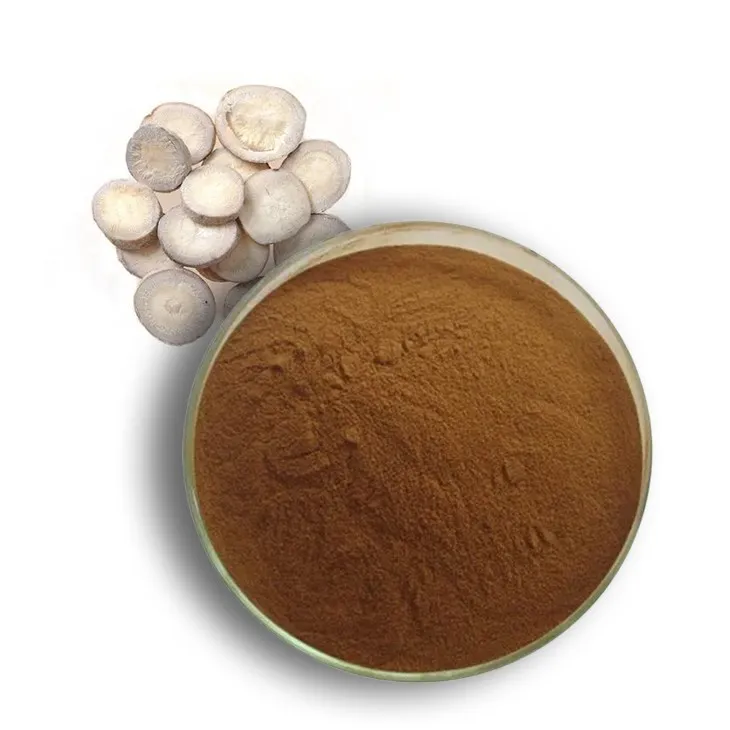
White Peony Extract
2024-08-11
-
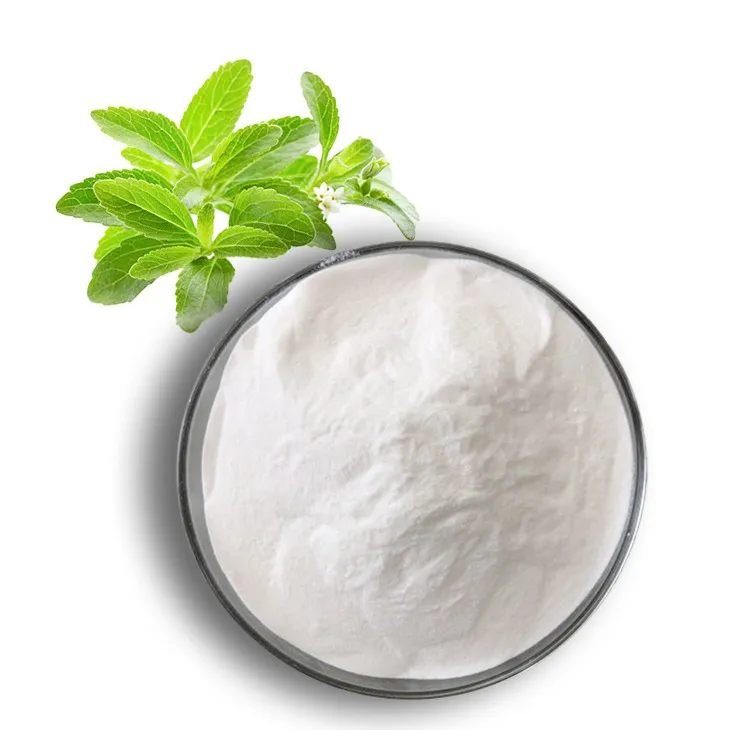
Stevia Extract
2024-08-11
-
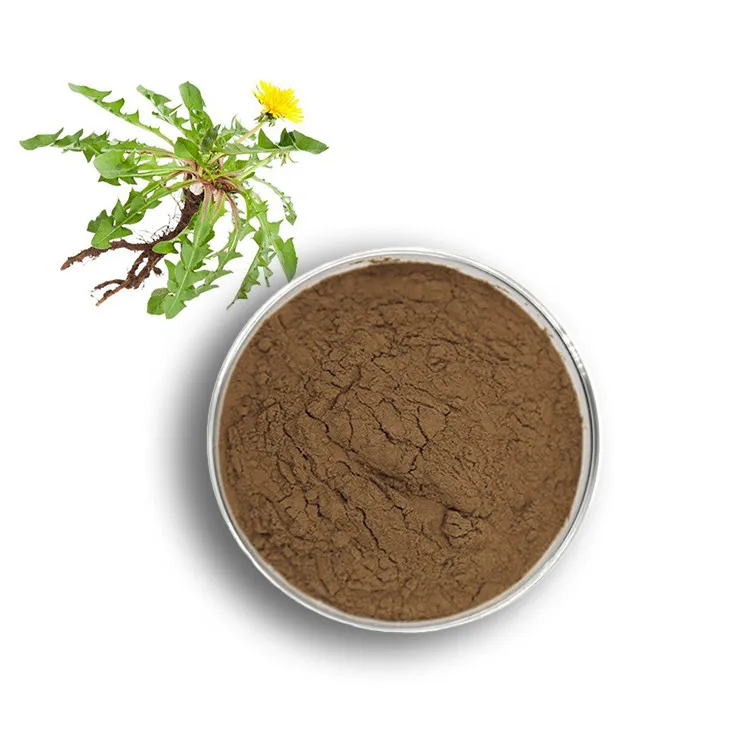
Dandelion Root Extract
2024-08-11
-
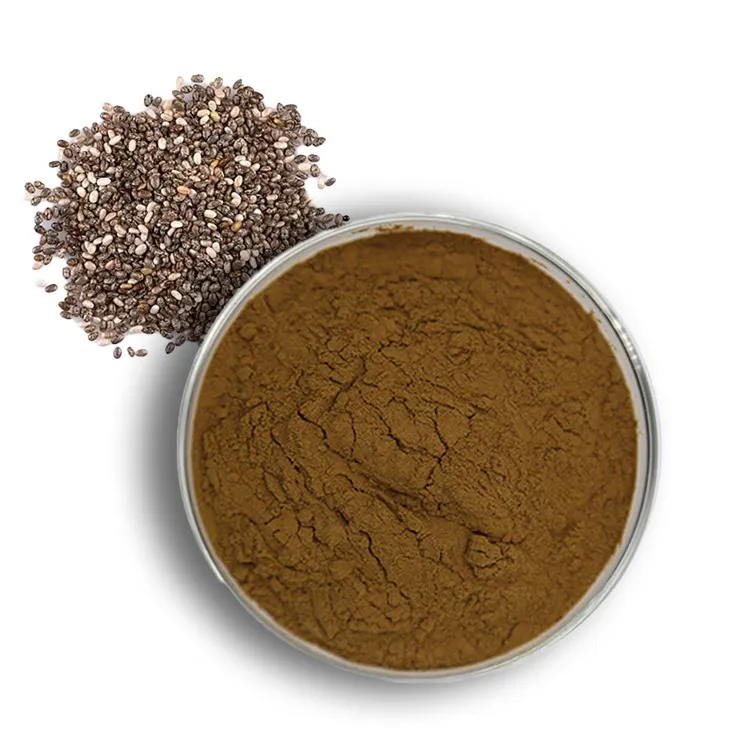
Chia Seed Powder
2024-08-11
-
Clove Powder
2024-08-11
-
Aguaje Extract
2024-08-11
-
Almond Extract Powder
2024-08-11
-
Acai Berry Extract
2024-08-11
-
Red Vine Extract
2024-08-11
-
Red Date Extract
2024-08-11
