- 0086-571-85302990
- sales@greenskybio.com


Home Oil Extraction 101: Your Path to Natural Oils
2024-07-24
Introduction
In recent years, there has been a growing interest in home - made products, and natural oils are no exception. Extracting oils at home can be a rewarding and cost - effective way to obtain pure, natural oils for various household uses. Whether it's for cooking, skincare, or aromatherapy, making your own oils allows you to have complete control over the ingredients and the extraction process. This article will take you through the basics of home oil extraction, including different extraction techniques, safety precautions, and the many benefits of using home - made natural oils.
Benefits of Home - made Natural Oils
Quality Control: When you extract oils at home, you know exactly what goes into them. You can choose the highest quality raw materials, free from additives, pesticides, and other harmful substances. This ensures that the oils you produce are pure and of the best quality for your intended use.
Cost - effective: Buying high - quality natural oils from the store can be expensive. By extracting oils at home, you can save money in the long run, especially if you use certain ingredients frequently. For example, if you use a lot of olive oil for cooking or coconut oil for skincare, making your own can significantly reduce your costs.
Customization: Home - made oils allow for customization according to your specific needs. You can adjust the strength, aroma, or composition of the oil to suit your preferences. For aromatherapy, you can create unique blends of essential oils, or for skincare, you can add other natural ingredients like herbs or vitamins to enhance the oil's properties.
Extraction Techniques
Cold - Press Extraction
Cold - press extraction is one of the most popular and traditional methods for extracting oils at home, especially for plant - based oils like olive oil, avocado oil, and some nut oils.
Process:
- Start with fresh, high - quality raw materials. For example, if you are making olive oil, use ripe olives.
- Clean the raw materials thoroughly to remove any dirt, debris, or damaged parts.
- Crush the raw materials. In the case of olives, you can use a mortar and pestle or a small home - made press. The goal is to break the cells and release the oil.
- Filter the resulting mixture. You can use a fine - mesh sieve or cheesecloth to separate the oil from the solid parts. This may need to be done multiple times to get a clear oil.
Advantages:
- It preserves the natural nutrients, antioxidants, and flavor of the oil. Since no heat is involved in the extraction process, the delicate compounds in the oil are not destroyed.
- It is a relatively simple and low - tech method that can be done at home with basic kitchen tools.
Limitations:
- The yield of oil may be lower compared to other extraction methods. It can also be a time - consuming process, especially if you are working with a large quantity of raw materials.
Solvent Extraction (for Essential Oils)
Solvent extraction is often used for extracting essential oils from plants. However, it requires more caution as solvents can be hazardous if not handled properly.
Process:
- Select the plant material. For example, if you want to extract lavender essential oil, use fresh or dried lavender flowers.
- Choose a suitable solvent. Common solvents used at home for this purpose are food - grade ethanol or vegetable glycerin. Make sure the solvent is pure and free from contaminants.
- Immerse the plant material in the solvent. Use a glass container and ensure that the plant material is fully covered. Seal the container and let it sit for a period of time, usually a few days to a few weeks, depending on the plant material. During this time, the solvent will extract the essential oils from the plant.
- After the extraction period, filter the mixture to remove the plant material. You can use a coffee filter or fine - mesh sieve.
- Evaporate the solvent. This should be done in a well - ventilated area, preferably outdoors. You can use a double boiler or a slow - cooker on a very low heat setting to gently evaporate the solvent. What remains is the essential oil.
Advantages:
- It can extract a higher yield of essential oils compared to some other methods.
- It is suitable for plants that are difficult to extract oils from using other methods, such as some delicate flowers.
Limitations:
- The use of solvents requires careful handling to avoid exposure and ensure safety. Solvents are flammable and can be toxic if inhaled or ingested in large quantities.
- There may be some residue of the solvent in the final oil product, even after evaporation, which may affect the quality and purity of the oil.
Steam Distillation (for Essential Oils)
Steam distillation is another common method for extracting essential oils, especially for herbs and some flowers.
Process:
- Prepare the plant material. Cut or crush the plant to expose more surface area for better extraction.
- Set up a steam distillation apparatus. You can buy a small home - use steam distillation kit or improvise with some basic kitchen equipment. At the very least, you need a heat source, a container for water, a condenser, and a collection vessel.
- Place the plant material in the distillation chamber. Add water to the water container and start heating it. As the water boils, steam is produced and passes through the plant material, carrying the essential oils with it.
- The steam - oil mixture then enters the condenser, where the steam is cooled and condensed back into water. The essential oil, which is less dense than water, floats on top and can be collected.
Advantages:
- It is a relatively clean method that produces a high - quality essential oil. Since only steam is used as the extracting agent, there are no solvent residues in the final product.
- It can be used for a wide variety of plant materials.
Limitations:
- It requires some specialized equipment, which may be an investment if you are only starting out with home oil extraction. However, some basic DIY setups can be made with common household items.
- The process can be time - consuming, especially if you are dealing with a large quantity of plant material.
Safety Precautions
When using solvents:
- Always work in a well - ventilated area, preferably outdoors or in a fume hood if available. Solvents like ethanol are flammable and can produce harmful fumes.
- Wear appropriate protective gear, such as gloves and safety glasses. This will protect your skin and eyes from potential contact with the solvent.
- Keep solvents away from heat sources and open flames. Store them in a cool, dry place, away from children and pets.
When using heat in extraction processes (e.g., steam distillation):
- Use proper heat - resistant equipment. Make sure the containers and tubing used in steam distillation can withstand the heat without melting or cracking.
- Be cautious of burns. Keep your hands and body away from hot surfaces, and use heat - proof gloves when handling hot equipment.
- Ensure that the heat source is stable and not likely to tip over. If using a stove, make sure it is clean and in good working condition.
General safety for all extraction methods:
- Clean your equipment thoroughly before and after use. This will prevent cross - contamination and ensure the quality of your oils.
- Follow the instructions carefully when using any equipment or substances. Do not deviate from the recommended procedures to avoid accidents.
- If you are allergic to any of the raw materials or substances used in the extraction process, avoid using them. Always do a patch test on a small area of skin before using a new oil, especially for skincare purposes.
Uses of Home - made Natural Oils
Cooking
Home - made oils like olive oil, coconut oil, and avocado oil are excellent for cooking. They can be used for frying, sautéing, baking, and as salad dressings. Olive oil, in particular, is known for its health benefits, including its high content of monounsaturated fats, which are good for heart health.
Tips for cooking with home - made oils:
- Know the smoke point of your oil. Different oils have different smoke points, and using an oil above its smoke point can cause it to break down and produce harmful substances. For example, extra - virgin olive oil has a relatively low smoke point compared to refined olive oil, so it is better suited for low - heat cooking methods like salad dressings and light sautéing.
- Store your cooking oils properly. Keep them in a cool, dark place, preferably in a sealed container. Exposure to light, heat, and air can cause the oil to oxidize and go rancid more quickly.
Skincare
Many natural oils have excellent skincare properties. For example, coconut oil is a great moisturizer, argan oil is rich in antioxidants and can help reduce wrinkles, and tea tree oil has antibacterial properties and can be used to treat acne.
Tips for using home - made oils in skincare:
- Do a patch test first. As mentioned earlier, some people may be allergic to certain oils. Apply a small amount of the oil to a small area of skin, like the inside of your wrist, and wait 24 hours to see if there is any reaction.
- Choose the right oil for your skin type. For oily skin, lighter oils like jojoba oil may be more suitable, while for dry skin, heavier oils like shea butter or avocado oil can provide more moisture.
- Combine oils for enhanced benefits. You can create your own custom blends of oils for different skincare needs. For example, a blend of lavender essential oil and almond oil can be both soothing and moisturizing.
Aromatherapy
Essential oils are widely used in aromatherapy to promote relaxation, relieve stress, and improve mood. You can make your own essential oil blends at home for use in diffusers, massage oils, or bath products.
Tips for using home - made essential oils in aromatherapy:
- Learn about the properties of different essential oils. For example, lavender is known for its calming effect, while peppermint can be invigorating. Understanding these properties will help you create effective blends.
- Use proper dilution. Essential oils are very concentrated and should be diluted before use on the skin. A common dilution ratio is 1 - 2% for topical use, which means 1 - 2 drops of essential oil per teaspoon of carrier oil (such as jojoba or almond oil).
- Store your essential oils properly. Keep them in dark - colored glass bottles, preferably in a cool, dry place. Exposure to light and heat can degrade the quality of the essential oils.
Conclusion
Home oil extraction is a fascinating and rewarding activity that allows you to enjoy the benefits of natural oils in your daily life. By understanding different extraction techniques, taking proper safety precautions, and exploring the various uses of home - made oils, you can embark on your own journey to create pure, natural oils for cooking, skincare, aromatherapy, and more. Whether you are looking to save money, have more control over the quality of your products, or simply enjoy the process of making something from scratch, home - made oil extraction offers a world of possibilities.
FAQ:
What are the common extraction techniques for home - made oil?
Some common extraction techniques for home - made oil include cold - press extraction and solvent - free extraction. Cold - press extraction involves mechanically pressing the source material, like seeds or nuts, to extract the oil. Solvent - free extraction can also be done using simple tools at home, such as by using a mortar and pestle to crush and then extract the oil.
What safety precautions should be taken during home oil extraction?
Firstly, when using any equipment like presses or blenders, make sure they are clean and in good working condition to avoid accidents. If using heat in the extraction process, be cautious not to overheat as it can cause the oil to degrade or even pose a fire hazard. Also, when handling the source materials, ensure they are free from contaminants and properly washed. And always wear appropriate protective gear, such as gloves, especially if you are handling substances that might cause skin irritation.
What are the benefits of using home - extracted natural oils?
Home - extracted natural oils are pure and free from many of the additives and preservatives found in commercial oils. They can be used for various household uses such as cooking, where they can add a fresh and pure flavor. In skincare, they can be used as natural moisturizers or for making homemade beauty products. They are also a great way to have control over the quality and source of the oil.
What types of materials can be used for home oil extraction?
Many types of materials can be used. Common ones include various nuts like almonds, walnuts, and coconuts. Seeds such as sunflower seeds, flaxseeds, and sesame seeds are also great sources. Additionally, some fruits like olives can be used for oil extraction at home.
How can home - extracted oils be stored?
Home - extracted oils should be stored in a cool, dark place. Use dark - colored glass bottles as they can protect the oil from light exposure, which can cause the oil to spoil. Seal the bottles tightly to prevent air from getting in, as oxygen can also degrade the quality of the oil. It's also a good idea to label the bottles with the type of oil and the date of extraction.
Related literature
- The Art of Home - made Oil Extraction"
- "Natural Oils: Home Extraction and Utilization"
- "Home Oil Extraction: A Guide to Pure and Natural Oils"


- ▶ Hesperidin
- ▶ Citrus Bioflavonoids
- ▶ Plant Extract
- ▶ lycopene
- ▶ Diosmin
- ▶ Grape seed extract
- ▶ Sea buckthorn Juice Powder
- ▶ Fruit Juice Powder
- ▶ Hops Extract
- ▶ Artichoke Extract
- ▶ Mushroom extract
- ▶ Astaxanthin
- ▶ Green Tea Extract
- ▶ Curcumin
- ▶ Horse Chestnut Extract
- ▶ Other Product
- ▶ Boswellia Serrata Extract
- ▶ Resveratrol
- ▶ Marigold Extract
- ▶ Grape Leaf Extract
- ▶ New Product
- ▶ Aminolevulinic acid
- ▶ Cranberry Extract
- ▶ Red Yeast Rice
- ▶ Red Wine Extract
-

Lycopene
2024-07-24
-
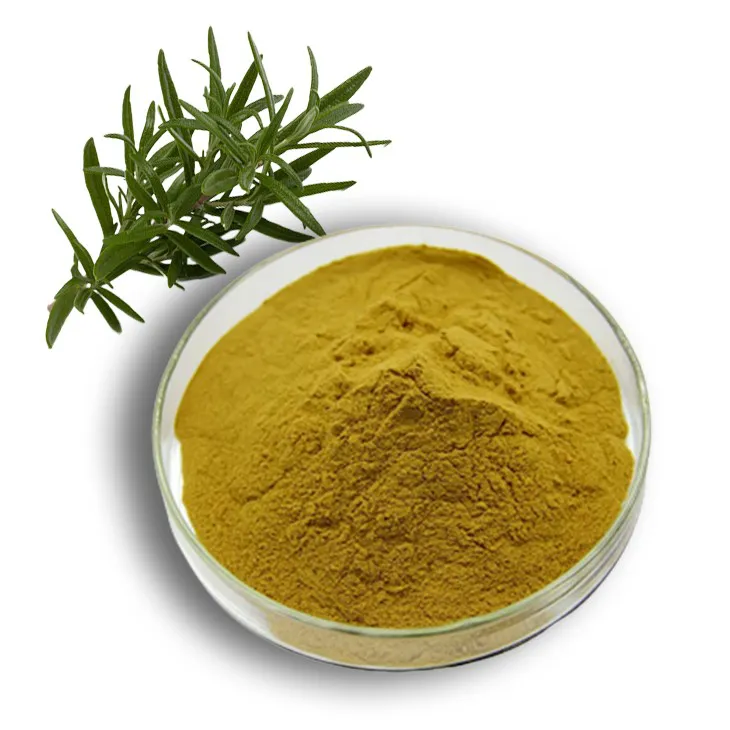
Rosemary extract
2024-07-24
-
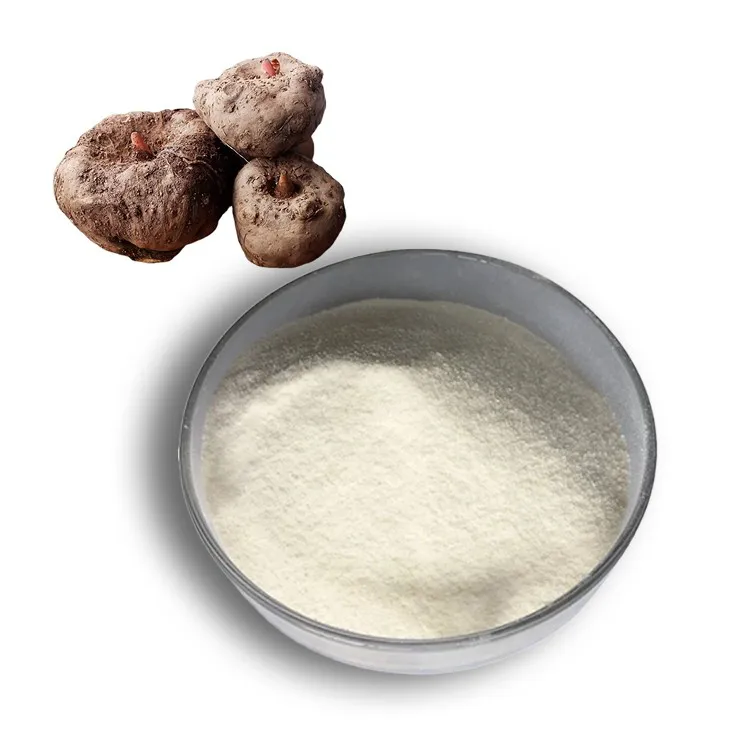
Konjac Powder
2024-07-24
-
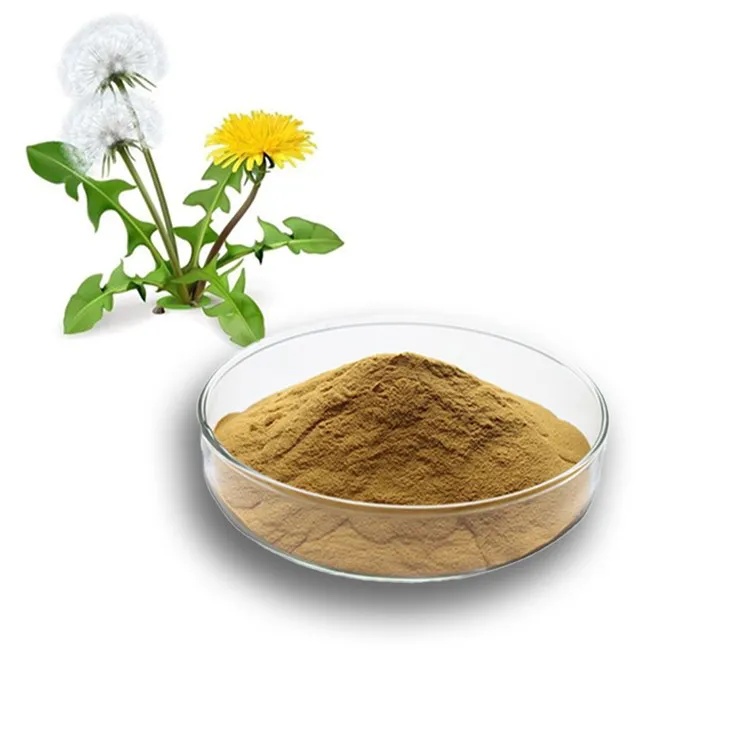
Dandelion Leaf Extract
2024-07-24
-
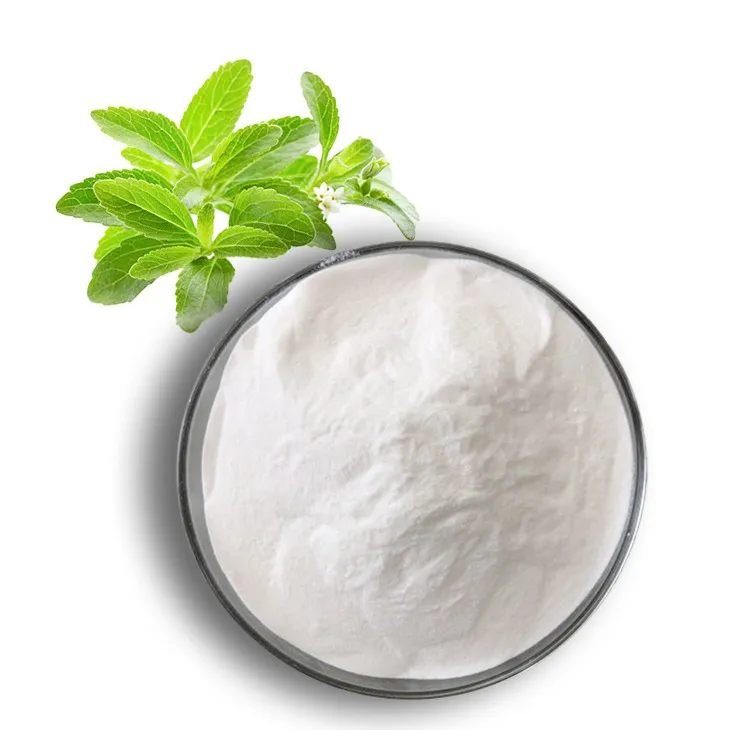
Stevia Extract
2024-07-24
-
Apricot Powder
2024-07-24
-
Shikone Extract
2024-07-24
-

Astaxanthin
2024-07-24
-
Lemon Extract
2024-07-24
-
Hedyotis Diffusa Extract
2024-07-24
