- 0086-571-85302990
- sales@greenskybio.com


Unlocking the Essence: DIY Plant Oil Extraction Techniques
2024-08-15
Introduction
Plant oils have been used for centuries for various purposes, including cooking, skincare, and medicinal applications. Extracting plant oils at home can be a rewarding and cost - effective way to obtain these valuable substances. In this article, we will explore different DIY plant oil extraction techniques, from cold - press to solvent - based methods, and also discuss the best plants for oil extraction. Whether you are a DIY enthusiast or simply interested in natural products, this article will provide you with in - depth knowledge on the subject.
Cold - Press Method
Cold - pressing is one of the most popular and traditional methods of plant oil extraction. It is considered a natural and pure way to obtain plant oils as it does not involve the use of heat or solvents.
Steps for Cold - Press Extraction
- Select the plant material. Choose fresh, high - quality plant parts such as seeds, nuts, or fruits. For example, if you want to extract almond oil, use fresh almonds. Make sure the plant material is clean and free from debris.
- Crush the plant material. You can use a mortar and pestle for small quantities or a mechanical grinder for larger amounts. The goal is to break the plant cells to release the oil. For instance, if you are working with flaxseeds, grind them into a fine powder.
- Press the crushed material. You can use a simple hand - held press or a more elaborate mechanical press. Place the crushed plant material in a press and apply pressure gradually. The oil will start to seep out. For example, when pressing olive oil from olives, the pressure squeezes out the precious oil.
- Collect the oil. Place a container beneath the press to collect the extracted oil. Filter the oil through a fine - mesh sieve or cheesecloth to remove any remaining solids. The filtered oil is now ready for use.
Advantages of cold - press extraction include:
- Preserves the natural nutrients and antioxidants in the oil as no heat is used.
- Produces a high - quality, pure oil with a characteristic flavor and aroma.
- Low extraction yield compared to some other methods.
- Requires more effort and time, especially for larger quantities.
Solvent - Based Method
The solvent - based method is another option for DIY plant oil extraction. This method uses solvents to dissolve the oil from the plant material. Commonly used solvents include hexane, ethanol, and isopropyl alcohol.
Steps for Solvent - Based Extraction
- Prepare the plant material. As with the cold - press method, start with clean and dry plant parts. Chop or grind the material into small pieces to increase the surface area for extraction.
- Choose the solvent. Depending on the type of plant and the desired properties of the oil, select an appropriate solvent. For example, ethanol may be a good choice for extracting certain herbal oils.
- Mix the plant material and solvent. Place the plant material in a glass container and add the solvent. The ratio of plant material to solvent will depend on the specific extraction. Stir the mixture well to ensure all the plant material is in contact with the solvent.
- Allow extraction to occur. Let the mixture sit for a period of time, usually several hours to a few days. During this time, the solvent will dissolve the oil from the plant material.
- Separate the oil - solvent mixture from the plant residue. Use a filter or a sieve to separate the liquid from the solid plant residue. You can then transfer the oil - solvent mixture to another container.
- Remove the solvent. This is a crucial step as the solvent needs to be removed completely to obtain pure plant oil. You can use evaporation techniques such as gentle heating or vacuum distillation. However, be careful not to overheat the oil as it may damage its quality.
Advantages of the solvent - based method:
- High extraction yield, which means you can obtain more oil from the same amount of plant material.
- Can be used for plants that are difficult to extract oil from using the cold - press method.
- The use of solvents can be dangerous if not handled properly. Solvents are often flammable and may be toxic.
- There is a risk of leaving some solvent residue in the final oil product, which can be harmful if ingested or used on the skin.
Steam Distillation Method
Steam distillation is a method commonly used for extracting essential oils from plants. Although it is more complex than the previous two methods, it is very effective for obtaining aromatic oils.
Steps for Steam Distillation
- Prepare the plant material. Use fresh or dried plant parts such as leaves, flowers, or stems. Cut the material into small pieces to facilitate the distillation process.
- Set up the steam distillation apparatus. This typically consists of a distillation flask, a condenser, and a collection flask. The plant material is placed in the distillation flask.
- Generate steam. Heat water in a separate container and direct the steam into the distillation flask containing the plant material. The steam will pass through the plant material and carry the volatile oil components with it.
- Condense the steam - oil mixture. The steam - oil mixture travels through the condenser, where it is cooled and condensed back into a liquid. The condensed liquid, which contains the oil and water, is collected in the collection flask.
- Separate the oil from the water. Since oil and water do not mix, they will separate in the collection flask. The oil will float on top of the water and can be carefully skimmed off or siphoned out.
Advantages of steam distillation:
- Produces high - quality essential oils with a pure aroma.
- Can be used to extract oils from a wide variety of plants.
- Requires specialized equipment, which can be expensive and difficult to set up for DIY enthusiasts.
- The process can be time - consuming and energy - intensive.
Best Plants for Oil Extraction
There are many plants that are suitable for DIY oil extraction. Here are some of the most popular ones:
Olive
Olive oil is one of the most well - known and widely used plant oils. It is rich in monounsaturated fats, antioxidants, and vitamins. Olive oil can be easily extracted using the cold - press method. The olives should be ripe and of good quality. It is used in cooking, salad dressings, and skincare products.
Almond
Almond oil is a popular choice for skincare and haircare. It is high in vitamin E, which is beneficial for the skin and hair. Almonds can be cold - pressed to obtain a sweet - smelling, nourishing oil. It is also used in some cooking applications, especially in baking.
Coconut
Coconut oil has gained popularity in recent years for its various uses. It can be extracted using different methods, including cold - press and solvent - based (although the cold - press method is more natural). Coconut oil is rich in medium - chain triglycerides, which have unique health and beauty benefits. It is used in cooking, as a hair conditioner, and in skincare products.
Sunflower
Sunflower oil is a common cooking oil. It is high in polyunsaturated fats and vitamin E. Sunflower seeds can be cold - pressed to obtain a light - colored, mild - flavored oil. It is suitable for frying, baking, and salad dressings.
Jojoba
Jojoba oil is very similar in composition to the sebum produced by human skin. It is often used in skincare products, especially for moisturizing. Jojoba seeds can be cold - pressed to obtain a stable, long - lasting oil. It is also used in some haircare products.
Safety Precautions
When performing DIY plant oil extraction, it is important to take certain safety precautions:
- If using the solvent - based method, work in a well - ventilated area as solvents can release harmful fumes. Wear appropriate protective gear such as gloves and safety glasses.
- When using heat - based methods like steam distillation, be careful not to overheat the plant material or the oil - solvent mixture as it can cause burns or damage the quality of the oil.
- Ensure that all equipment used is clean and in good working condition to avoid contamination of the oil.
- If you are allergic to any of the plants used for oil extraction, avoid using them.
Conclusion
DIY plant oil extraction can be a fascinating and useful activity. Whether you choose the cold - press, solvent - based, or steam distillation method, each has its own advantages and disadvantages. By understanding these techniques and the best plants for oil extraction, you can create your own high - quality plant oils at home for various applications. However, always remember to follow safety precautions to ensure a successful and safe extraction process. With the knowledge gained from this article, you are well - equipped to start your DIY plant oil extraction journey.
FAQ:
What are the main methods of DIY plant oil extraction?
There are mainly two main methods for DIY plant oil extraction. One is the cold - press method, which involves mechanically pressing the plant materials to extract the oil without using heat or chemicals. The other is the solvent - based method, where a solvent is used to dissolve the oil from the plant matter and then the solvent is removed to obtain the pure oil. However, the solvent - based method requires more caution as the solvents can be hazardous.
Which plants are suitable for DIY oil extraction?
Many plants are suitable for DIY oil extraction. For example, olive trees are a very common source, and olive oil can be extracted relatively easily. Sunflower seeds are also a great choice as they contain a significant amount of oil. Coconut is another plant; coconut oil extraction can be done at home with the right techniques. Additionally, flaxseeds are rich in oil and can be used for extraction.
What are the safety precautions when using the solvent - based extraction method?
When using the solvent - based extraction method, several safety precautions must be taken. Firstly, the solvent used should be stored and handled in a well - ventilated area as many solvents are volatile and can be harmful if inhaled in large quantities. Secondly, appropriate protective equipment such as gloves and goggles should be worn to prevent skin contact and eye irritation. Also, make sure to follow the proper disposal procedures for the solvent after the extraction process to avoid environmental pollution.
How can we ensure the quality of the DIY - extracted plant oil?
To ensure the quality of DIY - extracted plant oil, start with high - quality plant materials. Ensure that the plants are fresh and free from mold or other contaminants. During the extraction process, whether it is cold - press or solvent - based, follow the correct procedures precisely. For cold - press, use clean and well - maintained equipment. After extraction, store the oil in a cool, dark place in a clean, airtight container to prevent oxidation and spoilage.
Can all plant oils extracted at home be used for cooking?
No, not all plant oils extracted at home are suitable for cooking. Some plant oils may contain substances that are harmful when heated, or they may have a very low smoke point, which means they start to break down and produce harmful compounds at relatively low cooking temperatures. For example, some essential oils are not meant for cooking even though they are plant - derived oils. It is important to research and know the properties of the extracted oil before using it for cooking.
Related literature
- Plant Oil Extraction: Principles and Practices"
- "DIY Natural Products: A Guide to Home - made Plant Oils"
- "The Science of Plant Oil Extraction for Home Use"


- ▶ Hesperidin
- ▶ Citrus Bioflavonoids
- ▶ Plant Extract
- ▶ lycopene
- ▶ Diosmin
- ▶ Grape seed extract
- ▶ Sea buckthorn Juice Powder
- ▶ Fruit Juice Powder
- ▶ Hops Extract
- ▶ Artichoke Extract
- ▶ Mushroom extract
- ▶ Astaxanthin
- ▶ Green Tea Extract
- ▶ Curcumin
- ▶ Horse Chestnut Extract
- ▶ Other Product
- ▶ Boswellia Serrata Extract
- ▶ Resveratrol
- ▶ Marigold Extract
- ▶ Grape Leaf Extract
- ▶ New Product
- ▶ Aminolevulinic acid
- ▶ Cranberry Extract
- ▶ Red Yeast Rice
- ▶ Red Wine Extract
-
Green Tea Extract
2024-08-15
-
Natural grape seed extract
2024-08-15
-
Beetroot Powder
2024-08-15
-
Tongkat Ali Extract Powder
2024-08-15
-
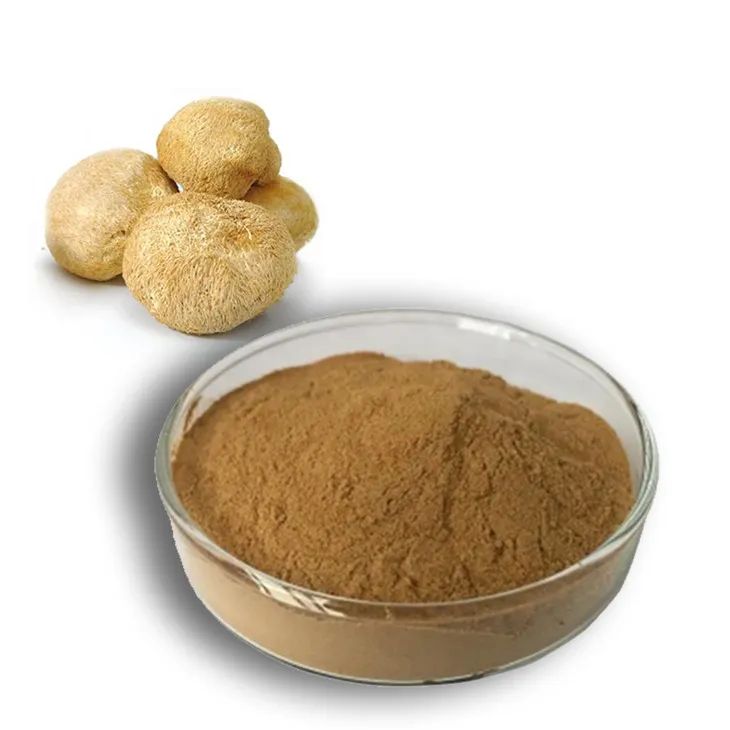
Hericium erinaceus extract powder
2024-08-15
-
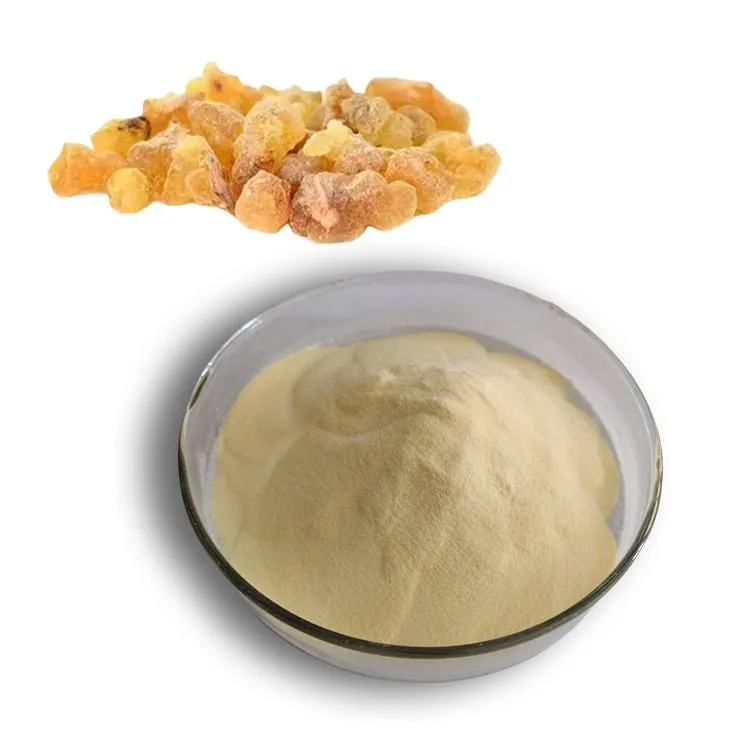
Boswellia Serrata Extract
2024-08-15
-
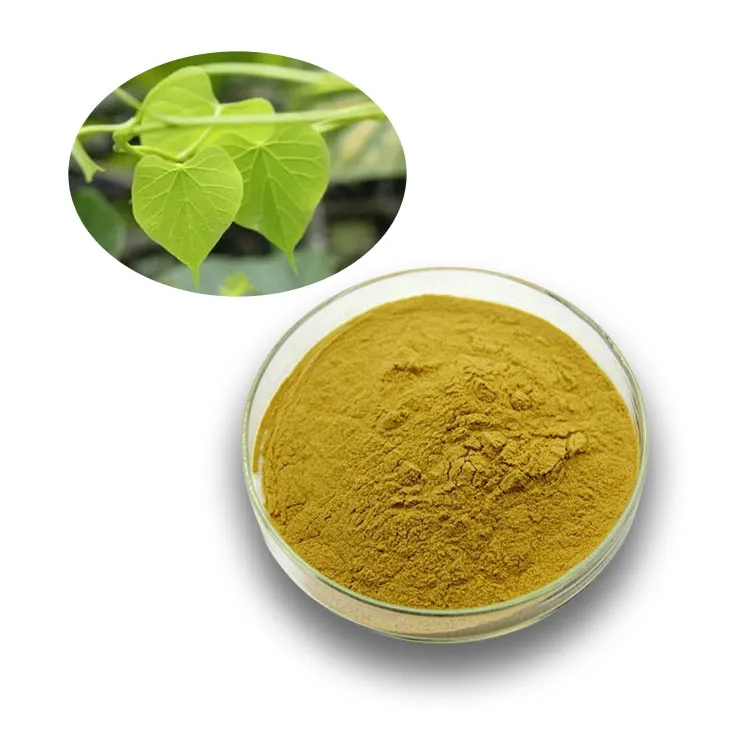
Tinospora cordifolia extract
2024-08-15
-
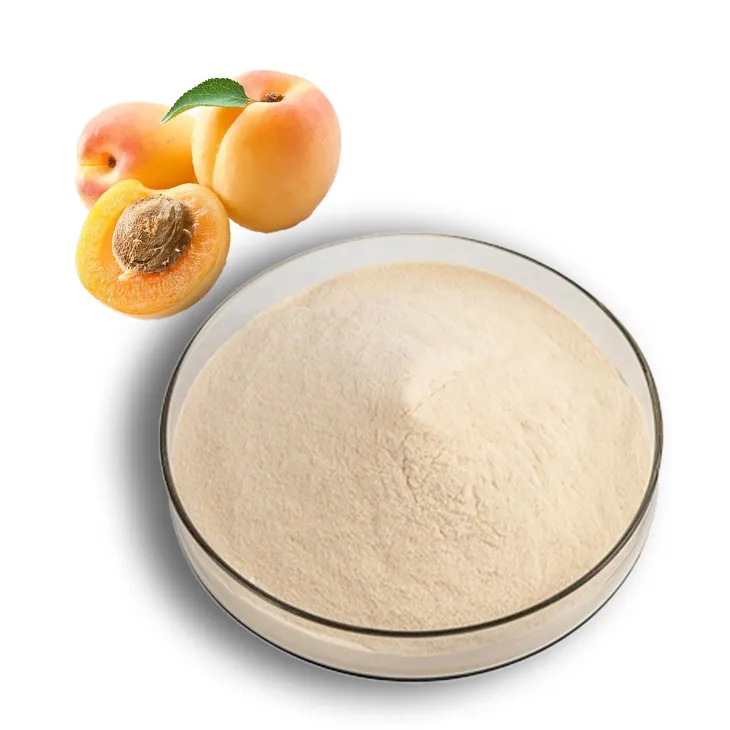
Apricot Powder
2024-08-15
-
Kidney Bean Extract
2024-08-15
-
Maitake Mushroom Extract
2024-08-15
