- 0086-571-85302990
- sales@greenskybio.com


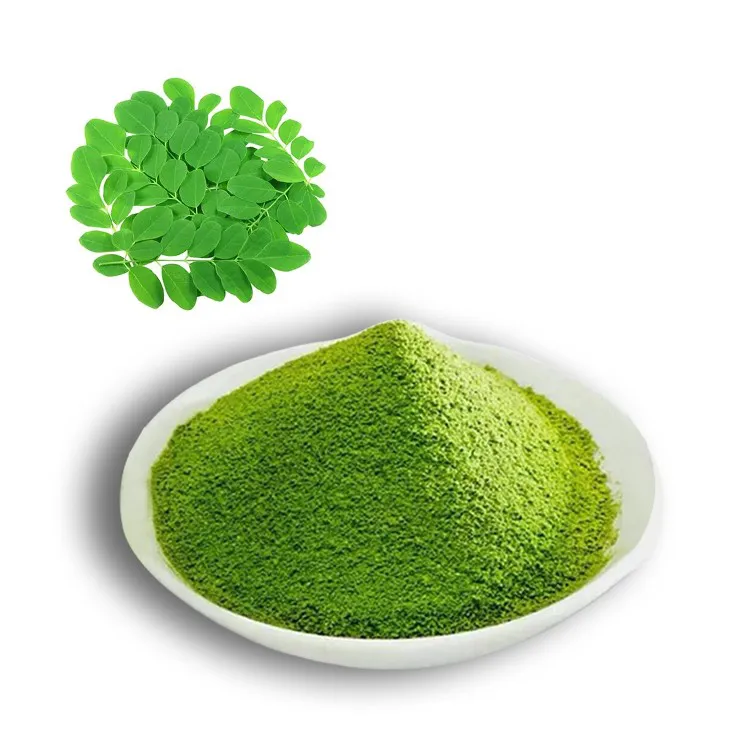
Complete Guide to Moringa Powder Grinding Process: Step - by - Step Key Points
2024-12-17
Introduction
Moringa powder has gained significant popularity in recent years due to its numerous health benefits. It is rich in vitamins, minerals, and antioxidants. The process of grinding moringa into powder is crucial in order to make it more accessible for consumption and various applications. This guide will take you through the step - by - step process of grinding Moringa powder, highlighting key points along the way.

1. Harvesting Moringa
1.1 Selecting the Right Time
The first step in the Moringa powder grinding process begins with harvesting. Moringa leaves should be harvested at the right time. It is best to harvest the leaves when they are young and tender. Young leaves tend to have a higher nutrient content. Typically, this is when the leaves are about 1 - 3 inches long. Avoid harvesting leaves that are too old as they may be tougher and have a lower nutritional value.
1.2 Harvesting Technique
When harvesting moringa leaves, use clean and sharp pruning shears. Cut the leaves carefully from the branches, leaving a small portion of the stem attached if possible. This helps in maintaining the freshness of the leaves for a longer time. Do not pull the leaves forcefully as this can damage the plant and also affect the quality of the leaves.

2. Cleaning the Moringa Leaves
2.1 Removing Debris
Once the moringa leaves are harvested, they need to be cleaned thoroughly. The first step in cleaning is to remove any visible debris such as dirt, twigs, or insects. Gently shake the leaves to dislodge loose debris. Then, pick out any remaining debris by hand. This ensures that the final moringa powder will be free from unwanted contaminants.
2.2 Washing the Leaves
After removing the debris, wash the moringa leaves. Use cool, clean water for washing. Submerge the leaves in a basin of water and gently swish them around. This helps in removing any remaining dirt or dust. However, be careful not to over - wash the leaves as this can cause some of the nutrients to be lost. After washing, gently pat the leaves dry with a clean towel or let them air - dry for a short period.

3. Drying the Moringa Leaves
3.1 Choosing the Drying Method
Drying the moringa leaves is an essential step in the powder - grinding process. There are several methods to dry moringa leaves. One common method is air - drying. For air - drying, spread the leaves in a single layer on a clean, dry surface such as a drying rack or a clean cloth in a well - ventilated area. Another option is using a dehydrator. If using a dehydrator, set the temperature to a low setting (around 110 - 120°F) to preserve the nutrients in the leaves.
3.2 Monitoring the Drying Process
Regardless of the drying method chosen, it is important to monitor the drying process. The leaves should be dried until they are completely brittle. This usually takes a few days for air - drying and a shorter time (around 6 - 12 hours) for dehydrator drying. Check the leaves regularly to ensure that they are drying evenly and not developing mold or mildew. If any signs of spoilage are detected, discard the affected leaves immediately.
4. Sorting and Quality Control
4.1 Sorting the Dried Leaves
After the moringa leaves are dried, they need to be sorted. Remove any leaves that are discolored, have signs of mold, or are not fully dried. Sorting helps in ensuring that only high - quality leaves are used for grinding into powder. This step is crucial as it can affect the taste, texture, and nutritional value of the final moringa powder.
4.2 Quality Control Checks
During the sorting process, perform some basic quality control checks. Check the smell of the dried leaves. They should have a pleasant, earthy smell. If there is a musty or off - smell, it could indicate spoilage. Also, check the texture of the leaves. They should be brittle and crumble easily. If the leaves are still soft or pliable, they may not be fully dried and need more drying time.
5. Grinding the Moringa Leaves
5.1 Choosing the Right Grinding Equipment
There are different types of grinding equipment that can be used to grind moringa leaves into powder. One option is a coffee grinder. A coffee grinder is suitable for small - scale grinding at home. For larger - scale production, a commercial grinder or a blender with a grinding function can be used. When choosing a grinder, consider factors such as the capacity, the fineness of the grind it can produce, and the ease of cleaning.
5.2 Grinding Process
Before grinding, make sure the dried moringa leaves are in small pieces. This can be achieved by breaking them up by hand or using a mortar and pestle. Place a small amount of the dried, broken - up moringa leaves into the grinder. Grind the leaves in short bursts to avoid overheating the grinder. Check the consistency of the powder during the grinding process. If the powder is too coarse, continue grinding until the desired fineness is achieved. The fineness of the moringa powder can affect its solubility and usability in various applications.
6. Sifting the Moringa Powder
6.1 Purpose of Sifting
After grinding, it is advisable to sift the moringa powder. Sifting helps in removing any large particles or unground pieces from the powder. This results in a smoother and more consistent powder. It also improves the quality of the final product as it gives a more uniform texture.
6.2 Sifting Equipment and Technique
A fine - mesh sieve can be used for sifting the moringa powder. Place the sieve over a clean container. Pour the ground moringa powder into the sieve. Gently shake the sieve to allow the fine powder to pass through while the larger particles remain on top of the sieve. If there are a significant number of large particles, you may need to re - grind them and sift again until the desired fineness is obtained.
7. Packaging and Storage
7.1 Packaging Materials
Once the moringa powder has been sifted, it is ready for packaging. Choose appropriate packaging materials to ensure the freshness and quality of the powder. Airtight containers such as glass jars or high - quality plastic bags with a zip - lock are suitable for packaging moringa powder. These containers help in preventing air, moisture, and pests from getting into the powder.
7.2 Storage Conditions
Store the packaged moringa powder in a cool, dry place. Avoid storing it in areas with high humidity or direct sunlight. The ideal storage temperature is around 60 - 70°F. Under these conditions, the moringa powder can maintain its quality for a longer period. Check the powder periodically for any signs of spoilage such as off - smells or changes in color.
Conclusion
The process of grinding moringa powder involves several important steps, from harvesting to packaging. By following these step - by - step key points, you can produce high - quality moringa powder that is rich in nutrients and suitable for various uses. Whether you are making moringa powder for personal consumption or for commercial purposes, attention to detail in each step is crucial for ensuring a great - quality end product.
FAQ:
What are the main steps in the moringa powder grinding process?
The main steps typically include harvesting fresh moringa leaves or pods, cleaning them thoroughly to remove dirt and impurities, drying them to an appropriate moisture level (either through natural sun - drying or using a drying machine), and then grinding the dried moringa parts into a fine powder using a grinder suitable for this purpose. Special attention should be paid to the drying process to ensure the quality of the final powder.
What equipment is needed for the moringa powder grinding process?
For the moringa powder grinding process, you will need a good - quality grinder. A blender or a specialized herbal grinder can be used. Additionally, you need equipment for drying, such as a drying rack for sun - drying or an electric dehydrator. And of course, tools for harvesting like pruning shears and containers for collecting and storing the moringa parts during the process.
How can we ensure the quality of moringa powder during the grinding process?
To ensure the quality of moringa powder during grinding, start with high - quality moringa raw materials. Make sure they are clean and free from pesticides or contaminants. The drying process should be done properly to avoid mold growth or improper moisture levels. During grinding, use a grinder that can produce a fine and uniform powder. Also, store the ground powder in a clean, dry, and airtight container to maintain its freshness and quality.
What are the key points to note when drying moringa for powder grinding?
When drying moringa for powder grinding, the key points are as follows. Firstly, ensure that the drying environment is clean to prevent contamination. Secondly, control the drying temperature and time. If using sun - drying, make sure the moringa is evenly exposed to sunlight. For machine - drying, set the appropriate temperature according to the type of moringa part being dried. Also, check the moisture level regularly during drying to ensure it reaches the optimal level for grinding, usually a very low moisture content.
Can the grinding process affect the nutritional value of moringa powder?
The grinding process can potentially affect the nutritional value of moringa powder if not done correctly. Over - grinding or using high - heat - generating grinders may cause some nutrient degradation. To minimize this, use a grinder that operates at a relatively low temperature and grinds in a short time. Also, proper drying before grinding helps to preserve the nutrients, as moisture can lead to nutrient loss during storage.
Related literature
- Moringa: A Miracle Tree - Cultivation and Utilization"
- "The Complete Guide to Moringa Processing and Product Development"
- "Moringa Powder Production: Best Practices and Quality Control"


- ▶ Hesperidin
- ▶ citrus bioflavonoids
- ▶ plant extract
- ▶ lycopene
- ▶ Diosmin
- ▶ Grape seed extract
- ▶ Sea buckthorn Juice Powder
- ▶ Beetroot powder
- ▶ Hops Extract
- ▶ Artichoke Extract
- ▶ Reishi mushroom extract
- ▶ Astaxanthin
- ▶ Green Tea Extract
- ▶ Curcumin Extract
- ▶ Horse Chestnut Extract
- ▶ Other Problems
- ▶ Boswellia Serrata Extract
- ▶ Resveratrol Extract
- ▶ Marigold Extract
- ▶ Grape Leaf Extract
- ▶ blog3
- ▶ blog4
- ▶ blog5
-

Red Wine Extract
2024-12-17
-
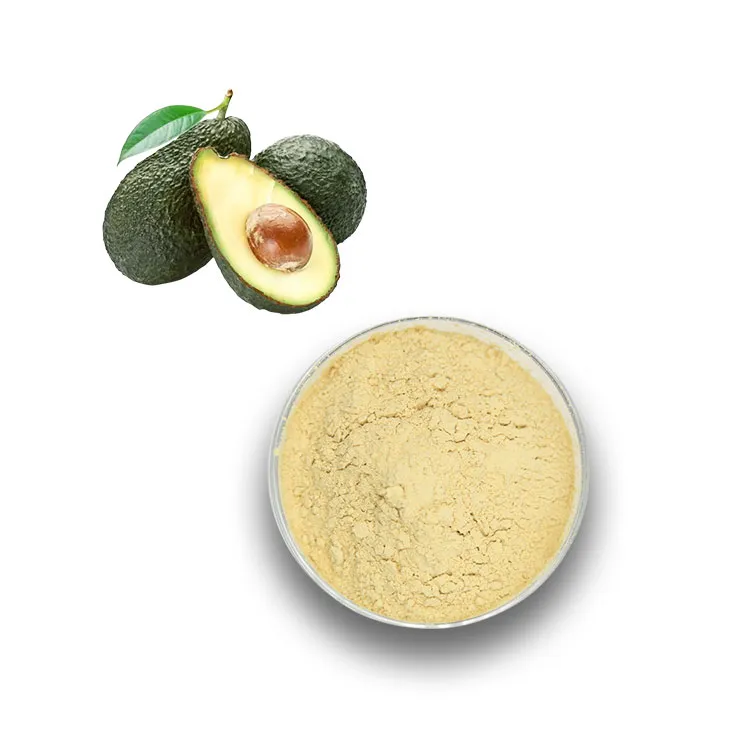
Avocado Extract Powder
2024-12-17
-
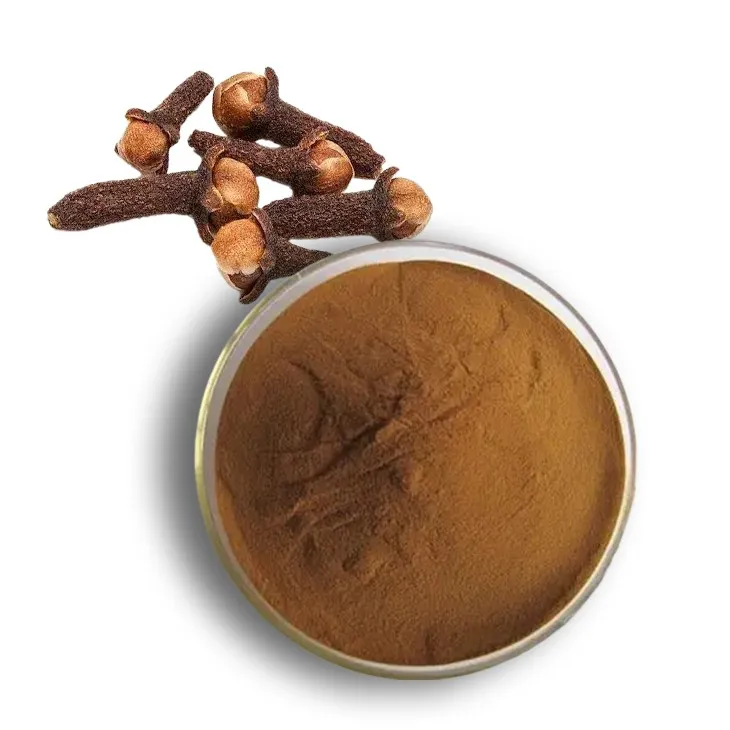
Clove Powder
2024-12-17
-

Yam Extract
2024-12-17
-

Hesperidin
2024-12-17
-
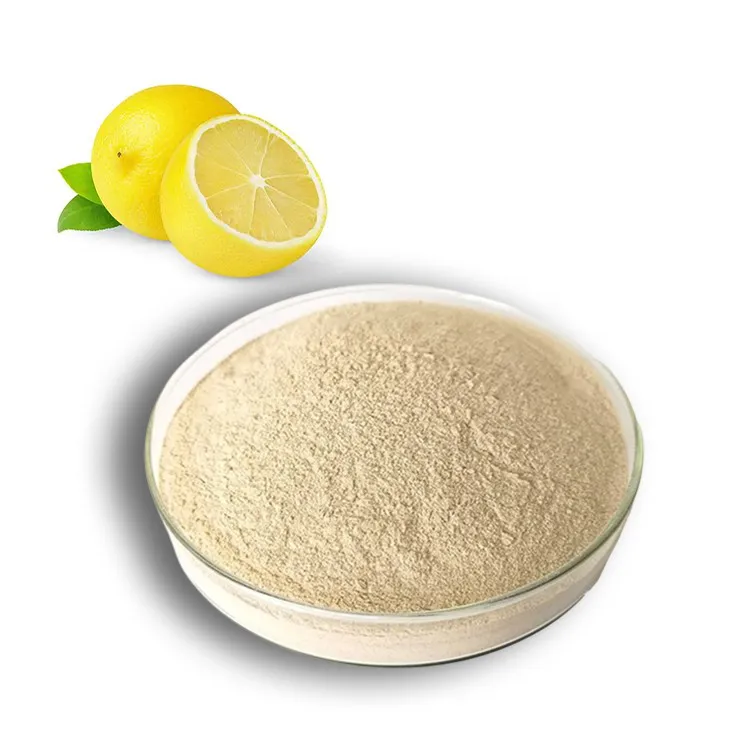
Lemon Extract
2024-12-17
-
Kelp Extract Powder
2024-12-17
-
Oyster Mushroom Extract Powder
2024-12-17
-

Soy Extract
2024-12-17
-

Maca Extract
2024-12-17
