- 0086-571-85302990
- sales@greenskybio.com
From Petals to Palettes: A Step-by-Step Guide to Extracting Natural Dyes
2024-07-19
Introduction
Natural dyes have been used for centuries to add color to fabrics, yarns, and other materials. In today's world, where environmental consciousness is on the rise, the art of extracting natural dyes has regained popularity. This guide will take you through the entire process, from gathering the raw materials to using the dyes effectively.
Gathering Natural Materials
Petals and Flowers
Petals are one of the most common sources of natural dyes. Flowers like roses, marigolds, and hibiscus can yield a wide range of colors. When gathering petals, it's important to:
- Choose fresh, healthy flowers. Avoid those that are wilted or diseased.
- Pick petals in the morning when they are at their freshest. The dew on them can also be beneficial during the extraction process.
- Make sure you have permission if you are gathering from a private garden or public park. Some areas may have restrictions on picking plants.
Leaves and Stems
Leaves and stems can also be used to extract dyes. For example, eucalyptus leaves can produce a soft greenish - gray color, while indigofera plants are well - known for their blue - dye - producing capabilities. When collecting leaves and stems:
- Select mature leaves. Young leaves may not have developed enough pigment.
- Cut the stems cleanly, preferably with sharp scissors or pruning shears.
- Remove any damaged or discolored parts.
Other Natural Sources
There are many other sources of natural dyes as well. These include:
- Fruits such as pomegranates, which can give a rich red color.
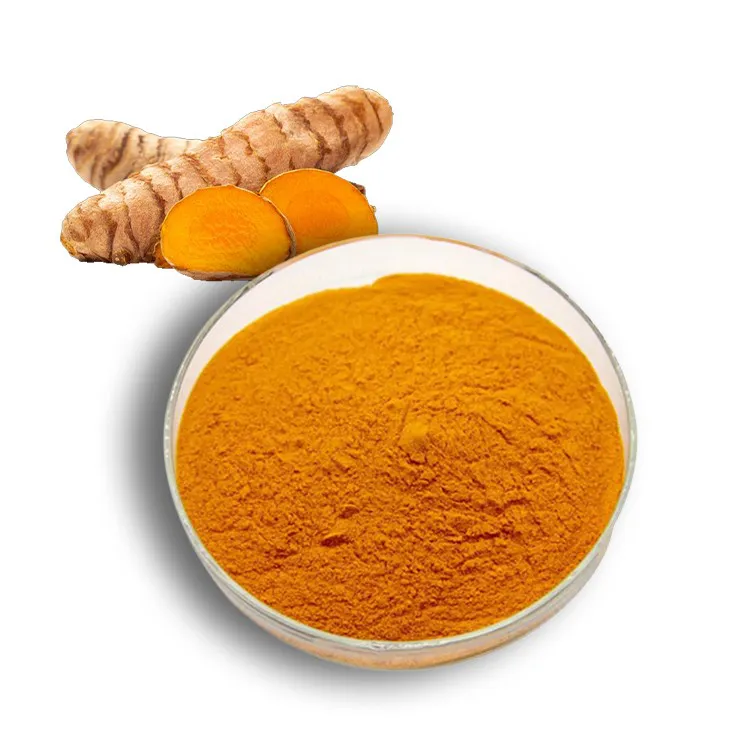
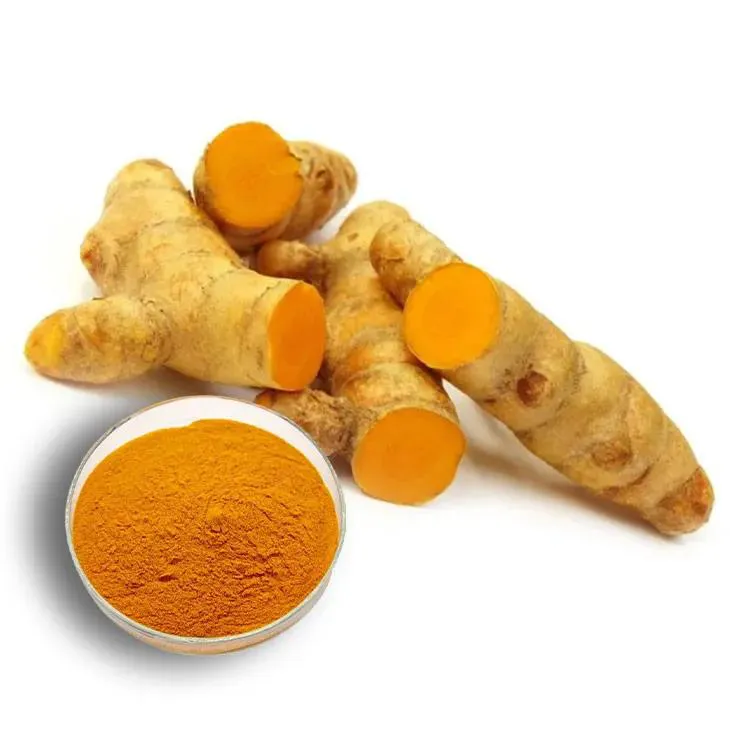
- Roots like turmeric, known for its bright yellow dye.
- Bark from certain trees, like oak bark, which can yield a brownish color.
Preparing the Materials for Extraction
Once you have gathered your natural materials, proper preparation is key to a successful dye extraction.
Cleaning
All the collected materials need to be thoroughly cleaned. For petals and leaves:
- Gently rinse them under cool running water to remove any dirt, insects, or debris.
- Pat them dry with a clean towel or let them air - dry. Avoid using heat as it may damage the pigments.
For roots and bark, scrub them gently with a brush to remove any soil and then rinse and dry them in the same way.
Chopping and Crushing
To increase the surface area for extraction, most materials need to be chopped or crushed.
- Petals can be torn into small pieces or gently crushed with a mortar and pestle.
- Leaves can be shredded or cut into small strips. For tougher leaves, using a food processor on a low setting can be helpful.
- Roots should be chopped into small chunks, and bark can be broken into smaller pieces.
The Extraction Process
Water - Based Extraction
Water - based extraction is one of the most common methods for extracting natural dyes.
- Take a large pot and add your prepared natural materials. For example, if you are using petals, add a sufficient amount to cover the bottom of the pot.
- Pour in enough water to completely submerge the materials. A general rule of thumb is to use about twice as much water as the volume of the materials.
- Bring the water to a slow simmer over low heat. Do not let it boil vigorously as this can damage the pigments.
- Let the materials simmer for at least 30 minutes to an hour, depending on the type of material. For example, petals may need less time compared to roots.
- Stir the mixture occasionally to ensure even extraction.
Acid - Base Adjustment
Sometimes, adjusting the acidity or alkalinity of the extraction solution can enhance the color extraction.
- If you want to increase the acidity, you can add a small amount of vinegar (about 1 - 2 tablespoons per liter of water). This can be beneficial for extracting dyes from certain flowers like roses.
- To make the solution more alkaline, a pinch of baking soda can be added. However, be careful not to add too much as it can also have a negative impact on the color.
Alcohol - Based Extraction
Alcohol - based extraction is useful for some materials, especially those with water - soluble pigments that are not easily extracted with water alone.
- Use a high - proof alcohol like vodka or rubbing alcohol (isopropyl alcohol). Make sure it is food - grade if you are using it for dyes that will come into contact with food - related items.
- Place the prepared materials in a glass jar and pour in enough alcohol to cover them completely.
- Seal the jar tightly and let it sit in a cool, dark place for a few days to a week. Shake the jar gently every day to promote extraction.
Filtering the Dye
After the extraction process, the dye needs to be filtered to remove any solid particles.
- For water - based dyes, use a fine - mesh strainer or cheesecloth. Place the strainer or cheesecloth over a clean container and pour the dye mixture through it.
- If you used a mortar and pestle to crush the materials, you may need to strain the dye multiple times to get a clear solution.
- For alcohol - based dyes, you can use a coffee filter. Pour the contents of the jar through the coffee filter into a new container.
Testing the Dye
Before using the dye on a large scale, it's a good idea to test it on a small piece of fabric or yarn.
- Take a small swatch of the material you plan to dye. For example, if you are dyeing fabric, cut a small square about 2 - 3 inches on each side.
- Immerse the swatch in the filtered dye solution. Make sure it is completely submerged.
- Let it soak for a period of time. For a light color, 10 - 15 minutes may be sufficient, while for a darker color, you may need to leave it for 30 minutes or more.
- Remove the swatch from the dye and rinse it gently with cool water. Observe the color and how well it has been absorbed.
Using the Dye on Different Mediums
Fabric Dyeing
Dyeing fabric with natural dyes can be a rewarding process.
- Pre - wash the fabric to remove any sizing or chemicals. This will help the fabric absorb the dye better.
- Soak the fabric in a mordant solution if necessary. A mordant helps the dye bond to the fabric. Common mordants include alum, which is safe and easy to use. Follow the instructions on the mordant package for proper usage.
- Place the fabric in the dye bath. Stir it gently to ensure even dyeing. You can also add a little salt to the dye bath (about 1 - 2 tablespoons per liter of dye) to help the dye penetrate the fabric.
- Let the fabric soak in the dye for the desired time, depending on the color intensity you want. Periodically check the color by removing a small part of the fabric and rinsing it.
- After dyeing, rinse the fabric thoroughly with cool water until the water runs clear. Then hang it to dry in a well - ventilated area.
Yarn Dyeing
Yarn can also be dyed using natural dyes, which is great for knitting and crocheting projects.
- Just like with fabric, pre - wash the yarn to remove any impurities.
- If using a mordant, soak the yarn in the mordant solution according to the instructions.
- Wind the yarn into a loose hank. Tie it in several places with string to keep it from tangling during the dyeing process.
- Submerge the yarn hank in the dye bath. Gently stir it from time to time to ensure all parts of the yarn are exposed to the dye.
- Let the yarn soak for the appropriate amount of time, then rinse it thoroughly with cool water and let it dry.
Paper Dyeing
Dyeing paper with natural dyes can create unique and beautiful effects for art projects.
- Choose a suitable type of paper. Heavier papers like watercolor paper or handmade paper work well. Avoid using very thin papers as they may tear easily during the dyeing process.
- Prepare a tray or shallow container with the dye solution. The depth of the solution should be enough to submerge the paper partially or completely depending on the effect you want.
- Gently place the paper in the dye solution. You can use tongs or tweezers to handle the paper to avoid getting your fingers stained.
- Let the paper soak for a short time, usually a few minutes for a light color. Longer soaking will result in a darker color.
- Remove the paper from the dye and let it dry flat on a clean surface. You can blot it gently with a paper towel to remove excess dye.
Storing and Preserving the Dye
To make the most of your natural dyes, proper storage and preservation are important.
- For water - based dyes, store them in clean, airtight containers in the refrigerator. This will slow down the growth of mold and bacteria and keep the dye fresh for a longer time. However, even with refrigeration, water - based dyes may not last very long, so it's best to use them within a few days.
- Alcohol - based dyes can be stored in dark glass bottles at room temperature. The alcohol helps preserve the dye, and the dark bottle protects it from light, which can cause the color to fade over time.
Conclusion
Extracting natural dyes from petals, leaves, fruits, and other natural sources is a fascinating and environmentally - friendly art. By following the steps outlined in this guide, you can create your own beautiful, natural - colored creations on fabrics, yarns, papers, and more. Whether you are an artist, a crafter, or simply someone who loves to experiment with natural materials, this process offers a world of possibilities for adding color to your projects in a sustainable way.
FAQ:
What are the common natural materials for extracting dyes?
Common natural materials for extracting dyes include petals, leaves, roots, bark, and some fruits. For example, marigold petals can produce vibrant yellows, and indigo leaves are well - known for creating blue dyes. Different plants offer a wide range of colors for natural dye extraction.
What are the basic steps in the natural dye extraction process?
The basic steps typically involve gathering the natural materials, washing them to remove dirt and debris. Then, they are usually soaked in water, sometimes with the addition of a mordant (a substance that helps the dye adhere better) depending on the material. After soaking, the mixture is heated gently to extract the color. Finally, the liquid is strained to obtain the dye solution.
Can natural dyes be used on all types of fabrics?
Not all types of fabrics are equally receptive to natural dyes. Natural fibers like cotton, linen, silk, and wool generally work well with natural dyes. However, synthetic fabrics such as polyester and nylon are much more difficult to dye with natural dyes as they have different chemical compositions that do not interact well with natural dye substances.
Are natural dyes more environmentally friendly?
Yes, natural dyes are generally more environmentally friendly. They are derived from renewable plant sources, which reduces the reliance on synthetic dyes that are often produced using chemicals that can be harmful to the environment. Additionally, the production process of natural dyes usually has a lower carbon footprint compared to synthetic dye manufacturing.
How long do natural dyes last on fabrics?
The longevity of natural dyes on fabrics can vary. Factors such as the type of natural dye, the fabric it is applied to, and how the dyed item is cared for all play a role. In general, natural dyes may fade over time, especially with repeated washing. However, some natural dyes can be quite long - lasting if proper mordanting and care techniques are used.
Related literature
- Natural Dyeing: Principles, Experiments, and Results"
- "The Complete Guide to Natural Dyes: For Artists, Designers, and Crafters"
- "Natural Dyes: Sources, Tradition, Technology, and Science"
- ▶ Hesperidin
- ▶ citrus bioflavonoids
- ▶ plant extract
- ▶ lycopene
- ▶ Diosmin
- ▶ Grape seed extract
- ▶ Sea buckthorn Juice Powder
- ▶ Beetroot powder
- ▶ Hops Extract
- ▶ Artichoke Extract
- ▶ Reishi mushroom extract
- ▶ Astaxanthin
- ▶ Green Tea Extract
- ▶ Curcumin Extract
- ▶ Horse Chestnut Extract
- ▶ Other Problems
- ▶ Boswellia Serrata Extract
- ▶ Resveratrol Extract
- ▶ Marigold Extract
- ▶ Grape Leaf Extract
- ▶ blog3
- ▶ blog4
- ▶ blog5
-
Tinospora cordifolia extract
2024-07-19
-
Mangosteen extract powder
2024-07-19
-
Cat Claw Extract
2024-07-19
-
Tongkat Ali Extract
2024-07-19
-
Curcumin
2024-07-19
-
Curcumin Extract
2024-07-19
-
Lotus leaf extract
2024-07-19
-
Sea buckthorn oil
2024-07-19
-
Maca Extract
2024-07-19
-
Chasteberry Extract
2024-07-19

