- 0086-571-85302990
- sales@greenskybio.com


Homemade Harvest: A Step-by-Step DIY Plant Oil Extraction Journey
2024-08-20
Introduction
Plant oils have been used for centuries in various aspects of our lives, from cooking to skincare and even in traditional medicine. Making your own plant oils at home can be a rewarding and cost - effective endeavor. It allows you to have complete control over the quality and purity of the oil, ensuring that you are using a natural and unadulterated product. In this article, we will take you on a step - by - step journey through the process of extracting plant oils at home.
Choosing the Right Plants
The first step in the DIY plant oil extraction journey is choosing the right plants. There are several factors to consider when making this selection:
Availability
It is important to choose plants that are readily available in your area. This could be plants from your own garden, local farmers' markets, or even wild plants (make sure it is legal and sustainable to harvest them). For example, if you live in a Mediterranean - like climate, olive trees are abundant, and olive oil extraction could be a great option. In more temperate regions, sunflower or flaxseed plants might be easily accessible.
Oil Content
High - oil - content plants are more suitable for oil extraction. Some plants are known for their rich oil content. For instance, nuts such as almonds, walnuts, and macadamia nuts are excellent sources of oil. Seeds like sunflower seeds, flaxseeds, and sesame seeds also have a relatively high oil content. Herbs like rosemary and lavender also contain essential oils, although in smaller quantities compared to nuts and seeds.
Purpose of the Oil
If you are extracting the oil for cooking purposes, you might want to choose plants that are commonly used in cooking, such as olive, canola, or coconut. For skincare or aromatherapy, plants like jojoba, rosehip, or chamomile are popular choices due to their beneficial properties for the skin and their pleasant scents.
Harvesting the Plants
Once you have selected the right plants, the next step is harvesting them. Here are some guidelines:
Timing
The timing of the harvest is crucial. For most plants, it is best to harvest when they are fully mature. For example, sunflowers should be harvested when the back of the flower head turns brown and the seeds are plump. Nuts should be harvested when they have fallen from the tree or are easily detachable. Harvesting too early may result in lower oil content.
Proper Handling
When harvesting, handle the plants gently to avoid damaging them. If you are harvesting seeds, make sure to collect them without crushing them. For example, when harvesting flaxseeds, use a gentle comb - like tool to separate the seeds from the plant. For nuts, pick them up carefully and store them in a clean, dry container immediately.
Preparing the Plants for Extraction
Before extraction, the plants need to be properly prepared:
Cleaning
Thoroughly clean the harvested plants or seeds to remove any dirt, debris, or insects. For example, if you are using almonds, wash them gently under running water and then pat them dry with a clean towel. Make sure they are completely dry before proceeding to the next step, as moisture can lead to spoilage during extraction.
Crushing or Grinding
Most plants need to be crushed or ground to break down the cell walls and release the oil. For nuts, you can use a nutcracker to break them into smaller pieces. For seeds, a coffee grinder or a mortar and pestle can be used. For example, flaxseeds can be ground into a fine powder using a coffee grinder. However, be careful not to over - grind, as this can cause the oil to oxidize more quickly.
Extraction Methods
There are several methods for extracting plant oils at home:
Cold - Pressing
- Cold - pressing is one of the most natural and traditional methods. It involves using mechanical pressure to extract the oil without the use of heat.
- For this method, you can use a small manual press if available. Place the crushed or ground plant material in the press.
- Slowly apply pressure, and the oil will start to seep out. This method is ideal for high - quality oils as it preserves the nutrients and beneficial properties of the oil.
- However, it can be time - consuming and may not extract all of the oil, especially from harder - to - press materials like some nuts.
Solvent Extraction
- Solvent extraction involves using a solvent, such as hexane, to dissolve the oil from the plant material.
- First, place the crushed plant material in a container and add the solvent. Stir well to ensure that all the plant material is in contact with the solvent.
- After a period of time, usually several hours, the solvent will dissolve the oil. Then, the solvent - oil mixture can be filtered to separate the plant debris.
- The main drawback of this method is that it requires the use of a potentially harmful solvent. Also, it is important to ensure that all traces of the solvent are removed from the final oil product, which can be a complex and time - consuming process.
Steam Distillation (for Essential Oils)
- Steam distillation is mainly used for extracting essential oils from plants like herbs and flowers.
- Set up a steam distillation apparatus. This typically consists of a boiler, a condenser, and a collection vessel.
- Place the plant material in the boiler. Heat water in the boiler to produce steam. The steam will pass through the plant material, carrying the essential oil vapors with it.
- The steam - oil vapor mixture then enters the condenser, where it is cooled and condensed back into a liquid. The essential oil will separate from the water and can be collected in the collection vessel.
- However, this method is more suitable for small - scale production of essential oils rather than large - quantity oil production for cooking or other uses.
Filtering the Extracted Oil
After extraction, the oil will likely contain some plant debris or impurities. Filtering is necessary to obtain a pure and clear oil:
Using Cheesecloth or Filter Paper
- For a simple filtration method, you can use cheesecloth or filter paper. Fold the cheesecloth or place the filter paper in a funnel.
- Pour the extracted oil through the cheesecloth or filter paper. The plant debris will be trapped, and the clear oil will pass through.
- You may need to repeat this process several times for a more thorough filtration, especially if the oil is very cloudy.
Using a Coffee Filter
- A coffee filter can also be used in a similar way. Place the coffee filter in a funnel and pour the oil through it.
- The fine mesh of the coffee filter can effectively trap small particles and impurities, resulting in a cleaner oil.
Storing the Homemade Plant Oil
Proper storage is essential to maintain the quality of the homemade plant oil:
Container Selection
Choose a dark - colored glass bottle or a metal container. Dark - colored containers help protect the oil from light, which can cause oxidation. Avoid using plastic containers, especially for oils that will be stored for a long time, as plastic can leach chemicals into the oil.
Storage Conditions
- Store the oil in a cool, dry place, away from direct sunlight and heat sources. A pantry or a cellar is a good location.
- Make sure the container is tightly sealed to prevent air from getting in, as air can also cause the oil to oxidize.
Uses of Homemade Plant Oils
Homemade plant oils have a wide range of uses:
Cooking
- Oils such as olive oil, coconut oil, and canola oil can be used for cooking. They can be used for frying, baking, or as a dressing for salads.
- Using homemade oils in cooking gives you the assurance of a pure and natural product, free from additives and preservatives.
Skincare
- Many plant oils like jojoba oil, almond oil, and rosehip oil are excellent for skincare. They can be used as a moisturizer, to treat dry skin, or as an ingredient in homemade face masks.
- These oils are rich in vitamins and fatty acids that are beneficial for the skin.
Aromatherapy
- Essential oils extracted from plants like lavender, peppermint, and eucalyptus are used in aromatherapy. They can be diffused in the air to create a relaxing or invigorating atmosphere.
- They can also be added to bath water or used in massage oils for a therapeutic effect.
Conclusion
Extracting plant oils at home can be a fulfilling and educational experience. By following the steps outlined in this article, from choosing the right plants to storing the final product, you can create your own high - quality plant oils for various uses. Whether it is for cooking, skincare, or aromatherapy, homemade plant oils offer a natural and pure alternative to store - bought products. So, start your DIY plant oil extraction journey today and enjoy the benefits of your own homemade harvest.
FAQ:
What are the best plants for homemade oil extraction?
Some great plants for homemade oil extraction include olive trees, sunflowers, and flaxseeds. Olive trees are well - known for their high - quality oil. Sunflowers produce oil that is rich in nutrients and has a mild flavor. Flaxseeds yield oil that is high in omega - 3 fatty acids. However, other plants like coconut palms (for coconut oil) and almonds (for almond oil) are also popular choices.
What are the common extraction methods?
There are mainly two common methods. One is the cold - press method. This involves crushing the plant material using mechanical force without the use of heat. It is a more natural way and helps preserve the nutrients in the oil. Another method is the solvent extraction method, but this is more complex and may require special solvents and safety precautions. In home settings, cold - press is often preferred as it is simpler and safer.
How do you ensure the purity of the homemade plant oil?
To ensure purity, start with clean and fresh plant materials. Remove any dirt, debris, or damaged parts. During the extraction process, use clean equipment. If using the cold - press method, make sure the pressing mechanism is free from contaminants. After extraction, filter the oil through a fine - mesh sieve or filter paper to remove any remaining solids. Storing the oil in a clean, dark, and cool place also helps maintain its purity.
What can homemade plant oils be used for?
Homemade plant oils have a wide range of uses. They can be used in cooking as a healthy alternative to some processed oils. For example, olive oil is a great cooking oil. They can also be used in skin and hair care. Almond oil is often used for moisturizing the skin, and coconut oil can be used for hair conditioning. Additionally, some plant oils can be used in aromatherapy when combined with essential oils.
Are there any safety precautions to take during home oil extraction?
Yes, there are. If using the cold - press method, be careful with the machinery to avoid any hand or finger injuries. When using solvents in solvent extraction (although not recommended for home use in most cases), ensure proper ventilation as some solvents can be harmful if inhaled. Also, make sure all equipment is clean and dry to prevent the growth of mold or bacteria in the oil. And always store the oils in proper containers to avoid spills.
Related literature
- Plant Oil Extraction: Principles and Practices"
- "DIY Natural Oils: A Guide to Home - made Extracts"
- "The Complete Guide to Homemade Plant - based Oils"


- ▶ Hesperidin
- ▶ citrus bioflavonoids
- ▶ plant extract
- ▶ lycopene
- ▶ Diosmin
- ▶ Grape seed extract
- ▶ Sea buckthorn Juice Powder
- ▶ Beetroot powder
- ▶ Hops Extract
- ▶ Artichoke Extract
- ▶ Reishi mushroom extract
- ▶ Astaxanthin
- ▶ Green Tea Extract
- ▶ Curcumin Extract
- ▶ Horse Chestnut Extract
- ▶ Other Problems
- ▶ Boswellia Serrata Extract
- ▶ Resveratrol Extract
- ▶ Marigold Extract
- ▶ Grape Leaf Extract
- ▶ blog3
-
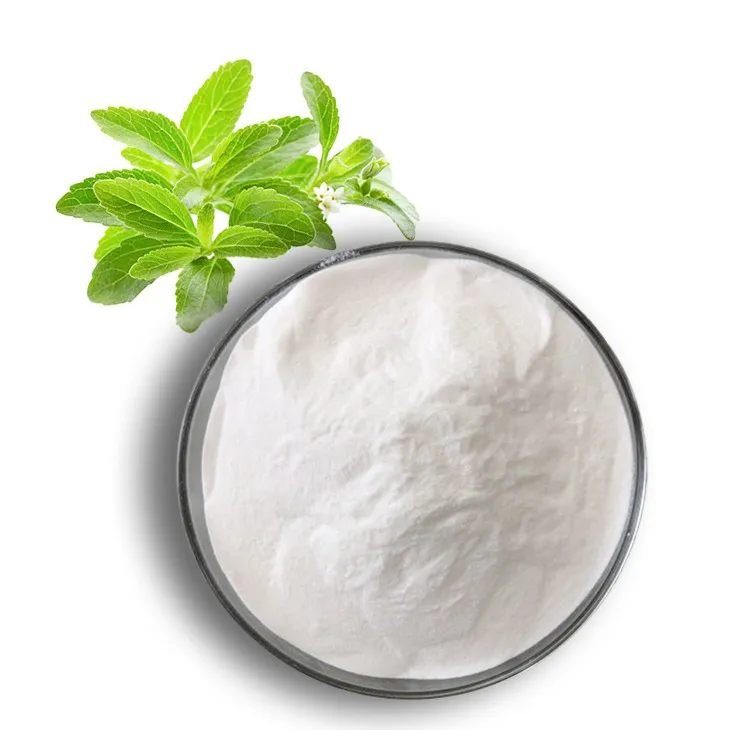
Stevia Extract
2024-08-20
-
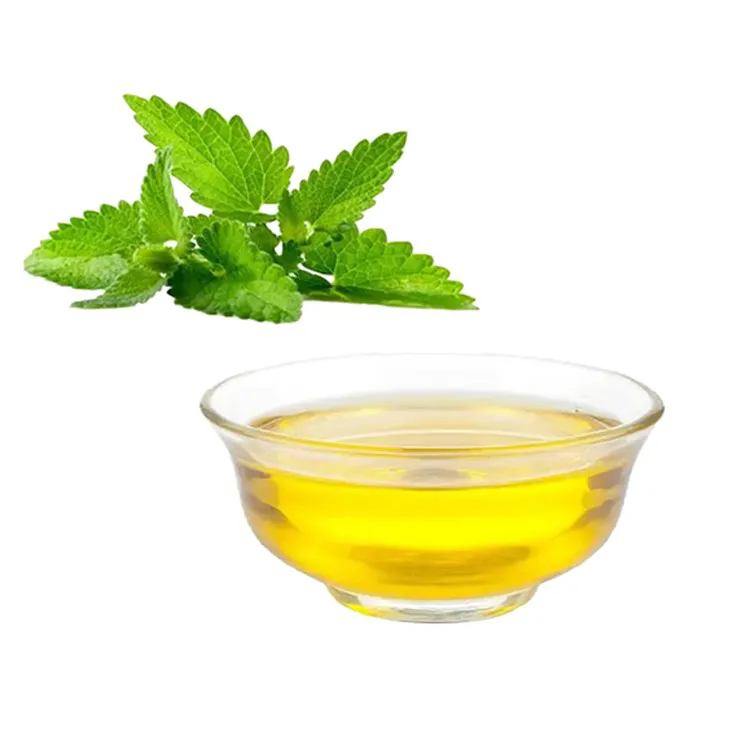
Peppermint Oil
2024-08-20
-
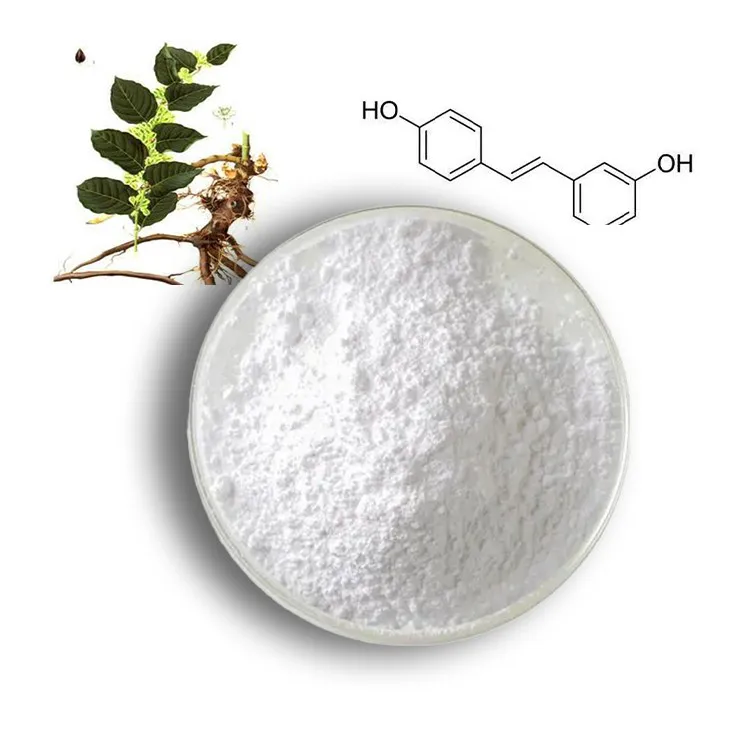
Resveratrol extract
2024-08-20
-
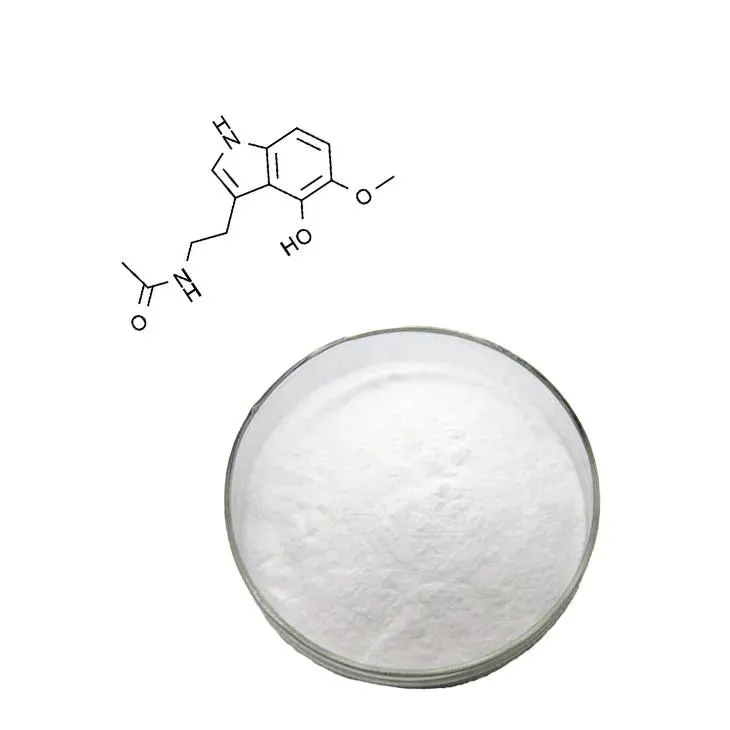
melatonin extract
2024-08-20
-
Angelica sinensis extract
2024-08-20
-
Epimedium extract powder
2024-08-20
-
Uridine-5'-monophosphate Disodium salt
2024-08-20
-
Konjac Powder
2024-08-20
-
Mulberry leaf Extract
2024-08-20
-
Lemon Juice Powder
2024-08-20
