- 0086-571-85302990
- sales@greenskybio.com


how do you extract oil from plants at home?
2023-09-26
1. Types of Oil-Bearing Plants
1. Types of Oil-Bearing Plants
Oil-bearing plants are those that contain a high concentration of oils within their seeds, nuts, or other parts. These oils can be extracted and used for various purposes, such as cooking, cosmetics, or even as biofuels. Here are some common types of oil-bearing plants that you might consider for home oil extraction:
1. Olive (Olea europaea): Known for its high-quality oil used in cooking and salad dressings.
2. Sunflower (Helianthus annuus): Produces a high volume of oil that is commonly used in cooking and as a base for biodiesel.
3. Soybean (Glycine max): A versatile oil used in cooking, industrial applications, and as a component in many processed foods.
4. Flax (Linum usitatissimum): Flaxseed oil is rich in omega-3 fatty acids and is used for dietary supplements and in some cooking applications.
5. Rapeseed (Brassica napus): Also known as canola, it is used for cooking oil and biodiesel.
6. Peanut (Arachis hypogaea): Peanut oil is popular in Asian cuisine and is also used in the production of margarine.
7. Pumpkin Seed (Cucurbita pepo): The oil from pumpkin seeds is used in cooking and is known for its health benefits.
8. Coconut (Cocos nucifera): Coconut oil is used in cooking, cosmetics, and as a base for various health and beauty products.
9. Almond (Prunus dulcis): Almond oil is used in cooking, cosmetics, and as a carrier oil in aromatherapy.
10. Walnut (Juglans regia): Walnut oil is used in cooking and is known for its rich flavor and health benefits.
Each of these plants has unique properties, and the type of oil they produce can vary in flavor, texture, and nutritional content. When choosing an oil-bearing plant for home extraction, consider factors such as the availability of the plant, the ease of extraction, and the intended use of the oil.
2. Equipment Needed for Home Extraction
2. Equipment Needed for Home Extraction
For home oil extraction from plants, you will need a basic set of equipment that can be easily sourced or assembled. Here's a list of the essential items you'll need to get started:
1. Seed or Nut Collector: A simple container to collect the seeds or nuts from which you want to extract the oil.
2. Drying Rack or Oven: To dry the seeds or nuts properly before extraction. This can be a simple wire rack or an oven set to a low temperature.
3. Scale: To measure the weight of the plant material and ensure consistency in your extraction process.
4. Cutting Tools: Such as knives or scissors to cut or break open larger seeds or nuts.
5. Grinder or Mill: A mechanical device to crush the seeds or nuts into a fine powder. This can range from a simple coffee grinder to a more specialized oil press grinder.
6. Oil Press: This is the core piece of equipment for home oil extraction. There are manual and electric oil presses available, with manual presses being more affordable and suitable for small-scale extraction.
7. Cheesecloth or Filter Paper: To filter the oil after pressing, ensuring that it is clear and free of solids.
8. Funnel: To help pour the oil into containers without spilling.
9. Storage Containers: Clean, airtight containers to store the extracted oil. Glass jars with lids are ideal for this purpose.
10. Safety Gear: Including gloves and goggles to protect yourself during the extraction process, especially if you're using a mechanical press.
11. Thermometer: To monitor temperatures if you're using a method that involves heat, such as drying the plant material.
12. Plastic Tubs or Buckets: For collecting oil and waste during the extraction process.
13. Sieves: To separate larger particles from the oil after pressing.
14. Hydraulic Jack: If you're using a manual press, a hydraulic jack can make the pressing process easier and more efficient.
15. Cleaning Supplies: Including brushes and cleaning solutions to maintain the hygiene of your equipment.
Having these items on hand will set you up for a successful home oil extraction process. It's important to ensure that all equipment is clean and sanitized before use to prevent contamination of the oil.
3. Harvesting and Preparing the Plant Material
3. Harvesting and Preparing the Plant Material
Harvesting and preparing the plant material is a crucial step in the process of extracting oil from plants at home. The quality of the oil you extract will depend significantly on the condition of the plant material you start with. Here's how to properly harvest and prepare your plant material for oil extraction:
Choosing the Right Time to Harvest
- The best time to harvest oil-bearing plants is when the oil content is at its peak. This is typically when the seeds are fully mature but before they start to dry out and lose their oil content. For some plants, this might be during the late summer or early fall.
Selecting Healthy Plants
- Choose plants that are healthy and free from diseases or pests. Damaged or diseased plants can affect the quality of the oil and may introduce unwanted contaminants.
Harvesting Techniques
- Gently harvest the seeds or fruits from the plants, taking care not to bruise or damage them. For some plants, you may need to wait for the fruits to ripen and fall naturally, while for others, you might need to pick them manually.
Cleaning the Plant Material
- Once harvested, clean the plant material thoroughly to remove any dirt, debris, or foreign objects. This can be done by washing with water or using a gentle brush to dislodge any unwanted particles.
Drying the Plant Material
- After cleaning, it's essential to dry the plant material to reduce the moisture content. This can be done by air-drying in a well-ventilated area or using a dehydrator. Proper drying prevents the growth of mold and bacteria, which can spoil the oil.
Crushing or Grinding
- Depending on the extraction method you plan to use, you may need to crush or grind the plant material into smaller pieces. This increases the surface area for the oil to be extracted and makes the process more efficient.
Sieving
- After crushing or grinding, sieving the plant material can help separate the larger particles from the smaller ones, ensuring a smoother extraction process and a finer final product.
Storage Before Extraction
- Store the prepared plant material in a cool, dry place away from direct sunlight until you are ready to extract the oil. This helps maintain the quality and prevent any degradation of the oils.
By following these steps, you can ensure that your plant material is ready for the oil extraction process, leading to a higher quality and more efficient extraction of plant oils at home.
4. The Cold Pressing Method
4. The Cold Pressing Method
The cold pressing method is a popular and straightforward technique for extracting oil from plants at home. This method is preferred for its ability to preserve the natural flavors, nutrients, and beneficial compounds found in the plant oils. Here's a step-by-step guide on how to perform cold pressing:
1. Selection of Plant Material:
Choose the right oil-bearing seeds or fruits. Some common plants for home oil extraction include olives, sesame seeds, sunflower seeds, and flax seeds.
2. Cleaning:
Thoroughly clean the seeds or fruits to remove any dirt, debris, or foreign materials that could contaminate the oil.
3. Drying:
Dry the plant material to reduce moisture content. This step is crucial as it prevents the oil from spoiling and helps in the pressing process. The drying process can be done naturally in sunlight or using a dehydrator.
4. Crushing:
Grind or crush the dried plant material into a fine paste or powder. This increases the surface area for oil extraction.
5. Pressing:
Use a manual or mechanical oil press to extract the oil. The cold pressing process involves applying pressure to the crushed plant material without generating heat. This maintains the integrity of the oil's nutritional content.
6. Collection:
Collect the oil that is pressed out. It will typically be a mixture of oil and some solid particles.
7. Separation:
Separate the oil from the solids using a cheesecloth or fine mesh strainer. This may require some gentle pressure or squeezing to ensure all the oil is extracted.
8. Filtration:
Further filtration may be necessary to remove any remaining solids or impurities. This can be done using a coffee filter or a specialized oil filter.
9. Bottling:
Transfer the filtered oil into clean, sterilized bottles for storage.
10. Labeling:
Label the bottles with the type of oil, extraction date, and any other relevant information.
Cold pressing is a simple and effective method for home oil extraction. However, it's important to note that this method may not yield as much oil as other methods, such as solvent extraction. Additionally, the quality of the oil press and the freshness of the plant material can significantly impact the final product. Always follow the manufacturer's instructions for your specific oil press and ensure all equipment is clean and well-maintained for the best results.
5. The Solvent Extraction Method
5. The Solvent Extraction Method
The solvent extraction method is an alternative technique for extracting oil from plants at home, particularly when dealing with seeds or nuts that have a lower oil content. This method involves using a solvent to dissolve the oil from the plant material, making it a more efficient process for certain types of oil-bearing plants.
Steps for Solvent Extraction:
1. Selection of Solvent: Choose a suitable solvent such as hexane, which is commonly used in commercial oil extraction due to its ability to effectively dissolve oils. However, for home extraction, it's important to consider the safety of the solvent used.
2. Preparation of Plant Material: As with cold pressing, the plant material should be clean and dry. It may also be ground into a fine powder to increase the surface area for better solvent penetration.
3. Mixing with Solvent: The plant material is mixed with the solvent in a container. The solvent should completely cover the plant material to ensure thorough extraction.
4. Soaking: Allow the mixture to soak for a period, typically several hours to a day, to ensure that the oil is fully dissolved by the solvent.
5. Separation: After soaking, the solvent-oil mixture is separated from the plant residue. This can be done using a filter or a centrifuge to separate the liquid from the solid.
6. Evaporation of Solvent: The solvent-oil mixture is then heated gently to evaporate the solvent, leaving behind the extracted oil. It's crucial to do this in a well-ventilated area and with caution due to the flammability of some solvents.
7. Collection of Oil: Once the solvent has evaporated, the remaining oil is collected. It may be necessary to filter the oil again to remove any remaining plant particles or solvent residues.
Considerations for Solvent Extraction:
- Safety: The use of solvents requires careful handling due to their potential toxicity and flammability. Always work in a well-ventilated area and avoid open flames or sparks.
- Environmental Impact: Some solvents, like hexane, are harmful to the environment and should be disposed of properly.
- Quality of Oil: The quality of the oil extracted using solvents may be affected by the presence of residual solvents, which can impact the flavor and healthiness of the oil.
While the solvent extraction method can yield a higher amount of oil from the plant material, it is generally more complex and requires more safety precautions than cold pressing. It's also less common for home extraction due to the need for specific solvents and equipment. However, for those interested in extracting oils from plants with lower oil content or for experimental purposes, this method can be a viable option.
6. Filtration and Purification of the Oil
6. Filtration and Purification of the Oil
After the oil has been extracted from the plant material, it is crucial to filter and purify it to ensure the final product is of high quality and safe for consumption or other uses. Here are the steps involved in the filtration and purification process:
1. Initial Filtration:
- Use a fine mesh strainer or cheesecloth to remove larger particles and debris from the oil. This is the first step in ensuring the oil is free from visible impurities.
2. Sedimentation:
- Allow the oil to settle in a clear container for a period of time. This will enable heavier particles to sink to the bottom, which can then be decanted off.
3. Fine Filtration:
- Employ a more refined filtration method, such as using filter paper or a coffee filter, to remove any remaining fine particles. This step is vital for achieving a clear and smooth oil.
4. Centrifugation (Optional):
- For those seeking an even higher level of purity, a centrifuge can be used to separate the oil from any remaining water and solids. This step is more common in commercial settings but can be replicated at home with a basic centrifuge.
5. Deodorization (Optional):
- Some oils may have strong odors that need to be removed. Deodorization involves heating the oil under vacuum to remove volatile compounds responsible for the smell. This process should be done with caution and is typically not necessary for home extraction.
6. Winterization (Optional):
- To remove waxes and improve the clarity of the oil, winterization involves cooling the oil to a temperature just above its freezing point, causing the waxes to solidify and then be filtered out. This step is more relevant for oils that solidify at room temperature.
7. Quality Testing:
- Before using the oil, it's important to test its quality. This can include checking for color, smell, taste, and, if possible, acidity levels. The oil should be free of off-odors and have a pleasant, natural aroma.
8. Sterilization of Containers:
- Ensure that any containers used for storing the oil are thoroughly cleaned and sterilized to prevent contamination.
9. Proper Labeling:
- Clearly label the oil with the type of plant it came from, the date of extraction, and any other relevant information to track its usage and quality over time.
By following these steps, you can ensure that the plant oil you extract at home is not only safe but also of a quality that can be used for cooking, topical applications, or other purposes. Remember that the specific filtration and purification needs may vary depending on the type of plant oil you are working with, so it's important to research the best practices for the particular oil you are extracting.
7. Storage and Usage of Plant Oils
7. Storage and Usage of Plant Oils
Proper storage and usage are crucial to maintaining the quality and shelf life of plant oils extracted at home. Here are some guidelines to follow:
Storage:
1. Containers: Store the oil in clean, airtight containers made of dark glass or stainless steel to protect it from light and air, which can degrade the oil.
2. Temperature: Keep the oils in a cool, dark place. Avoid storing them near heat sources or in direct sunlight.
3. Humidity: Ensure that the storage area has low humidity to prevent the oil from becoming rancid due to moisture.
4. Labeling: Clearly label the containers with the type of oil and the date of extraction. This helps in tracking the freshness of the oil.
Usage:
1. Cooking: Use plant oils for cooking according to their smoke points. Some oils, like olive oil, are better for low-heat cooking, while others, like sunflower oil, can handle higher temperatures.
2. Topical Applications: Some plant oils, such as coconut oil, can be used for skin care and hair treatments. However, always perform a patch test to ensure no allergic reactions occur.
3. Diet: Incorporate plant oils into your diet by using them in salad dressings, dips, or as a spread. They can be a source of healthy fats and essential nutrients.
4. Homemade Products: Use plant oils to make homemade soaps, lotions, and other personal care products. Ensure you understand the properties of the oil and its compatibility with other ingredients.
Rotation and Consumption:
1. Rotation: Rotate the use of oils to ensure that older oils are used up before they become rancid.
2. Consumption: Consume plant oils within their shelf life, which can vary depending on the type of oil and storage conditions. Generally, homemade plant oils have a shorter shelf life than commercially produced ones.
Safety:
1. Allergenic Reactions: Be aware that some individuals may have allergies to specific plant oils. Always check for allergens before consumption or topical application.
2. Quality Control: Regularly check the oil for signs of rancidity, such as off odors or a cloudy appearance. Discard any oil that has gone bad.
By following these storage and usage guidelines, you can ensure that the plant oils you extract at home are safe, effective, and beneficial for various applications.
8. Safety Precautions and Considerations
8. Safety Precautions and Considerations
When extracting oil from plants at home, safety should be a top priority. Here are some important precautions and considerations to keep in mind:
1. Personal Protective Equipment (PPE): Always wear appropriate PPE, including gloves, safety glasses, and a face shield to protect your skin and eyes from potential irritants or splashes.
2. Ventilation: Ensure good ventilation in the area where you are extracting oil, especially if using solvents, which can release harmful fumes.
3. Flammable Materials: Be aware that some solvents used in extraction are highly flammable. Keep flammable materials away from heat sources and open flames.
4. Chemical Storage: Store chemicals and solvents in a cool, dry place, away from direct sunlight and heat sources. Follow the manufacturer's guidelines for storage and disposal.
5. Temperature Control: When using heat in the extraction process, be cautious to avoid overheating, which can degrade the oil and produce harmful compounds.
6. Hygiene: Maintain cleanliness in the extraction area to prevent contamination of the oil. Wash your hands and sanitize surfaces before and after the process.
7. Electrical Safety: If using electrical equipment, ensure that it is in good working condition and use it according to the manufacturer's instructions. Avoid overloading circuits and ensure that all equipment is grounded.
8. First Aid: Keep a first aid kit nearby and be familiar with basic first aid procedures in case of accidents.
9. Chemical Allergies: Be aware of any personal allergies to plant materials or chemicals used in the extraction process.
10. Children and Pets: Keep children and pets away from the extraction area to prevent accidents and ensure their safety.
11. Emergency Procedures: Know the emergency procedures for your area, including how to handle chemical spills or fires.
12. Legal Considerations: Be aware of any local regulations or restrictions on home oil extraction, especially if using solvents.
By taking these safety precautions, you can minimize risks and ensure a safer home oil extraction process. Always proceed with caution and when in doubt, consult with a professional or seek expert advice.
9. Advantages and Limitations of Home Oil Extraction
9. Advantages and Limitations of Home Oil Extraction
Home oil extraction offers several benefits, but it also comes with some limitations. Understanding these can help you make an informed decision about whether this process is right for you.
Advantages:
1. Freshness: Extracting oil at home ensures that the oil is as fresh as possible, which can result in better flavor and nutritional value.
2. Control Over Ingredients: You have full control over the source of the plant material, ensuring that no harmful chemicals or pesticides are used.
3. Cost-Effective: Over time, home oil extraction can be more cost-effective than purchasing oils from the store, especially for those who grow their own oil-bearing plants.
4. Customization: You can tailor the extraction process to your specific needs, such as extracting oils with specific properties or flavors.
5. Sustainability: Home oil extraction can be a sustainable practice, reducing the need for commercially produced oils and supporting local agriculture.
Limitations:
1. Scale: Home extraction methods are typically limited to small quantities, making them impractical for large-scale production.
2. Equipment Cost: The initial investment in equipment can be high, especially for those seeking to press oils with specialized machinery.
3. Labor Intensive: The process can be labor-intensive, requiring time and effort to harvest, prepare, and press the plant material.
4. Quality Variability: The quality of the oil can vary depending on the skill of the extractor and the conditions under which the extraction is performed.
5. Safety Concerns: Some extraction methods, particularly those involving solvents, can pose safety risks if not performed correctly.
6. Regulatory Compliance: If you plan to sell home-extracted oils, you may need to comply with food safety regulations, which can be complex and vary by region.
In conclusion, while home oil extraction can be a rewarding and sustainable practice, it requires careful consideration of the costs, effort, and safety involved. For those passionate about creating fresh, high-quality oils, the benefits can outweigh the limitations. However, for commercial purposes or those seeking convenience, purchasing oils from reputable sources might be a more practical option.


- ▶ Hesperidin
- ▶ citrus bioflavonoids
- ▶ plant extract
- ▶ lycopene
- ▶ Diosmin
- ▶ Grape seed extract
- ▶ Sea buckthorn Juice Powder
- ▶ Beetroot powder
- ▶ Hops Extract
- ▶ Artichoke Extract
- ▶ Reishi mushroom extract
- ▶ Astaxanthin
- ▶ Green Tea Extract
- ▶ Curcumin Extract
- ▶ Horse Chestnut Extract
- ▶ Other Problems
- ▶ Boswellia Serrata Extract
- ▶ Resveratrol Extract
- ▶ Marigold Extract
- ▶ Grape Leaf Extract
- ▶ blog3
-
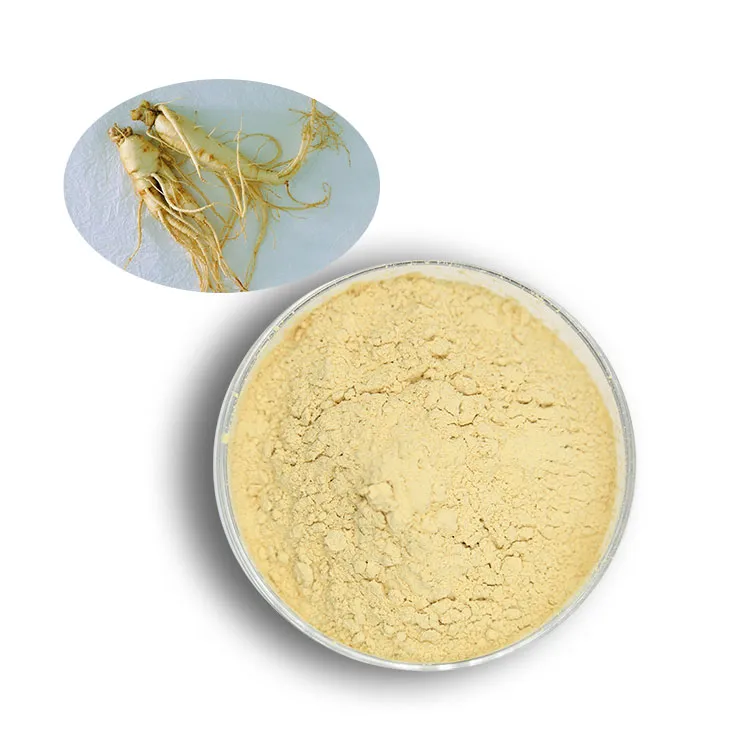
American Ginseng Root Extract
2023-09-26
-
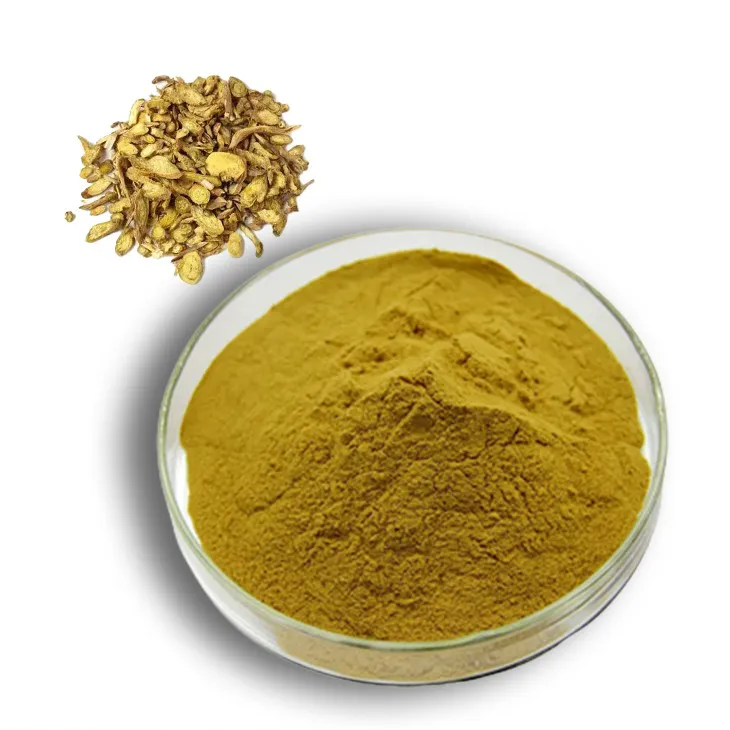
Baicalin
2023-09-26
-
Carrageenan Extract Powder
2023-09-26
-
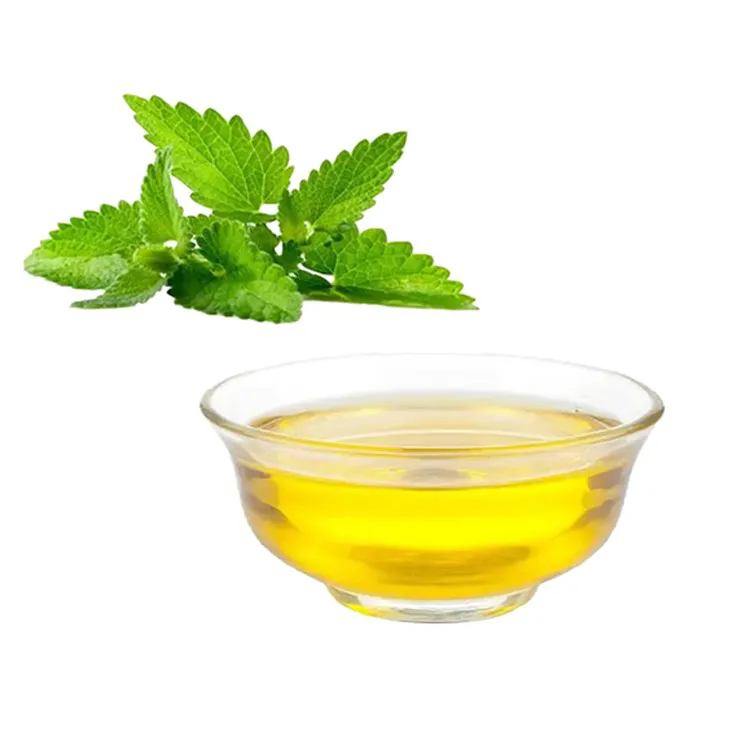
Peppermint Oil
2023-09-26
-
Coix Seed Extract
2023-09-26
-
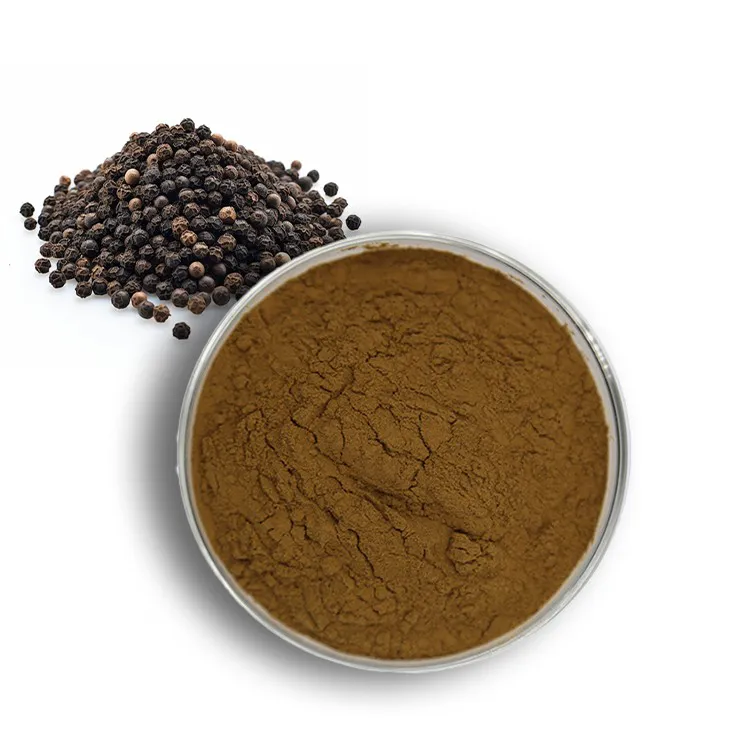
Black Pepper Extract
2023-09-26
-

Natural grape seed extract
2023-09-26
-
White Peony Extract
2023-09-26
-
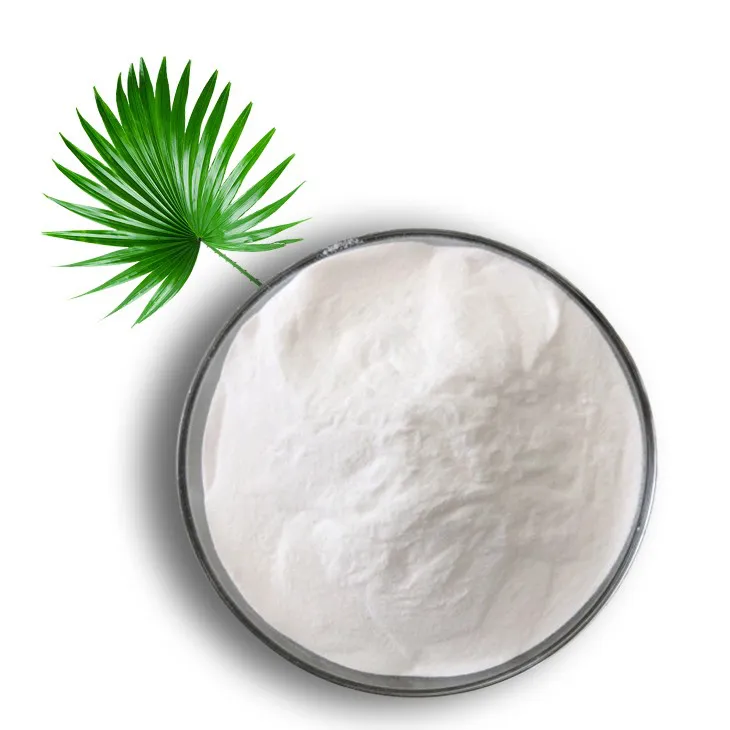
Saw Palmetto Extract
2023-09-26
-
Selenium yeast
2023-09-26
