- 0086-571-85302990
- sales@greenskybio.com


how to extract sunflower seeds from plant
2023-09-26
1. Understanding the Sunflower Plant
1. Understanding the Sunflower Plant
Sunflowers, scientifically known as Helianthus annuus, are a type of flowering plant that is native to North America. They are known for their large, bright yellow blooms and their ability to grow to impressive heights, often reaching several feet tall. Sunflowers are not only aesthetically pleasing but also highly valuable for their seeds, which are a rich source of nutrients and can be used in a variety of culinary and industrial applications.
The sunflower plant consists of several key parts:
- Stem: The stem of the sunflower is robust and strong, providing support for the large flower head and leaves.
- Leaves: Sunflower leaves are large and rough in texture, usually with a green color that can sometimes have a bluish tint.
- Flower Head: The most recognizable part of the sunflower, the flower head, is composed of many smaller flowers. The outer ring of the flower head is made up of yellow ray flowers, while the center contains numerous small, tightly packed disk flowers.
- Seeds: The seeds of the sunflower develop from the disk flowers in the center of the flower head. These seeds are what we commonly refer to as sunflower seeds.
Sunflower seeds are encased in a hard, woody shell that protects the edible kernel inside. The seeds are rich in oil, protein, vitamins, and minerals, making them a popular choice for both human consumption and as a feed for birds and other animals.
Understanding the structure and growth of the sunflower plant is essential for effective seed extraction. Sunflowers are annual plants, meaning they complete their life cycle from germination to seed production within one growing season. The seeds are harvested once the plant has matured and the seeds have fully developed.
In the following sections, we will explore the process of harvesting sunflowers for seed extraction, preparing the sunflower heads, drying the seeds, and the various steps involved in extracting and using the seeds.
2. Harvesting Sunflowers for Seed Extraction
2. Harvesting Sunflowers for Seed Extraction
When it comes to extracting sunflower seeds, the first step is to harvest the sunflowers at the right time. This is crucial to ensure that the seeds are mature and ready for extraction. Here's how you can go about harvesting sunflowers for seed extraction:
Timing is Key
The best time to harvest sunflowers is when the back of the sunflower head has turned brown and the petals have fallen off. This indicates that the seeds are mature. If harvested too early, the seeds may not be fully developed and will not yield the best quality.
Check the Moisture Content
Before harvesting, you can check the moisture content of the seeds by biting into one. If it makes a sharp cracking sound, it's ready for harvesting. If it's still soft and chewy, give it more time to mature.
Use the Right Tools
When you're ready to harvest, use a sharp knife or pruning shears to cut the sunflower head off the stalk. Be careful not to damage the head, as this can affect the quality of the seeds.
Harvest in the Morning
The best time to harvest sunflowers is in the morning when the seeds are at their driest. This will make the drying process easier and more efficient.
Handle with Care
After harvesting, handle the sunflower heads gently to avoid damaging the seeds. Place them in a cart or basket and transport them to a suitable location for further processing.
Store Properly
Once harvested, store the sunflower heads in a cool, dry place out of direct sunlight. This will help preserve their quality until you're ready to extract the seeds.
By following these steps, you can ensure that you're harvesting sunflowers at the optimal time for seed extraction. The next step is to prepare the sunflower heads for the extraction process.
3. Preparing the Sunflower Heads
3. Preparing the Sunflower Heads
Before you can extract the sunflower seeds from the plant, you must first prepare the sunflower heads. This step is crucial as it sets the stage for a successful extraction process. Here's how you can prepare the sunflower heads for seed extraction:
Inspect the Sunflower Heads:
Begin by carefully inspecting the sunflower heads to ensure they are ready for harvesting. Look for signs of maturity, such as a brownish hue on the back of the sunflower petals and a black stripe appearing on the sunflower seeds.
Cut the Sunflower Heads:
Using a sharp pair of pruning shears or a knife, cut the sunflower heads off the plant. It's best to do this early in the morning when the plant is still dewy to prevent the seeds from falling out. Cut the stem as close to the base as possible without damaging the plant.
Remove Excess Leaves and Petals:
Once you have the sunflower heads, remove any excess leaves or petals that are attached to the head. This will make the drying process more efficient and prevent any mold or rot from developing.
Rinse the Sunflower Heads:
Gently rinse the sunflower heads under cool water to remove any dirt or debris. Be careful not to soak the seeds, as this can lead to mold growth.
Air Dry the Sunflower Heads:
After rinsing, place the sunflower heads in a well-ventilated area to air dry. This will help to prevent any moisture-related issues during the drying process.
Turn the Heads Regularly:
As the sunflower heads dry, be sure to turn them regularly to ensure even drying. This will also help to prevent any mold from forming on the underside of the head.
Preparing the sunflower heads is a key step in the seed extraction process. By following these steps, you'll be well on your way to extracting healthy, high-quality sunflower seeds from your plant. In the next section, we'll discuss the drying process in more detail to ensure your seeds are properly dried for cracking and separation.
4. Drying the Sunflower Seeds
4. Drying the Sunflower Seeds
After the sunflower heads have been prepared and the seeds are exposed, the next crucial step in the extraction process is drying the sunflower seeds. Proper drying is essential for preserving the quality and longevity of the seeds, ensuring they remain viable for consumption, planting, or further processing.
4.1 Importance of Drying
Drying the sunflower seeds reduces their moisture content, which is critical for preventing mold, mildew, and the growth of bacteria. It also makes the seeds easier to store and less prone to spoilage.
4.2 Ideal Conditions for Drying
The ideal conditions for drying sunflower seeds include a temperature of about 50-60°F (10-15°C) and a relative humidity of 20-30%. Direct sunlight should be avoided as it can cause the seeds to overheat and potentially damage them.
4.3 Methods of Drying
There are several methods you can use to dry your sunflower seeds:
- Natural Air Drying: Place the seeds in a well-ventilated area, such as a screened porch or a room with open windows. This method is simple and requires no special equipment, but it can take several days to weeks depending on the environmental conditions.
- Dehydrator: Using a food dehydrator can speed up the drying process significantly. Set the dehydrator to a low temperature (around 95°F or 35°C) and spread the seeds in a single layer on the trays.
- Oven Drying: If you're in a hurry, you can also use an oven to dry the seeds. Preheat the oven to the lowest setting (usually around 150°F or 65°C), place the seeds on a baking sheet, and leave them in the oven with the door slightly ajar for ventilation.
4.4 Monitoring the Drying Process
It's important to monitor the seeds throughout the drying process to ensure they don't become too dry or overheat. Check the seeds regularly and turn them to ensure even drying. The seeds are fully dried when they rattle inside their shells.
4.5 Stopping the Drying Process
Once the seeds are dry, it's important to stop the drying process to prevent the seeds from becoming too brittle and breaking. Remove them from the heat source or turn off the dehydrator or oven.
4.6 Final Steps
After the seeds are dry, they should be cooled to room temperature before storing. This helps to prevent condensation from forming inside the storage container, which could lead to mold growth.
4.7 Troubleshooting Common Issues
- If the seeds are not drying evenly, try turning them more frequently.
- If the seeds are taking too long to dry, consider adjusting the temperature or humidity levels.
- If you notice any signs of mold or mildew, discard the affected seeds and clean the drying area thoroughly.
Drying the sunflower seeds properly is a key step in ensuring that you have high-quality seeds for your intended use. Whether you're planning to eat them, plant them, or use them for other purposes, taking the time to dry your seeds correctly will pay off in the long run.
5. Cracking the Sunflower Shells
5. Cracking the Sunflower Shells
Cracking the sunflower shells is a crucial step in the process of extracting the seeds. It requires a bit of patience and the right technique to ensure that the seeds are not damaged in the process. Here's how you can effectively crack the sunflower shells:
5.1 Tools for Cracking
Before you begin, gather the necessary tools. You may use a simple nutcracker, a pair of pliers, or even a kitchen mallet. The choice of tool can depend on personal preference and the quantity of seeds you are processing.
5.2 Positioning the Shell
Hold the sunflower head firmly in one hand, and with the other, use your tool to apply pressure to the shell. It's important to position the tool in such a way that it doesn't crush the seed inside.
5.3 Applying Pressure
Gently but firmly apply pressure to the shell. You should hear a slight crack as the shell begins to break. Be careful not to apply too much force, as this can damage the seed.
5.4 Removing the Shell Fragments
Once the shell is cracked, carefully remove any large fragments to reveal the seed inside. You may need to use your fingers or a small tool to pry off any stubborn pieces.
5.5 Dealing with Tough Shells
Some sunflower shells are more resistant to cracking than others. If you encounter a particularly tough shell, you may need to apply more pressure or try a different technique. Be patient and persistent, but always be mindful of the seed's integrity.
5.6 Efficiency in Cracking
To increase efficiency, you can set up a simple assembly line. Have a bowl or container ready to collect the cracked shells and another for the seeds. This can help you maintain a steady pace and keep the process organized.
5.7 Safety Considerations
While cracking sunflower shells is generally safe, it's important to be cautious to avoid injury. Use tools responsibly and take care not to slip or apply excessive force that could result in a hand or finger injury.
5.8 Environmental Consideration
Consider the environmental impact of your cracking process. If you're processing a large quantity of seeds, think about composting the shells or finding another sustainable use for them.
By mastering the art of cracking sunflower shells, you'll be able to extract the seeds with minimal damage, ensuring that you get the most out of your sunflower harvest. This step, while requiring some manual labor, is essential for accessing the nutritious seeds inside.
6. Separating the Seeds from the Shells
### 6. Separating the Seeds from the Shells
After you have successfully cracked the sunflower shells, the next step is to separate the seeds from the shells. This process is crucial to obtain clean, usable seeds for consumption, planting, or other purposes. Here are some methods and tips to effectively separate sunflower seeds from their shells:
Method 1: Manual Separation
- Spread Out the Shells: After cracking, spread the shells out on a clean, flat surface.
- Use Your Hands: Gently rub the shells between your hands to dislodge the seeds.
- Air Separation: If the shells are light, you can use a fan or a gentle breeze to blow away the shells, leaving the heavier seeds behind.
Method 2: Using a Sieve or Screen
- Choose the Right Size: Use a sieve or screen with holes smaller than the seeds but large enough to let the shells pass through.
- Shake and Separate: Place the cracked shells on the sieve and gently shake it to separate the seeds from the shells.
Method 3: Using a Seed Separator or Thresher
- Invest in Equipment: A seed separator or thresher is a machine designed to separate seeds from their shells.
- Operate Carefully: Follow the manufacturer's instructions to operate the machine and ensure the safety of the seeds.
Method 4: Water Separation
- Fill a Container: Fill a large container with water.
- Add the Mixture: Gently stir the cracked shells and seeds into the water.
- Wait for Separation: The shells will float, while the seeds will sink to the bottom. Carefully remove the shells from the top.
Tips for Efficient Separation
- Cleanliness: Ensure your working area and tools are clean to avoid contamination of the seeds.
- Patience: The separation process can be time-consuming, especially if done manually. Be patient and thorough.
- Safety: When using machinery, always follow safety guidelines to prevent injury.
Storing the Separated Seeds
- Dry the Seeds: After separation, make sure the seeds are completely dry to prevent mold and spoilage.
- Use Airtight Containers: Store the seeds in airtight containers to maintain their freshness and protect them from pests.
Conclusion
Separating sunflower seeds from their shells is a vital step in the seed extraction process. By using the right methods and tools, you can efficiently obtain clean, high-quality seeds for various uses. Whether you plan to roast them for a snack, plant them for a new crop, or use them in other applications, the care taken in this step will ensure the best results.
7. Storing and Using the Extracted Seeds
7. Storing and Using the Extracted Seeds
After successfully extracting the sunflower seeds from their shells, the next important step is to store and use them properly. Here's how you can do it:
Storing the Seeds:
1. Air Drying: Before storing, ensure that the seeds are completely dry to prevent mold and spoilage. Spread them out in a single layer on a clean surface and let them air dry for a few days.
2. Storage Containers: Use airtight containers to store the seeds. Glass jars with airtight lids, or plastic containers with airtight seals, are ideal.
3. Environment: Store the seeds in a cool, dark, and dry place. Temperatures between 32-41°F (0-5°C) and humidity levels below 50% are optimal for long-term storage.
4. Labeling: Label your containers with the date and type of seeds. This helps in tracking their freshness and usage.
5. Check Regularly: Periodically check the seeds for any signs of moisture, mold, or pests. If you notice any issues, remove the affected seeds immediately to prevent spread.
Using the Seeds:
1. Eating Directly: Sunflower seeds can be eaten raw or roasted. Roasting enhances their flavor and makes them a crunchy snack.
2. Baking: Incorporate sunflower seeds into breads, muffins, or cookies for added texture and nutrition.
3. Bird Feed: Many birds, especially sunflower seed-loving species, will appreciate a feeder filled with these seeds.
4. Bird Seed Blends: Mix sunflower seeds with other types of seeds and grains to create a diverse bird seed mix.
5. Sunflower Seed Butter: Make your own sunflower seed butter by grinding the seeds until they reach a butter-like consistency. It's a great alternative to peanut butter.
6. Craft Projects: Use the seeds for various craft projects, such as making sunflower seed mosaics or as part of holiday decorations.
7. Planting: If you wish to grow more sunflowers, save some of the seeds for planting. Sunflower seeds can be directly sown in the soil during the next planting season.
8. Nutritional Supplements: Sunflower seeds are rich in vitamins, minerals, and healthy fats. They can be consumed as a part of a balanced diet or used in supplements.
9. Industrial Uses: Sunflower seeds are also used in the production of sunflower oil, which is utilized in cooking and various industrial applications.
By following these guidelines for storing and using your extracted sunflower seeds, you can ensure that they remain fresh and are ready for consumption or planting when needed. Enjoy the fruits of your labor and explore the many uses of sunflower seeds in your daily life.
8. Tips for Efficient Seed Extraction
8. Tips for Efficient Seed Extraction
Extracting sunflower seeds efficiently requires a combination of proper technique and practical tips to streamline the process. Here are some suggestions to ensure you get the most out of your sunflower seed extraction:
1. Choose the Right Time: Timing is crucial in seed extraction. Harvest sunflowers when the back of the flower head is a rich brown color and the seeds are plump and hard.
2. Use the Right Tools: Investing in a sunflower seed extractor or a specialized tool can save time and effort. These tools are designed to crack the shells and separate the seeds more efficiently than manual methods.
3. Pre-Soak the Seeds: Soaking the sunflower heads in water for a short period can help soften the shells, making them easier to crack.
4. Optimize Drying Conditions: Ensure that the drying environment is well-ventilated and dry to prevent mold and preserve the quality of the seeds. Drying racks can be useful for air circulation.
5. Rotate and Shake: During the drying process, rotate and shake the sunflower heads regularly to ensure even drying and to dislodge seeds that may be stuck.
6. Crack at the Right Temperature: If you're using a mechanical method to crack the shells, ensure the seeds are at room temperature to avoid damage.
7. Practice Patience: Seed extraction can be a time-consuming process. Patience will help you maintain focus and avoid mistakes that could affect the quality of the extracted seeds.
8. Clean Up Regularly: Keep your workspace clean and free of debris to prevent contamination and make the extraction process smoother.
9. Store Properly: Once extracted, store the seeds in a cool, dry place in airtight containers to maintain their freshness and prevent spoilage.
10. Experiment with Different Techniques: Every sunflower plant and seed may require a slightly different approach. Don't be afraid to try different methods to find what works best for you.
11. Safety First: When using any tools or machinery, always follow safety guidelines to prevent injury.
12. Reuse and Recycle: Consider repurposing the sunflower shells for compost or as a natural mulch in your garden.
By following these tips, you can improve the efficiency of your sunflower seed extraction process and enjoy the fruits of your labor in a variety of culinary and craft applications.
9. Conclusion and Further Uses of Sunflower Seeds
9. Conclusion and Further Uses of Sunflower Seeds
In conclusion, extracting sunflower seeds from the plant is a rewarding process that not only provides you with a healthy and nutritious snack but also offers a deeper appreciation for the life cycle of plants and the effort that goes into producing the food we consume daily. By following the steps outlined in this article, from understanding the sunflower plant to efficiently separating the seeds from their shells, you can successfully harvest and utilize sunflower seeds.
Sunflower seeds are versatile and can be used in a variety of ways beyond just eating them as a snack. Here are some further uses for sunflower seeds:
1. Baking: Sunflower seeds can be added to bread, muffins, and other baked goods for a nutty flavor and a crunchy texture.
2. Bird Feed: Many birds enjoy sunflower seeds, making them a popular choice for bird feeders.
3. Oil Production: Sunflower oil is a common cooking oil known for its high smoke point and mild flavor.
4. Animal Feed: Sunflower seeds are a nutritious addition to the diets of various animals, including chickens, horses, and birds.
5. Crafts: The seeds can be used in crafts, such as making sunflower seed jewelry or decorations.
6. Planting: Save some seeds for planting new sunflower plants, ensuring a continuous supply of seeds for future harvests.
Remember, the key to successful seed extraction is patience, as the process requires time for the sunflowers to mature and dry properly. By mastering the art of sunflower seed extraction, you can enjoy the benefits of this nutritious and versatile seed in many forms.
As you continue to explore the uses of sunflower seeds, consider experimenting with different recipes and applications to find new ways to enjoy this natural treasure. Whether you're a gardener, a health-conscious snacker, or simply someone looking to learn more about the plants around us, sunflower seed extraction is a valuable skill to have.


- ▶ Hesperidin
- ▶ Citrus Bioflavonoids
- ▶ Plant Extract
- ▶ lycopene
- ▶ Diosmin
- ▶ Grape seed extract
- ▶ Sea buckthorn Juice Powder
- ▶ Fruit Juice Powder
- ▶ Hops Extract
- ▶ Artichoke Extract
- ▶ Mushroom extract
- ▶ Astaxanthin
- ▶ Green Tea Extract
- ▶ Curcumin
- ▶ Horse Chestnut Extract
- ▶ Other Product
- ▶ Boswellia Serrata Extract
- ▶ Resveratrol
- ▶ Marigold Extract
- ▶ Grape Leaf Extract
- ▶ New Product
- ▶ Aminolevulinic acid
- ▶ Cranberry Extract
- ▶ Red Yeast Rice
- ▶ Red Wine Extract
-
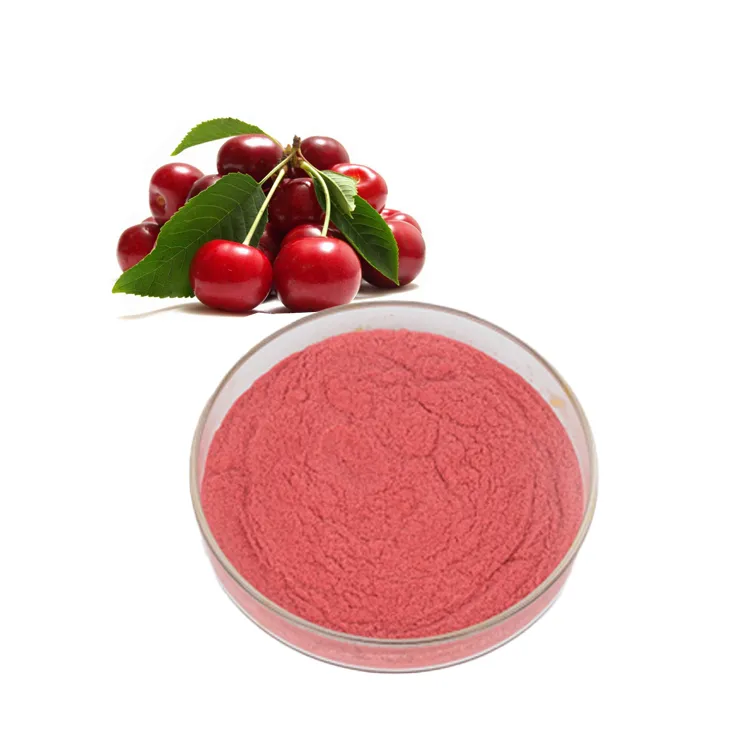
Acerola Extract
2023-09-26
-
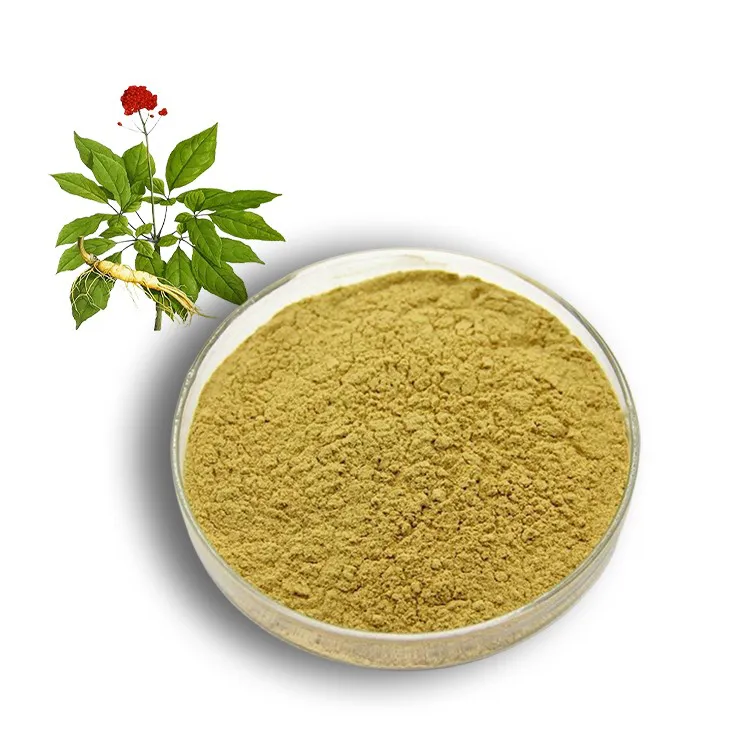
Panax Ginseng Leaf Extract
2023-09-26
-

Genistein
2023-09-26
-
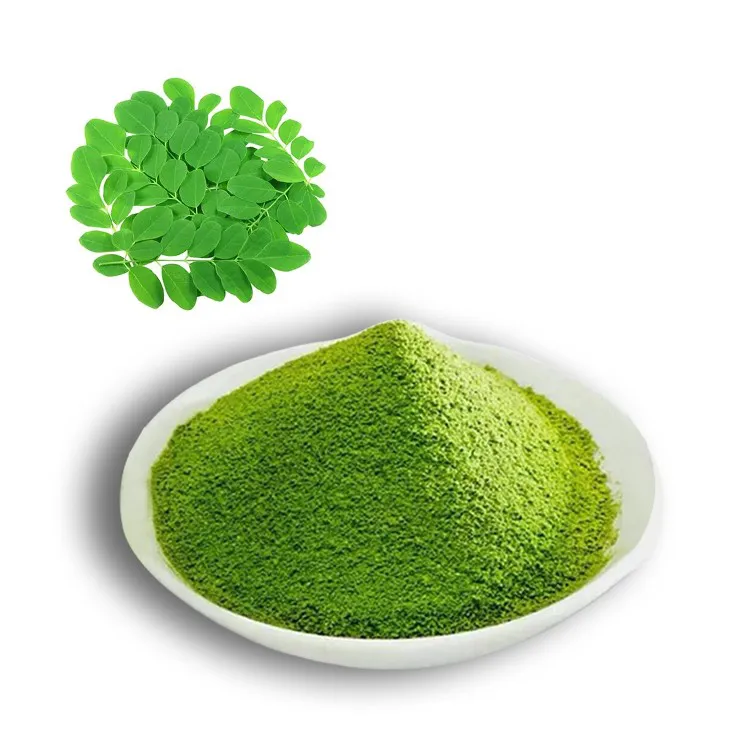
Moringa powder
2023-09-26
-
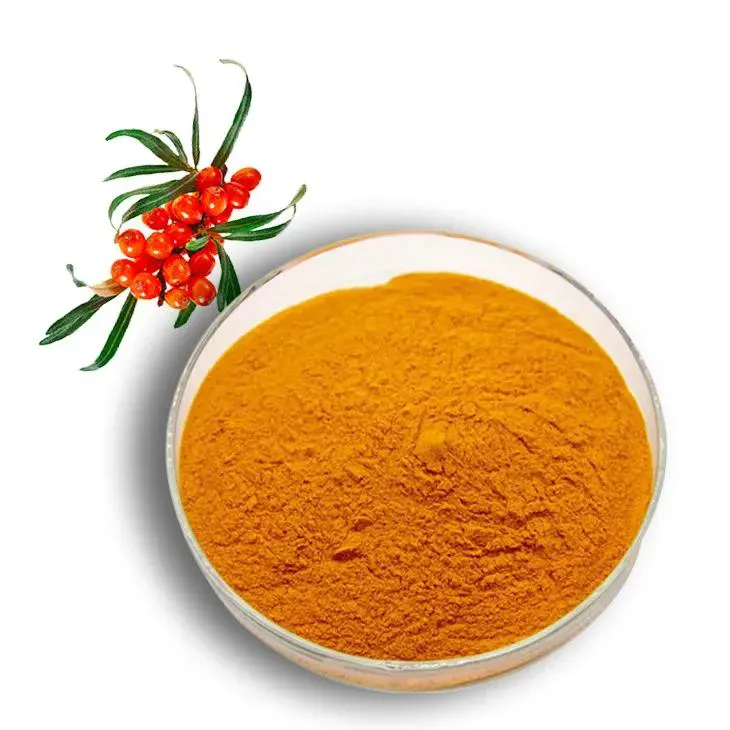
Sea buckthorn Juice Powder
2023-09-26
-
Diosmin
2023-09-26
-
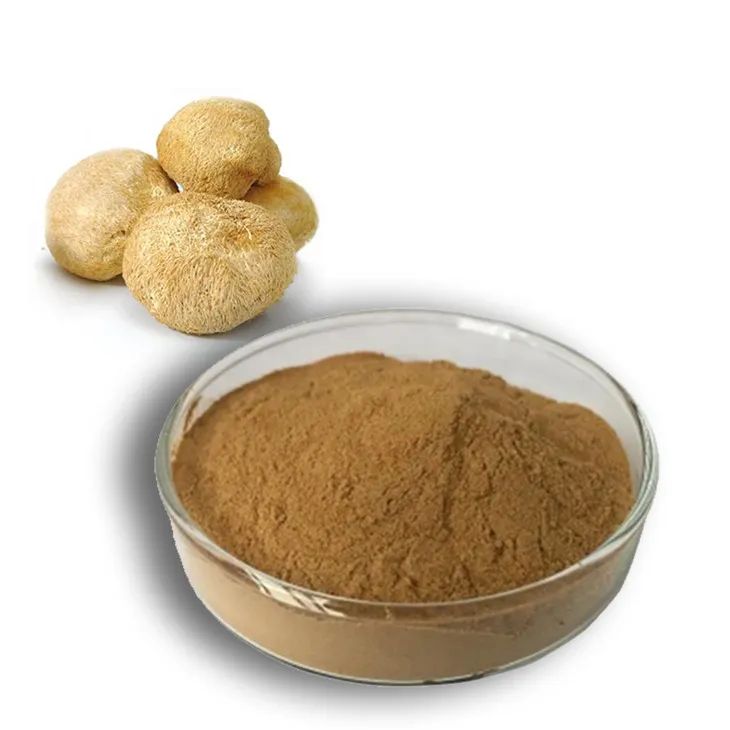
Hericium erinaceus extract powder
2023-09-26
-
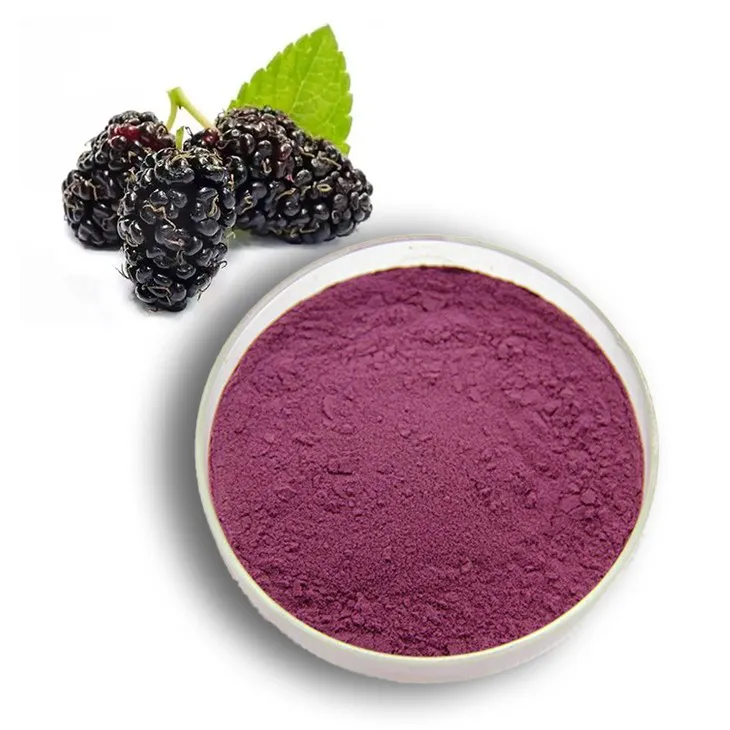
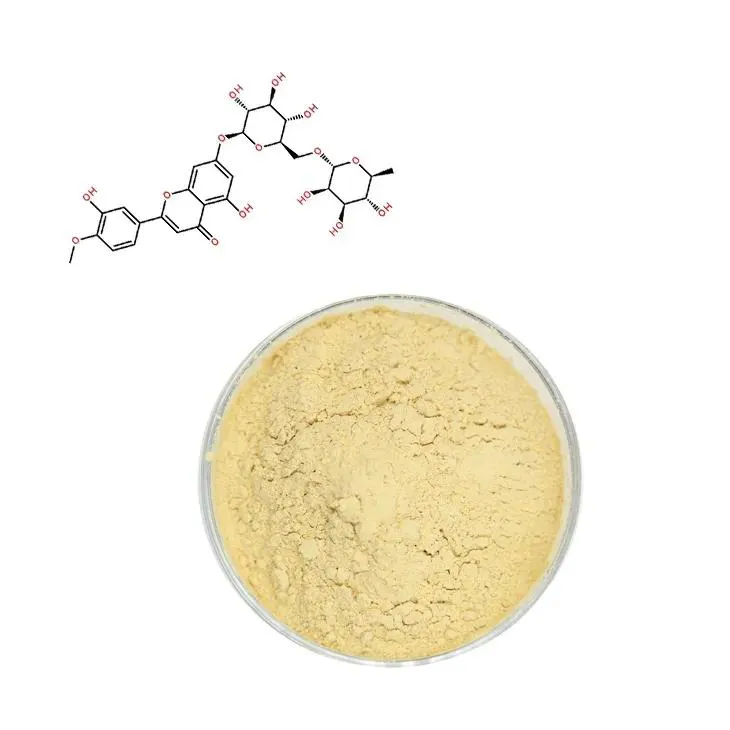
Mulberry Extract
2023-09-26
-
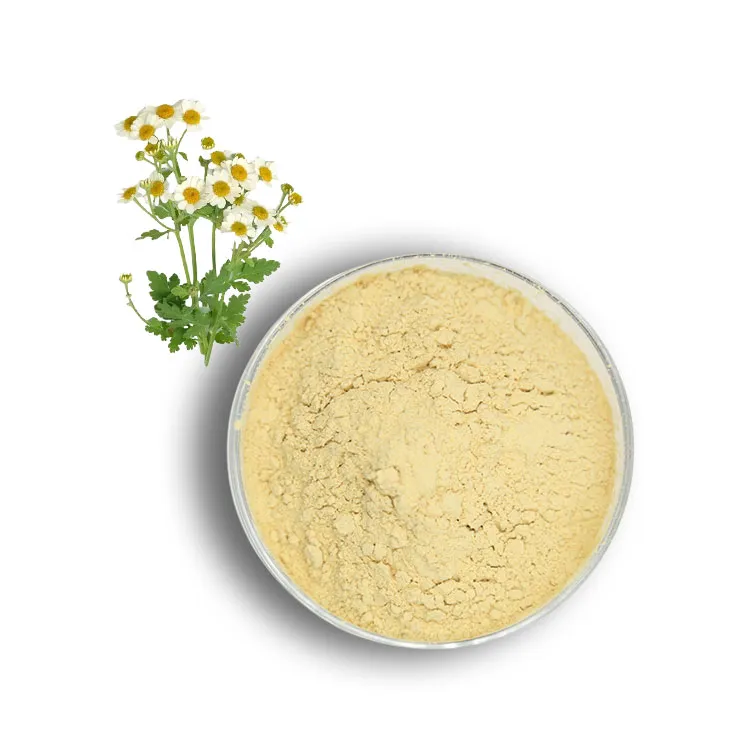
Feverfew Extract
2023-09-26
-
Grape Seed Extract
2023-09-26
