- 0086-571-85302990
- sales@greenskybio.com


Unlocking the Secrets of Plant DNA: A Step-by-Step Extraction Guide
2024-08-06
1. Introduction to Plant DNA Extraction
Plant DNA is a remarkable source of information. It holds the keys to understanding various aspects of plants, from their growth and development to their evolution and adaptation. DNA extraction from plants is a crucial process in many fields, such as plant breeding and evolutionary studies.
In plant breeding, the extraction of DNA allows breeders to identify desirable traits at the genetic level. This knowledge can be used to develop new plant varieties with improved characteristics, such as higher yield, better resistance to diseases and pests, and enhanced nutritional value. For example, by analyzing the DNA of different wheat varieties, breeders can identify the genes responsible for drought tolerance and incorporate them into other varieties to create more resilient crops.
In evolutionary studies, plant DNA provides insights into the relationships between different plant species. By comparing the DNA sequences of various plants, scientists can reconstruct the evolutionary history of plants and understand how they have diversified over time. This helps in classifying plants more accurately and understanding the mechanisms of speciation.
2. Essential Tools and Reagents for Plant DNA Extraction
2.1 Tools
- Mortar and pestle: This is used for grinding plant tissues to break down the cell walls and release the cellular contents. A ceramic or glass mortar and pestle is preferred as they are less likely to contaminate the sample. - Centrifuge: A centrifuge is essential for separating different components of the cell lysate. It spins the samples at high speeds, causing the heavier components to sediment at the bottom of the tube. - Micropipettes: These are used for accurately measuring and transferring small volumes of reagents. Different micropipettes are available for different volume ranges, such as 0.1 - 2.5 μl, 2 - 20 μl, and 20 - 200 μl. - Vortex mixer: The vortex mixer is used to mix solutions thoroughly. It creates a swirling motion that ensures uniform mixing of reagents with the plant sample.
2.2 Reagents
- CTAB (Cetyltrimethylammonium Bromide) buffer: CTAB buffer is a commonly used extraction buffer for plant DNA. It helps in disrupting the cell membranes and binding to the DNA, protecting it from degradation. The buffer typically contains CTAB, Tris - HCl (pH 8.0), EDTA (Ethylenediaminetetraacetic acid), and NaCl. - Chloroform - isoamyl alcohol (24:1): This mixture is used for separating the DNA from other cellular components, such as proteins and lipids. The chloroform denatures the proteins, and the isoamyl alcohol reduces foaming during the extraction process. - Isopropanol or Ethanol: These alcohols are used for precipitating the DNA. They reduce the solubility of DNA in the solution, causing it to come out of solution as a visible pellet. - RNase A: RNase A is used to degrade RNA in the sample. Since RNA can interfere with some downstream applications of DNA, it is important to remove it. RNase A specifically cleaves RNA molecules, leaving the DNA intact.
3. Step - by - Step Guide to Plant DNA Extraction
3.1 Sample Collection
The first step in plant DNA extraction is sample collection. It is important to select a suitable plant part for extraction. Young, healthy plant tissues are generally preferred as they contain more active cells with a higher amount of DNA. For example, for most plants, young leaves are a good choice.
- Avoid samples that are diseased or damaged, as they may have a lower DNA content or contain contaminants that can interfere with the extraction process. - When collecting the sample, use clean, sterile tools to prevent contamination from other sources. For example, use a clean pair of scissors or a scalpel to cut the plant tissue.
3.2 Sample Preparation
Once the sample is collected, it needs to be prepared for extraction.
1. Wash the plant tissue thoroughly with distilled water to remove any dirt, debris, or surface contaminants. 2. Cut the tissue into small pieces. For example, if using leaves, cut them into pieces of about 0.5 - 1 cm in size. This increases the surface area for extraction. 3. Transfer the cut tissue to a pre - chilled mortar. Add liquid nitrogen to the mortar. The liquid nitrogen freezes the tissue, making it brittle and easier to grind. 4. Use the pestle to grind the tissue into a fine powder. Grind until the tissue is completely pulverized. This step breaks down the cell walls and releases the cellular contents.
3.3 Cell Lysis
After sample preparation, the next step is cell lysis.
1. Add an appropriate amount of CTAB buffer to the powdered tissue in the mortar. The amount of buffer depends on the amount of tissue used. For example, for 1 g of tissue, add about 5 - 10 ml of CTAB buffer. 2. Mix the buffer and the tissue powder thoroughly using a vortex mixer. This ensures that all the cells are exposed to the CTAB buffer, which will disrupt the cell membranes. 3. Incubate the mixture at a specific temperature for a certain period of time. Usually, incubation is done at 60 - 65°C for 30 - 60 minutes. During this incubation, the CTAB buffer further disrupts the cell membranes and binds to the DNA, protecting it from degradation.
3.4 Separation of DNA from Other Components
Once cell lysis is complete, the DNA needs to be separated from other cellular components.
1. Transfer the lysate (the mixture of buffer and cell contents) to a centrifuge tube. 2. Add an equal volume of chloroform - isoamyl alcohol (24:1) to the centrifuge tube. 3. Cap the tube tightly and mix the contents gently by inverting the tube several times. Do not vortex vigorously as this can shear the DNA. 4. Centrifuge the tube at a high speed (e.g., 12,000 - 15,000 rpm) for 5 - 10 minutes. After centrifugation, the solution will separate into two phases: an upper aqueous phase containing the DNA and a lower organic phase containing the proteins and lipids.
3.5 DNA Precipitation
After separating the DNA from other components, the DNA is precipitated.
1. Carefully transfer the upper aqueous phase (containing the DNA) to a new centrifuge tube using a micropipette. 2. Add an equal volume of isopropanol or two - thirds volume of ethanol to the tube. Gently mix the contents by inverting the tube several times. 3. Incubate the tube at - 20°C for 30 minutes to 1 hour. This helps in the precipitation of DNA. 4. Centrifuge the tube at a high speed (e.g., 12,000 - 15,000 rpm) for 10 - 15 minutes. After centrifugation, a white or translucent DNA pellet will be visible at the bottom of the tube.
3.6 Washing and Resuspending the DNA
Once the DNA is precipitated, it needs to be washed and resuspended.
1. Carefully remove the supernatant (the liquid above the DNA pellet) without disturbing the pellet. 2. Add 1 ml of 70% ethanol to the tube. Gently mix by inverting the tube several times. 3. Centrifuge the tube at a high speed (e.g., 12,000 - 15,000 rpm) for 5 - 10 minutes. 4. Remove the supernatant again. 5. Allow the DNA pellet to air - dry for a few minutes to remove any remaining ethanol. Do not over - dry the pellet as this can make it difficult to resuspend. 6. Resuspend the DNA pellet in an appropriate buffer or water. For example, add 50 - 100 μl of TE buffer (Tris - HCl and EDTA) or distilled water. Gently pipette up and down to ensure complete resuspension of the DNA.
4. Quality and Quantity Assessment of Extracted DNA
After extracting the plant DNA, it is important to assess its quality and quantity.
4.1 Quantity Assessment
- Spectrophotometry: One of the most common methods for determining the quantity of DNA is spectrophotometry. A spectrophotometer measures the absorbance of light by the DNA solution at a specific wavelength (usually 260 nm). The concentration of DNA can be calculated based on the absorbance value using the formula: Concentration (μg/ml) = Absorbance at 260 nm × Conversion factor. The conversion factor depends on the type of spectrophotometer and the buffer used. - Fluorometry: Fluorometry is another method for DNA quantification. It uses fluorescent dyes that bind specifically to DNA. The fluorescence intensity is proportional to the amount of DNA in the sample. Fluorometric methods are generally more sensitive than spectrophotometric methods and can detect lower amounts of DNA.
4.2 Quality Assessment
- Absorbance Ratio (A260/A280): The ratio of the absorbance at 260 nm to the absorbance at 280 nm can be used to assess the purity of the DNA. A ratio of around 1.8 - 2.0 indicates pure DNA. A ratio lower than 1.8 may indicate the presence of protein contamination, while a ratio higher than 2.0 may suggest the presence of RNA or other contaminants. - Gel Electrophoresis: Gel electrophoresis is a widely used method for visualizing and assessing the integrity of DNA. DNA samples are loaded onto an agarose gel and electrophoresed under an electric field. The DNA migrates through the gel based on its size, and intact DNA will appear as a distinct band. If the DNA is degraded, it will appear as a smear instead of a clear band.
5. Troubleshooting in Plant DNA Extraction
During the plant DNA extraction process, several problems may arise. Here are some common issues and their possible solutions.
5.1 Low DNA Yield
- Insufficient starting material: If the amount of plant tissue used for extraction was too small, it can result in a low DNA yield. Increase the amount of starting material in subsequent extractions. - Ineffective cell lysis: If the cell lysis was not complete, the DNA may not be fully released. Ensure that the CTAB buffer is properly prepared and that the incubation conditions (temperature and time) are optimal. - DNA degradation: DNA can be degraded by nucleases present in the sample or during the extraction process. Use fresh plant tissue and add RNase A at the appropriate stage to prevent RNA - associated nuclease activity. Also, keep the samples on ice during the extraction process to slow down nuclease activity.
5.2 Contaminated DNA
- Protein contamination: A common contaminant in plant DNA extractions is protein. This can be due to incomplete separation of DNA from proteins during the chloroform - isoamyl alcohol extraction step. Make sure to mix the chloroform - isoamyl alcohol and the lysate gently but thoroughly and centrifuge at the correct speed and time. - RNA contamination: If RNA is not completely removed by RNase A, it can contaminate the DNA sample. Ensure that the RNase A is of high quality and is added in sufficient quantity. Also, check the incubation time and temperature for RNase A treatment. - Chemical contamination: Contamination from reagents or chemicals used in the extraction process can also occur. Use high - quality reagents and ensure that all glassware and plasticware are clean and sterile.
5.3 Degraded DNA
- Nuclease activity: As mentioned earlier, nuclease activity can cause DNA degradation. To prevent this, take steps to inhibit nuclease activity, such as using fresh plant tissue, adding nuclease inhibitors, and keeping the samples cold. - Shearing of DNA: Physical shearing of DNA can occur during vigorous mixing or pipetting. Avoid vortexing vigorously and use wide - bore pipette tips when handling the DNA to reduce shearing.
6. Conclusion
Plant DNA extraction is a fundamental process in many areas of plant science. By following the step - by - step guide outlined in this article, along with proper quality and quantity assessment and troubleshooting, researchers can successfully extract plant DNA for a variety of applications. Whether it is for plant breeding, evolutionary studies, or other genetic investigations, the ability to unlock the secrets hidden within plant DNA is now more accessible than ever.
FAQ:
What are the main applications of plant DNA extraction?
Plant DNA extraction has several important applications. In plant breeding, it helps in identifying desirable traits and developing new varieties with improved characteristics such as higher yield, disease resistance, and better quality. In evolutionary studies, it allows scientists to trace the genetic relationships between different plant species, understand how they have evolved over time, and reconstruct phylogenetic trees. It is also crucial in genetic engineering for the insertion or modification of specific genes in plants.
What are the basic tools needed for plant DNA extraction?
Some of the essential tools for plant DNA extraction include a mortar and pestle (for grinding plant tissue), micropipettes (for accurately measuring small volumes of reagents), centrifuge tubes (to hold samples during centrifugation), and a centrifuge (to separate different components based on density). Additionally, a balance is required to measure the appropriate amounts of plant material and reagents, and a water bath or heat block may be needed for certain steps such as incubation.
What reagents are typically used in plant DNA extraction?
Common reagents used in plant DNA extraction are CTAB (Cetyltrimethylammonium Bromide), which helps in disrupting cell membranes and binding to DNA to protect it. Tris - HCl buffer is used to maintain a stable pH during the extraction process. EDTA (Ethylenediaminetetraacetic acid) is added to chelate metal ions that could otherwise degrade the DNA. NaCl (Sodium Chloride) is often present to help in the precipitation of DNA. Phenol - chloroform - isoamyl alcohol mixture is used for further purification by separating the DNA from proteins and other contaminants.
Can you briefly describe the first few steps of plant DNA extraction?
The first step usually involves collecting a suitable plant sample. This could be a leaf, a piece of stem, or other plant parts. Then, the sample is often ground in liquid nitrogen using a mortar and pestle to break down the cell walls. After that, a lysis buffer (such as CTAB buffer) is added to the ground sample. This buffer helps to break open the cells and release the DNA. The mixture is then incubated at a specific temperature (usually around 60 - 65°C) for a period of time to ensure complete cell lysis.
How is the purity of the extracted plant DNA determined?
The purity of the extracted plant DNA can be determined using a spectrophotometer. By measuring the absorbance of the DNA sample at 260 nm and 280 nm wavelengths, the ratio of A260/A280 can be calculated. A ratio of around 1.8 is considered pure for DNA. If the ratio is lower, it may indicate the presence of protein contamination. Additionally, agarose gel electrophoresis can be used to visualize the DNA and check for the presence of any RNA or other impurities as well as to estimate the size of the DNA fragments.
Related literature
- Plant DNA Extraction: A Comprehensive Guide for Beginners"
- "Advanced Techniques in Plant DNA Isolation and Analysis"
- "The Role of DNA Extraction in Modern Plant Science Research"


- ▶ Hesperidin
- ▶ citrus bioflavonoids
- ▶ plant extract
- ▶ lycopene
- ▶ Diosmin
- ▶ Grape seed extract
- ▶ Sea buckthorn Juice Powder
- ▶ Beetroot powder
- ▶ Hops Extract
- ▶ Artichoke Extract
- ▶ Reishi mushroom extract
- ▶ Astaxanthin
- ▶ Green Tea Extract
- ▶ Curcumin Extract
- ▶ Horse Chestnut Extract
- ▶ Other Problems
- ▶ Boswellia Serrata Extract
- ▶ Resveratrol Extract
- ▶ Marigold Extract
- ▶ Grape Leaf Extract
- ▶ blog3
- ▶ blog4
- ▶ blog5
-
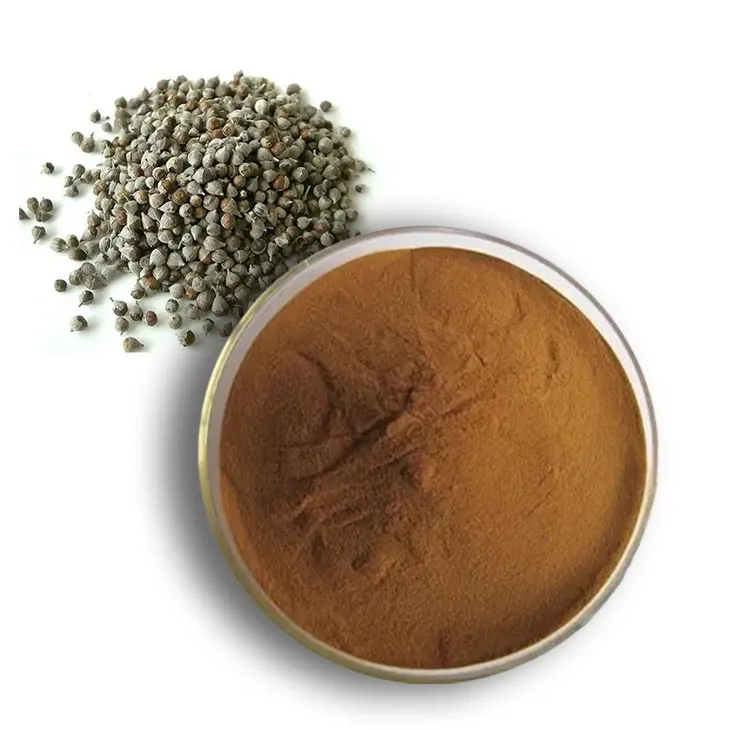
Chaste Berry Extract
2024-08-06
-
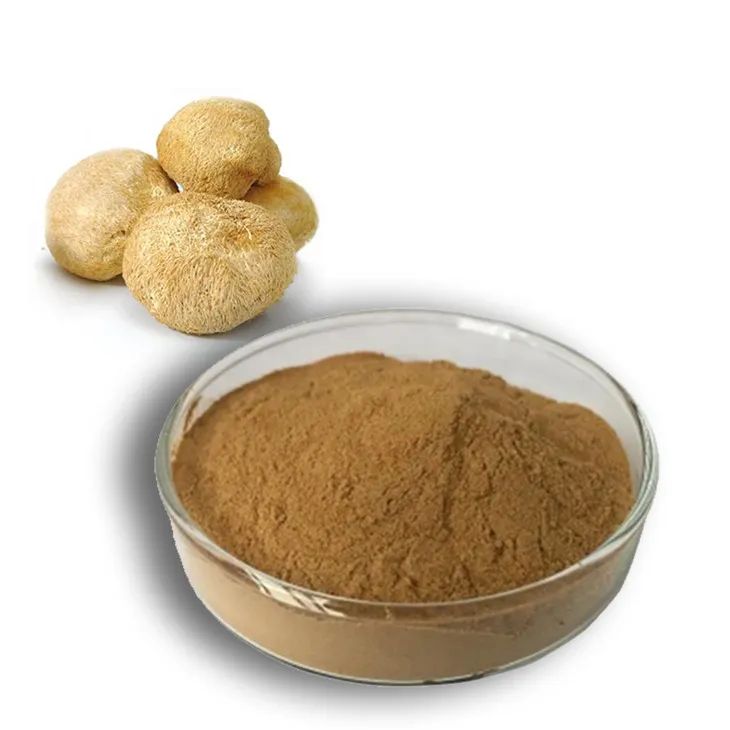
Hericium erinaceus extract powder
2024-08-06
-
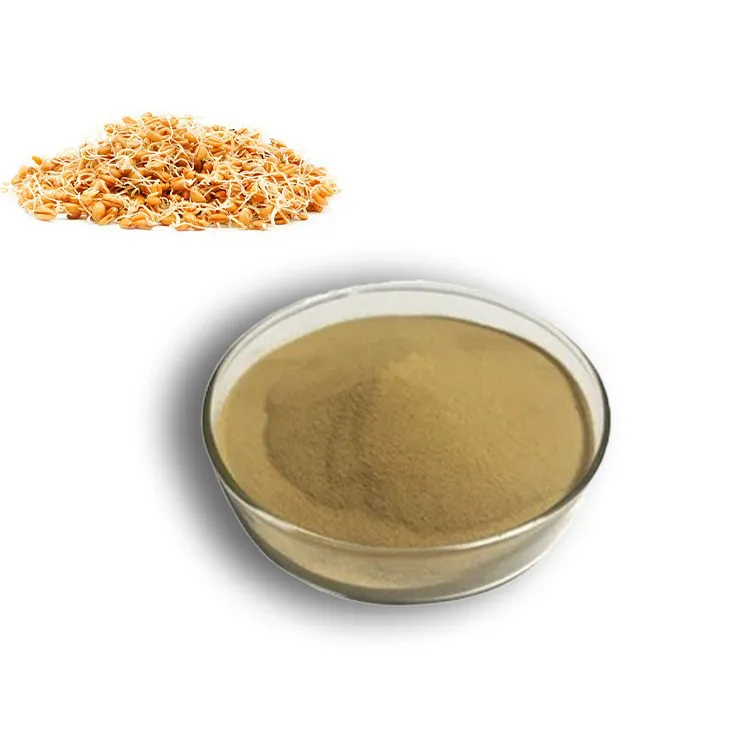
Wheat Germ Extract
2024-08-06
-
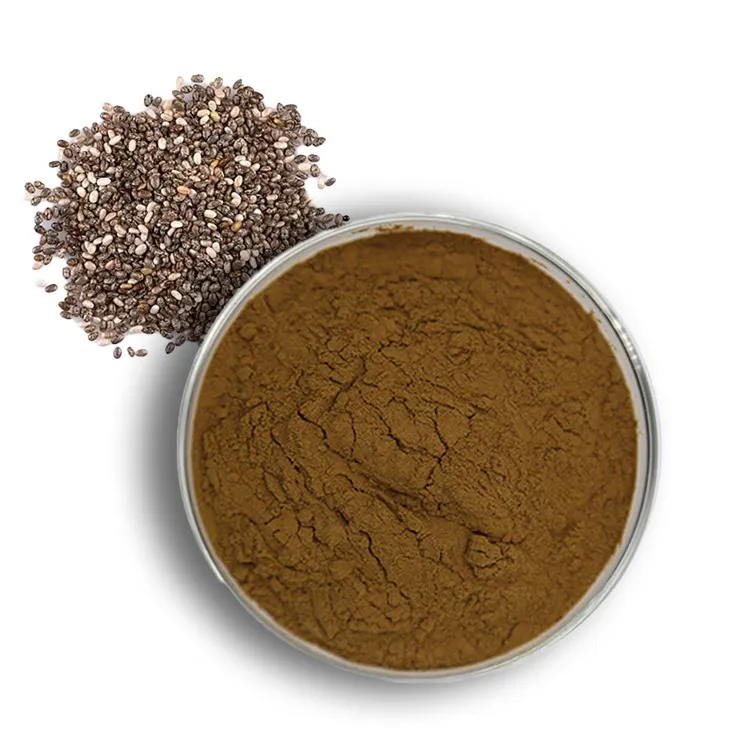
Chia Seed Powder
2024-08-06
-
Marigold Extract
2024-08-06
-
Curcuma Longa Extract
2024-08-06
-

Curcuma Longa Extract/Turmeric extract
2024-08-06
-
Artichoke Leaf Extract
2024-08-06
-
Pine bark Extract Powder
2024-08-06
-
Sea buckthorn Juice Powder
2024-08-06
