- 0086-571-85302990
- sales@greenskybio.com


Enhancing ELISA Outcomes: A Comprehensive Method for Plant Shoot Tissue Extraction
2024-07-31
1. Introduction
Enzyme - Linked Immunosorbent Assay (ELISA) is a widely used technique in plant research for detecting and quantifying various analytes, such as proteins, hormones, and pathogens. However, the quality of the sample extraction from plant shoot tissues can significantly impact the ELISA results. Optimal extraction is crucial for obtaining accurate and reliable data. In this article, we will explore a comprehensive extraction method for plant shoot tissues to enhance ELISA outcomes.
2. Factors Affecting Extraction Efficiency
2.1. Choice of Extraction Buffer
The extraction buffer is a fundamental component in the tissue extraction process. Different buffers can have a substantial impact on the release of target molecules from plant shoot tissues.
pH of the buffer: The pH of the extraction buffer should be carefully selected. For example, if the target molecule is a protein, a buffer with a pH close to its isoelectric point may lead to precipitation, reducing the extraction efficiency. In general, a slightly alkaline buffer (pH 7.5 - 8.5) is often suitable for protein extraction from plant tissues. This helps to maintain the solubility of proteins and prevent their aggregation.
Buffer composition: Common components in extraction buffers include salts, detergents, and reducing agents. Salts such as NaCl can help to disrupt ionic bonds in the tissue, facilitating the release of molecules. Detergents like Triton X - 100 can solubilize membrane - bound proteins. Reducing agents such as dithiothreitol (DTT) are useful for breaking disulfide bonds, especially when dealing with proteins that contain cysteine residues. For example, in the extraction of certain plant hormones that are associated with proteins, a buffer containing a combination of these components may be necessary to ensure complete release of the hormones.
2.2. Extraction Time
Extraction time is another critical factor. Insufficient extraction time may result in incomplete release of the target molecules from the plant shoot tissues.
For relatively small and soluble molecules, a shorter extraction time may be sufficient. For example, some plant secondary metabolites that are freely soluble in the extraction buffer may be fully extracted within 15 - 30 minutes. However, for larger and more complex molecules such as proteins or nucleic acids, a longer extraction time is usually required. In some cases, extraction times of 1 - 2 hours or even longer may be necessary to ensure maximum extraction of these molecules. But it should be noted that overly long extraction times can also lead to the degradation of the target molecules, especially in the presence of proteases or nucleases in the tissue.
2.3. Temperature
Temperature plays a vital role in the extraction process.
Low temperatures, such as 4°C, are often preferred for extraction when the target molecules are sensitive to heat - induced denaturation. This is particularly important for proteins and enzymes. For example, if we are extracting a heat - labile enzyme from plant shoot tissues, keeping the extraction at 4°C can help to preserve its activity. On the other hand, higher temperatures (e.g., 30 - 37°C) can sometimes increase the extraction efficiency for certain molecules. This is because higher temperatures can increase the kinetic energy of molecules, facilitating the disruption of tissue structures and the release of target molecules. However, when using higher temperatures, one must be cautious about the potential for degradation or inactivation of the target molecules.
3. The Comprehensive Extraction Method
3.1. Sample Preparation
First, select healthy plant shoot tissues. The tissues should be free from obvious signs of disease or damage. Wash the selected tissues thoroughly with distilled water to remove any surface contaminants such as dirt, dust, or pesticides.
Next, dry the tissues gently using a clean paper towel. Cut the tissues into small pieces (e.g., 1 - 2 mm in length) using a sharp scalpel or scissors. This increases the surface area of the tissues, which is beneficial for the extraction process.
3.2. Selection of the Extraction Buffer
Based on the nature of the target molecule, select an appropriate extraction buffer. For example, if the target is a protein, a buffer containing 50 mM Tris - HCl (pH 8.0), 150 mM NaCl, 1% Triton X - 100, and 5 mM DTT can be a good choice. If the target is a plant hormone, a buffer with a different composition may be required, such as a phosphate - buffered saline (PBS) with a pH of 7.4 supplemented with a small amount of methanol to improve the solubility of the hormone.
3.3. Extraction Procedure
- Place the cut plant shoot tissues in a pre - chilled microcentrifuge tube. Add an appropriate volume of the selected extraction buffer. The ratio of tissue mass to buffer volume can vary depending on the type of tissue and the expected concentration of the target molecule. A common ratio is 1:5 (w/v), but this may need to be adjusted experimentally.
- Incubate the tube at the appropriate temperature. If the target molecule is heat - sensitive, incubate at 4°C. If a higher temperature can be tolerated, incubate at 30 - 37°C. The incubation time should also be determined based on the nature of the target molecule. As mentioned before, for small molecules, 15 - 30 minutes may be sufficient, while for larger molecules, 1 - 2 hours or more may be required.
- During the incubation, gently vortex the tube every 5 - 10 minutes to ensure good mixing of the tissue and the buffer. This helps to improve the extraction efficiency by ensuring that all parts of the tissue are exposed to the buffer.
- After the incubation, centrifuge the tube at a high speed (e.g., 12,000 - 15,000 rpm) for 10 - 15 minutes at 4°C. This separates the supernatant, which contains the extracted target molecule, from the tissue debris.
3.4. Post - extraction Handling
Transfer the supernatant to a new, clean microcentrifuge tube. If necessary, the extracted sample can be further purified or concentrated. For example, if there are interfering substances in the supernatant, techniques such as dialysis or column chromatography can be used to purify the sample. If the concentration of the target molecule is too low, methods like freeze - drying or ultrafiltration can be employed to concentrate the sample before ELISA analysis.
4. Validation of the Extraction Method
To ensure the effectiveness of the extraction method, it is necessary to perform validation experiments.
Recovery experiments: Spike known amounts of the target molecule into plant shoot tissues and then perform the extraction method. Measure the amount of the target molecule recovered in the supernatant using ELISA. Calculate the recovery rate, which should be within an acceptable range (e.g., 80% - 120%) for the method to be considered reliable.
Reproducibility experiments: Repeat the extraction method multiple times on the same type of plant shoot tissues. Analyze the variability in the ELISA results among the replicates. A low coefficient of variation (e.g., less than 10%) indicates good reproducibility of the extraction method.
5. Conclusion
In conclusion, enhancing ELISA outcomes for plant shoot tissue extraction requires a comprehensive understanding of the factors affecting extraction efficiency, including the choice of extraction buffer, extraction time, and temperature. By carefully optimizing these factors and following a well - designed extraction method, researchers can improve the quality of the extracted samples and ultimately obtain more accurate and reliable ELISA results. This is of great significance for various plant - related studies, such as plant physiology, plant - pathogen interactions, and plant breeding.
FAQ:
What are the main factors affecting the extraction efficiency for plant shoot tissue in ELISA?
The main factors include the choice of extraction buffer, extraction time, and temperature. The extraction buffer should be carefully selected as different buffers can have different solubilities and stabilities for the target substances in plant shoot tissue. Extraction time also plays a role. If the time is too short, the target substances may not be fully extracted, while overly long extraction time might lead to degradation or interference. Temperature affects the reaction rate and the stability of the substances during extraction. For example, some enzymes may be more active at certain temperatures, which can influence the extraction efficiency.
How can the choice of extraction buffer enhance ELISA outcomes for plant shoot tissue?
The extraction buffer should be chosen based on the nature of the target molecules in the plant shoot tissue. For example, if the target is a protein, a buffer with appropriate pH, ionic strength, and protease inhibitors may be selected. A buffer with a suitable pH can maintain the protein's structure and activity. Ionic strength can affect the solubility and interactions of the protein. Protease inhibitors are added to prevent the degradation of the target protein by endogenous proteases. Different plant species or even different tissues within a plant may require different buffers to optimize the extraction for ELISA.
What is the optimal extraction time for plant shoot tissue in ELISA?
The optimal extraction time depends on various factors such as the type of plant, the nature of the target substance, and the extraction method. In general, it may range from a few minutes to several hours. For some small molecules or easily extractable substances, a shorter extraction time, say 10 - 30 minutes, might be sufficient. However, for larger or more complex molecules like some proteins or polysaccharides, it could take 1 - 3 hours or even longer. It is often determined through preliminary experiments by monitoring the ELISA signal at different extraction times to find the time when the signal is maximized and stable.
How does temperature impact the extraction of plant shoot tissue for ELISA?
Temperature can have a significant impact. At lower temperatures, the enzymatic activity and chemical reactions involved in the extraction process may be slowed down. This can be beneficial for preserving the stability of some sensitive target substances. On the other hand, at higher temperatures, reactions may occur more rapidly, but it also increases the risk of denaturation or degradation of proteins and other biomolecules. For most plant shoot tissue extractions for ELISA, a moderate temperature range, such as 4 - 25°C, is often considered. However, for some heat - stable substances, slightly higher temperatures may be used to improve extraction efficiency.
Are there any other factors besides extraction buffer, time, and temperature that can affect ELISA outcomes for plant shoot tissue extraction?
Yes, there are other factors. The homogeneity of the tissue sample during extraction can be important. If the tissue is not evenly disrupted, it may lead to inconsistent extraction of the target substances. The ratio of tissue to extraction buffer also matters. A proper ratio ensures that there is sufficient buffer to extract the target substances without excessive dilution. Additionally, the presence of contaminants in the tissue or the extraction process, such as phenolic compounds in plants which can interfere with ELISA, can also affect the outcomes. These contaminants may need to be removed or minimized through appropriate pre - treatment steps.
Related literature
- Optimization of Plant Tissue Extraction for ELISA - Based Analyses"
- "Advanced Techniques in Plant Shoot Tissue Extraction for ELISA"
- "Factors Influencing Plant Tissue Extraction Efficiency in ELISA: A Review"


- ▶ Hesperidin
- ▶ citrus bioflavonoids
- ▶ plant extract
- ▶ lycopene
- ▶ Diosmin
- ▶ Grape seed extract
- ▶ Sea buckthorn Juice Powder
- ▶ Beetroot powder
- ▶ Hops Extract
- ▶ Artichoke Extract
- ▶ Reishi mushroom extract
- ▶ Astaxanthin
- ▶ Green Tea Extract
- ▶ Curcumin Extract
- ▶ Horse Chestnut Extract
- ▶ Other Problems
- ▶ Boswellia Serrata Extract
- ▶ Resveratrol Extract
- ▶ Marigold Extract
- ▶ Grape Leaf Extract
- ▶ blog3
- ▶ blog4
- ▶ blog5
-
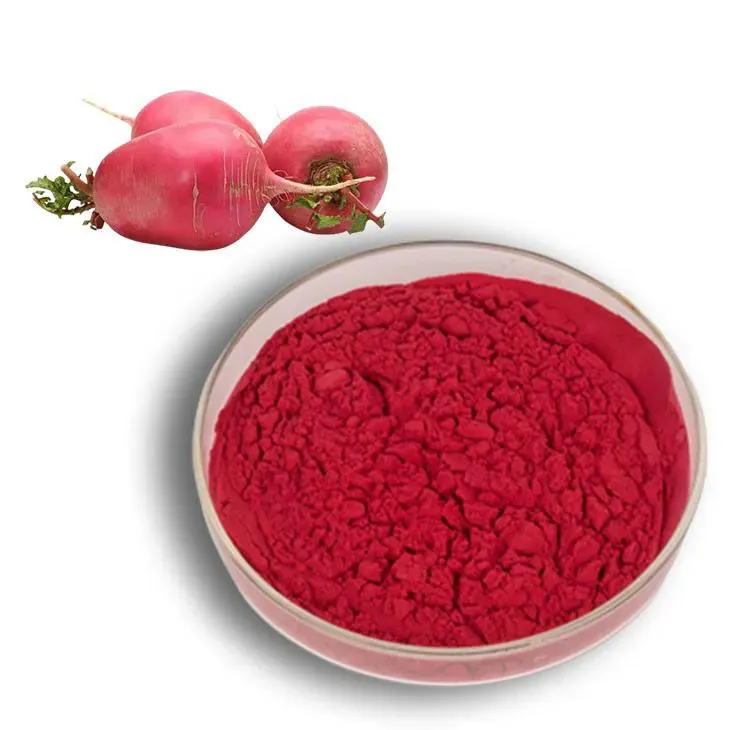
Beetroot juice Powder
2024-07-31
-
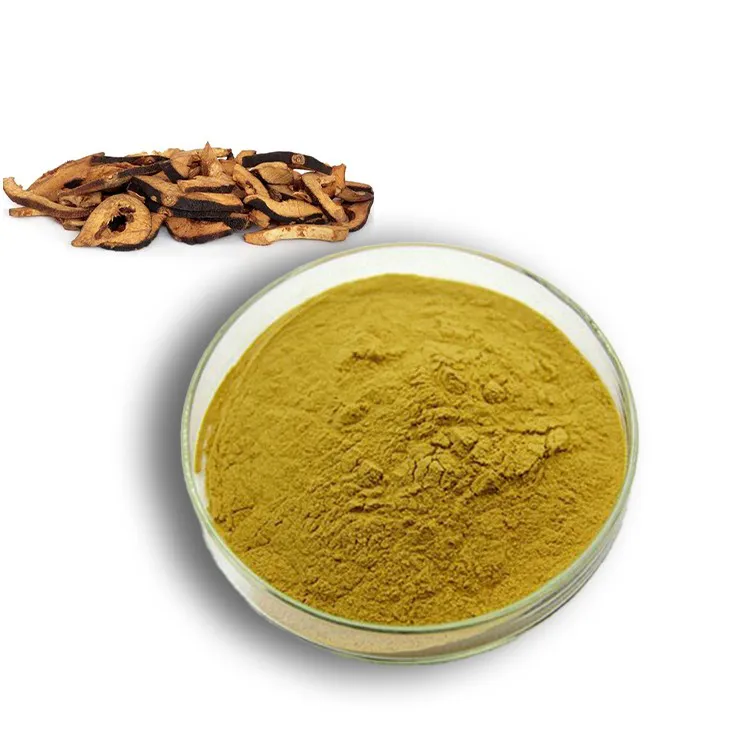
Citrus Aurantii Extract
2024-07-31
-
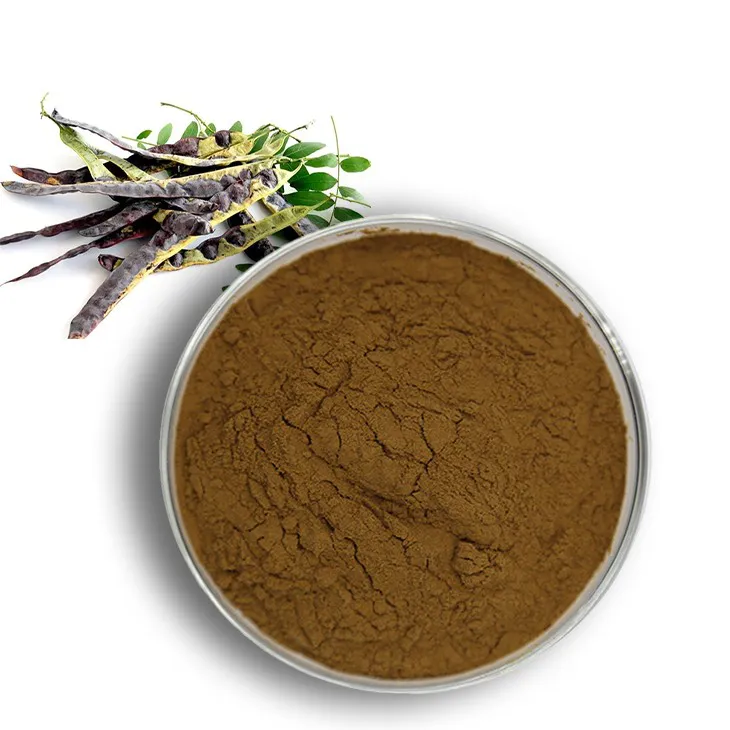
Saponin Extract
2024-07-31
-
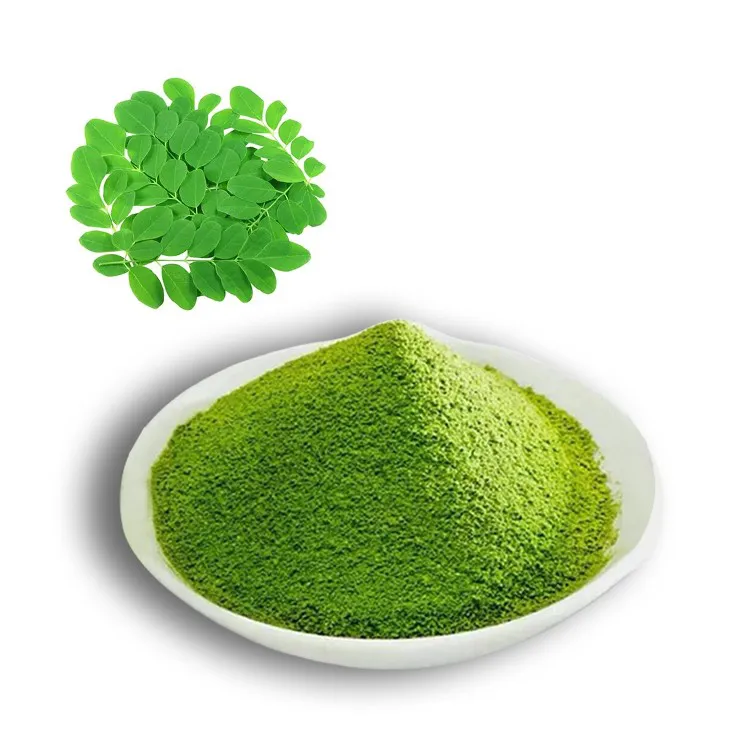
Moringa powder
2024-07-31
-
Avocado Extract Powder
2024-07-31
-
Echinacea Extract
2024-07-31
-
Dandelion Leaf Extract
2024-07-31
-

Lotus leaf extract
2024-07-31
-
White Peony Extract
2024-07-31
-
Bayberry Extract
2024-07-31
